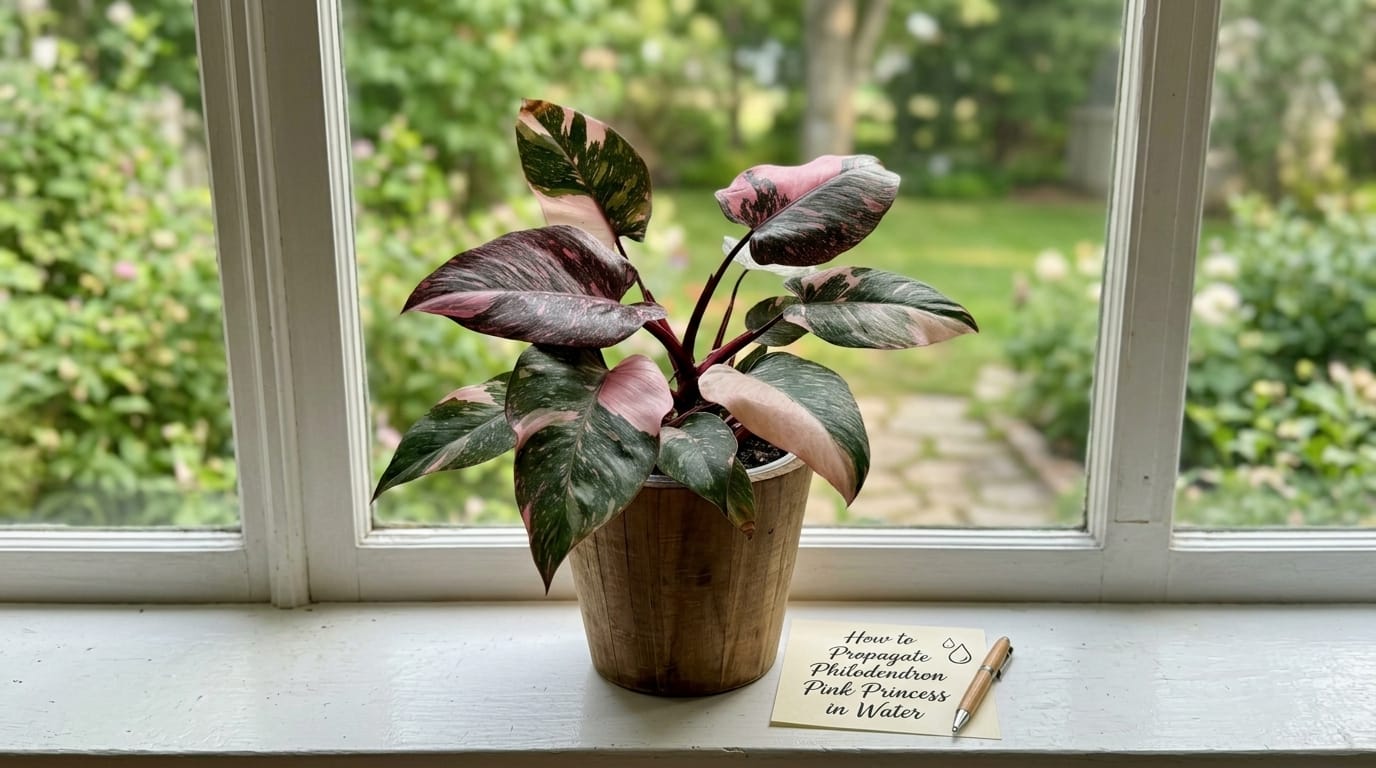
How to Propagate Philodendron Pink Princess in Water

My first Pink Princess cutting sat in a glass jar for six straight weeks.
No roots. Not a single one.
I had read every article I could find before making that cut.
The problem wasn’t my technique. It was that nobody explained what the Pink Princess actually is at a biological level.
Once I understood that, everything changed.
After eight years with over 500 philodendrons in my own home, I now water-propagate PPP consistently and successfully.
This is the real guide. No padding. Just what works.
Why the Pink Princess Behaves Differently in Water
This section matters more than any other.
Skip it, and you’ll keep repeating the same frustrating mistakes.
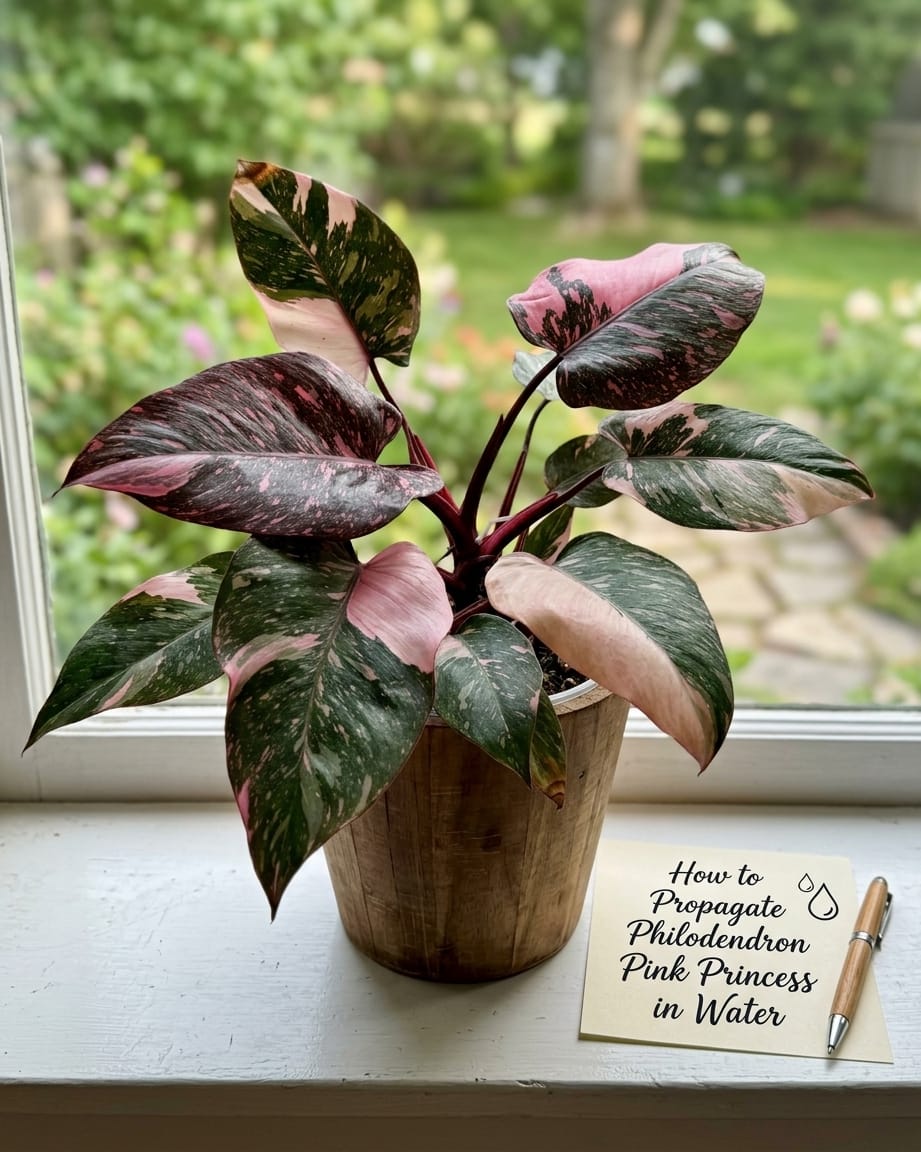
The Pink Princess is a chimeric plant. Specifically, it’s a somatic chimera.
That sounds complicated. But the idea is simple.
Two genetically different cell layers share one stem.
The outer layer (called L1) produces the anthocyanin pigments that give you pink color.
The inner layer (called L2) contains the chlorophyll-rich green tissue.
These two layers do not always replicate in the same ratio.
Every new cutting is a genetic gamble.
A peer-reviewed study published in Horticulturae confirms this directly.
Traditional PPP propagation carries a genuine “risk of unstable variegation” and is constrained by “slow multiplication rates.”
This is not a flaw in your technique.
It’s just biology.
Knowing this one fact up front will save you enormous frustration.
The Best Time to Take Cuttings
Spring and early summer are the sweet spot.
Warmth drives cell division at the node. That’s simply how plant physiology works.
I’ve rooted PPP in January. It took nearly double the time.
If you live somewhere cold, wait until late March or April.
Your patience will be rewarded with much faster root development.
Tools You Actually Need
Nothing fancy here. Here’s my real list:
- Sharp, sterile pruning shears (dull blades crush stem tissue and invite rot)
- A clear glass jar or cup (clear glass lets you watch roots without disturbing the cutting)
- Filtered or distilled water (more on this below — it matters a lot)
- Isopropyl alcohol (for sterilizing blades before cutting)
- Ground cinnamon (optional, but a useful natural antifungal for the fresh cut end)
- Rooting hormone powder with 0.1% IBA (optional, but it can shave a week off rooting time)
That’s the whole list.
You do not need a humidity tent for water propagation.
The water provides consistent moisture around the submerged node on its own.
Choosing Your Cutting: The Step That Decides Everything
Node selection is where most people go wrong.
Getting this right matters more than any other part of the process.
Look for Balanced Variegation
Pick a cutting where the leaf is roughly half pink and half green.
Do not cut from a section with a fully pink leaf.
Pink tissue cannot photosynthesize.
It produces zero energy for the cutting during the critical rooting phase.
A mostly-pink cutting is basically trying to grow roots while running on empty.
On the flip side, a solid green cutting will root fast.
But your new plant will almost certainly stay green.
The 50/50 balance gives you rooting energy AND the best chance of variegated new growth.
Look for Aerial Root Nubs at the Node
This is a detail most guides completely overlook.
If you see even a small white bump forming at a node, choose that node.
That tiny bump means the plant’s root-initiating cells are already active.
An aerial root nub at the node will dramatically speed up rooting in water.
I’ve placed two cuttings from the same mother plant side by side in identical jars.
The one with a visible aerial root nub consistently produced strong roots a full two weeks earlier.
This is not coincidence. It’s consistent.
Choose Mature Nodes Over Young Ones
Run your finger down the stem from the tip toward the base.
Younger nodes near the tip feel soft. Older nodes feel slightly firm and have thicker bark.
Juvenile nodes produce mostly green growth early on.
Mature nodes carry more stable L1/L2 tissue balance.
Go for a node that is two to three positions back from the growing tip.
That section of the stem has the most reliable tissue for producing variegated new growth.
How to Make the Cut Without Damaging the Node
Wipe your pruning shears with isopropyl alcohol before cutting.
Do this every single time. A contaminated blade can introduce bacteria that destroy root tissue before it forms.
Cut half an inch below the node. Never through the node itself.
Slicing through the node destroys the meristematic cells you need for root development.
The cutting becomes worthless if the node is damaged.
Remove any leaves that would fall below the water line.
Submerged leaves rot quickly. They release bacteria into the water.
That bacteria will attack the node before roots ever get a chance to appear.
One or two leaves above the water line is all you need.
Let the fresh cut end callous for two to four hours before placing it in water.
This step is easy to skip. Don’t skip it.
A thin protective layer forms over the wound. It slows bacterial entry and gives the stem time to start sealing before touching the water.
I used to ignore this step entirely in my early years. My cutting failure rate dropped noticeably once I started doing it.
Setting Up the Water Jar Correctly
Use a jar that holds the cutting upright without it tipping over.
The node must be fully submerged beneath the water surface.
The leaves and their petioles must stay completely dry and above the waterline.
Any leaf sitting in water will rot within days. That rot spreads fast.
Fill the jar so the node is covered but the stem only goes about two to three inches deep.
You do not need to submerge the entire lower stem.
Just keep the node in consistent contact with the water.
Why Tap Water Is a Problem (and What to Use Instead)
This issue slowed me down for nearly two full years before I figured it out.
Most US municipal tap water contains chlorine and, in many cities, fluoride.
These chemicals don’t kill a cutting instantly.
But they stress developing root tissue over weeks.
They also accelerate algae growth inside the jar, especially near a bright window.
Algae competes with the developing roots for dissolved oxygen in the water.
Research on plant tissue culture consistently shows that oxygen availability around the root zone is a critical factor in rooting success.
Use filtered or distilled water for PPP water propagation.
If you only have tap water available, pour it into an open container and let it sit overnight.
Chlorine off-gases in about 24 hours when exposed to open air.
Fluoride does not off-gas, so filtered is still a better long-term option.
Change the water every five to seven days. No exceptions.
Fresh water means fresh dissolved oxygen. Oxygen is exactly what the developing root cells are consuming.
Don’t wait for the water to turn green or cloudy. By then, the bacterial load is already working against you.
Light and Temperature During Water Propagation
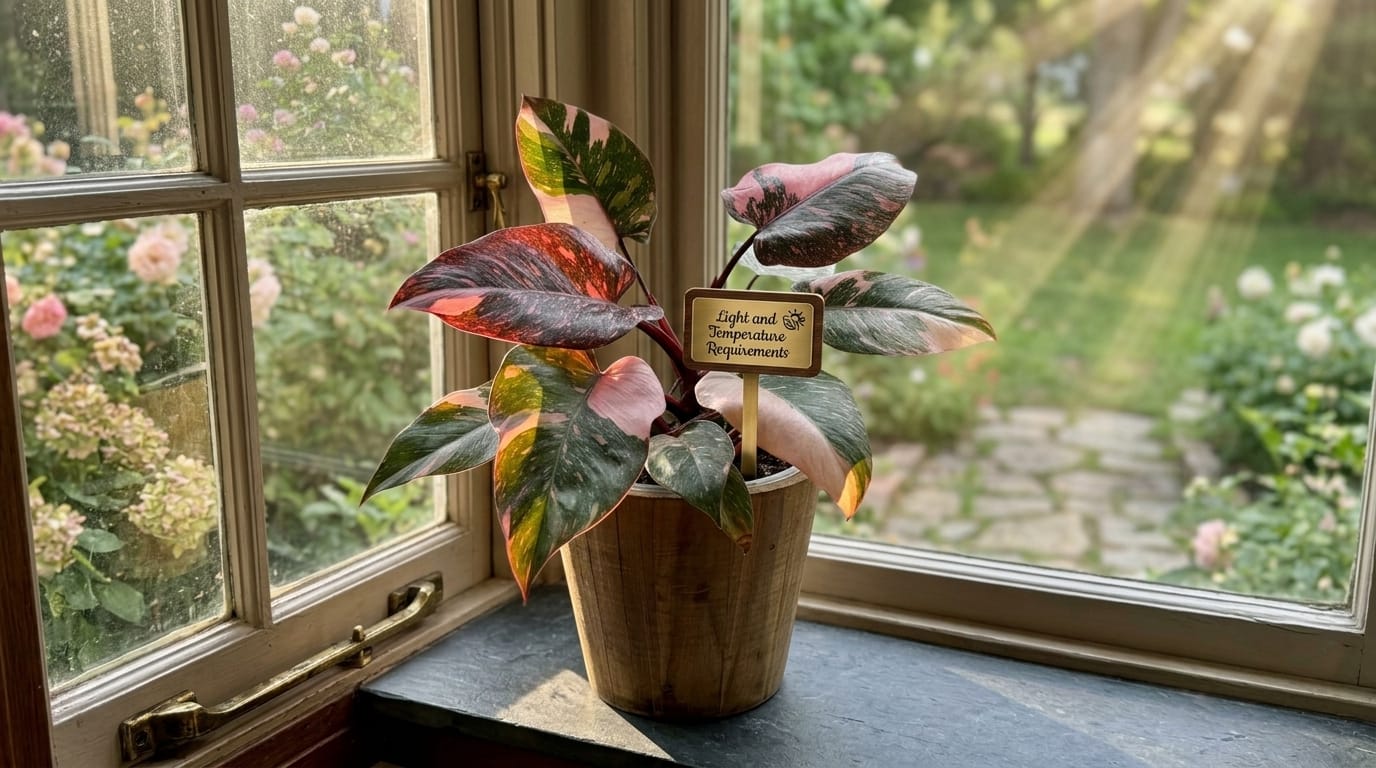
Place your cutting jar in a spot with bright, indirect light.
Not a dark shelf. Not a sunny south-facing windowsill with direct afternoon sun.
Here’s why direct sun is a real problem specifically for water propagation.
Direct afternoon sunlight warms the water inside the jar significantly.
Warmer water holds less dissolved oxygen. That oxygen drop directly slows root cell development.
I keep my PPP water cuttings on an east-facing window ledge in spring and summer.
Morning light is gentler. The water temperature stays stable through the afternoon.
In winter, I move them under a simple LED grow light on a 12-hour timer.
You do not need an expensive grow light. A basic LED bulb from a hardware store works fine.
Keep the room temperature between 68°F and 78°F.
Below 65°F and root development slows to a near standstill.
I once left a PPP cutting in my garage room during a cool March.
It sat there for ten weeks looking completely unchanged.
The moment I brought it inside to a warmer shelf, roots appeared within twelve days.
Temperature is not optional. It’s a primary driver of rooting speed.
A Realistic Week-by-Week Timeline
Most guides give vague timelines. Here’s what I actually observe:
Weeks 1 to 2: Nothing visible. The stem is forming a callous and acclimating to the water environment. This is normal.
Weeks 2 to 3: Tiny white bumps appear at the node. These are root primordia. They are the starting point.
Weeks 3 to 5: Small white roots extend from those bumps into the water. This is the moment you’ve been waiting for.
Weeks 5 to 8: Roots reach one to two inches in length. The cutting is actively taking up water and stabilizing.
If you’re in week 7 and still see zero root development, check these three things right away.
First: Is the node actually submerged? Sometimes cuttings shift and the node ends up above the waterline.
Second: What is your water temperature? Cold water is the most common reason for stalled cuttings.
Third: Is there rot at the cut end? Gently squeeze the stem near the cut.
Soft, mushy, dark tissue means rot has set in. Trim back to clean white tissue and restart in fresh water.
Transitioning from Water to Soil
This transition kills more successfully rooted PPP cuttings than any other step.
It’s also the step most guides handle with the least detail.
Water roots and soil roots are structurally different tissues.
Water roots are smooth, thin, and adapted to pull moisture from liquid.
They are not built to push through heavy soil particles immediately.
Wait until your roots are at least two to three inches long before potting up.
Longer roots mean more surface area. More surface area speeds up the soil adjustment.
I waited until my roots were three inches last time. The plant barely skipped a beat after transplanting.
The Soil Mix Matters
Do not use regular bagged potting soil straight out of the bag for this transfer.
Standard potting soil is too dense for freshly adapted water roots.
It retains too much moisture and provides too little airflow.
My current mix for PPP soil transfer: roughly one part potting soil, one part perlite, one part orchid bark.
This chunky mix is airy. Water drains quickly. Roots can breathe.
If you want a deeper look at aroid soil mixes, check out my guide on Philodendron Melanochrysum care indoors. That plant has similar soil needs.
Post-Transfer Care
Cover the newly potted cutting loosely with a clear plastic bag for the first seven days.
This keeps humidity elevated around the foliage while the roots adjust.
Vent the bag for a few minutes every day to prevent mold.
Do not fertilize for the first four to six weeks after the soil transfer.
Water roots transitioning to soil are fragile at the connection points.
Even a diluted dose of fertilizer can chemically burn those delicate new root tips.
Wait until you see new leaf growth emerging before you add any nutrients.
New growth is the sign that the root system has successfully adapted to the soil environment.
Keeping Variegation Stable After Propagation
This is the section most water propagation guides skip entirely.
It’s arguably the most important section for anyone who spent real money on a variegated cutting.
More Light Does Not Create More Pink
This is one of the most persistent myths in the PPP community.
Pink variegation is caused by chlorophyll-deficient cells. Light does not manufacture more of those cells.
What consistent bright light actually does is prevent the plant from generating extra green tissue to compensate for energy loss.
Bright, indirect light is the goal. Not dim. Not scorching direct sun.
Watch for Reversion in New Leaves
If the first two or three leaves after potting emerge solid green, do not panic.
But do act quickly.
Reversion in a freshly propagated cutting usually means one of three things.
The node was too juvenile. The temperature dropped sharply during rooting. Or the variegation in the original cutting was already unstable.
When you see solid green new growth, prune back to the last node that showed visible pink marbling on the leaf.
Cut just above that node. New growth from that point has a better chance of carrying variegation forward.
Pruning back does not guarantee pink on the next leaf. But it gives the plant its best shot.
The Half-Moon Cutting Warning
A half-moon cutting looks spectacular. One side of the leaf is solid pink. The other is solid green.
These cuttings are beautiful in the jar. They’re also the most unstable to propagate.
The solid pink half cannot photosynthesize at all. The cutting roots slowly and can revert quickly after potting.
A cutting with speckled or sectored variegation (pink mixed throughout the leaf, not separated into clean halves) is more reliable.
Soltech’s propagation guide aligns with this observation, noting that cuttings with a healthy balance of pink and green tend to produce the most stable variegation in new growth.
A Mistake That Cost Me a Beautiful Cutting
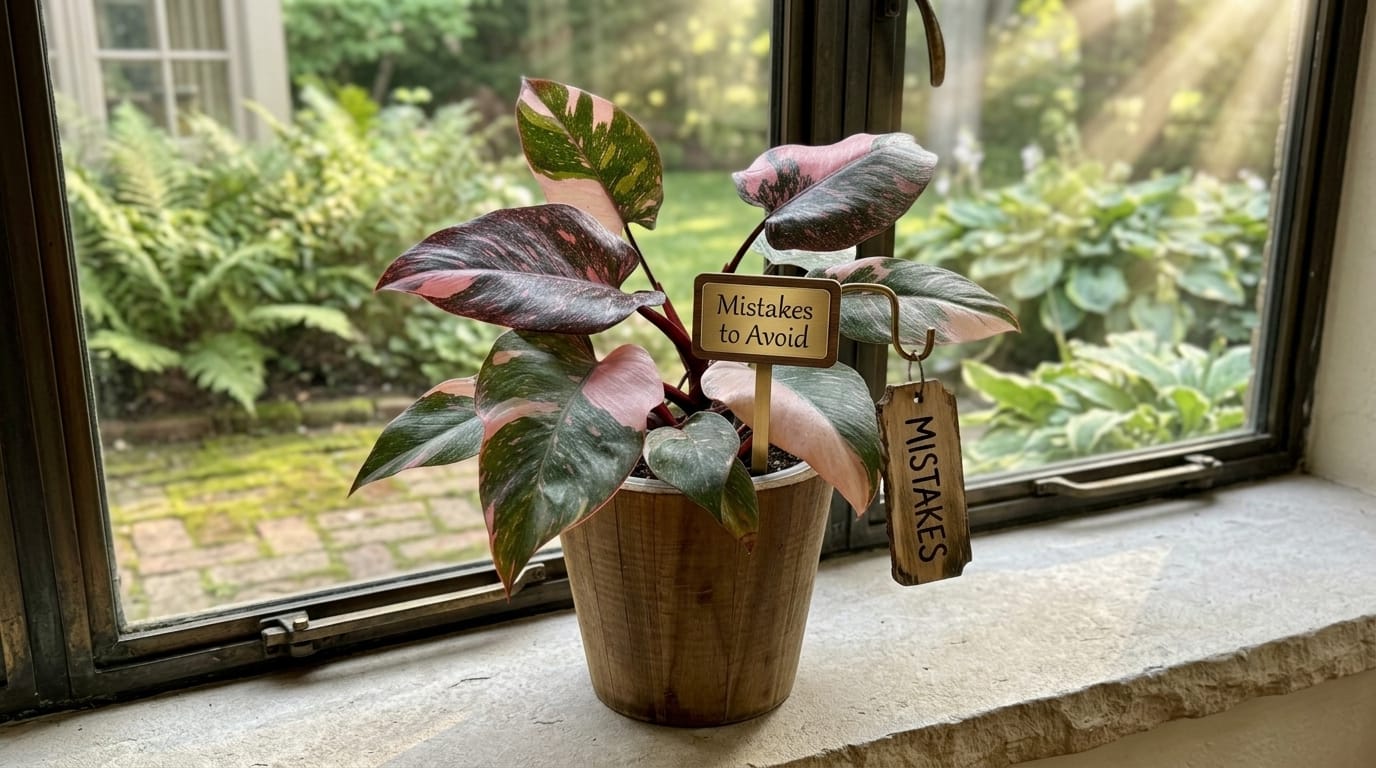
In my third year of collecting, I successfully rooted a genuinely stunning PPP cutting.
It had a half-moon leaf. Half solid pink. Half solid green.
I was thrilled. I potted it up quickly, with roots barely over an inch long.
I used regular potting soil from a bag. Dense. Heavy. Moisture-retaining.
Within three weeks, the root system had collapsed completely.
The cutting fell over. It was gone.
I lost two months of patient water propagation in one bad potting decision.
That experience changed how I handle every transition from water to soil.
The water propagation is only half the journey. The soil transition is where you win or lose the plant.
Should You Use Rooting Hormone in the Water?
Short answer: no, not directly in the water.
Liquid rooting hormone dissolved in water does more harm than good for PPP.
It promotes bacterial growth in the jar over time.
If you want to use rooting hormone, dust a small amount of powder on the callused cut end before placing it in the water.
The powder slightly accelerates root initiation at the node without polluting the water.
I use it occasionally. I would not call it essential. But it does take the edge off long waiting periods.
FAQ
Can a Pink Princess live permanently in water?
Yes, technically it can.
But it grows slower in long-term water culture and becomes more vulnerable to bacterial rot over time.
Soil gives the root system the mineral nutrition and structural support it needs to truly thrive.
My node has been in water for nine weeks. Still no roots. What now?
First, check the water temperature. If it’s consistently below 65°F, that is almost certainly your answer.
Second, inspect the node closely. Firm and green means alive and slow. Soft or brown means rot.
If the node is firm but rootless, move the jar somewhere warmer and increase the light.
Give it two more weeks. Warmth alone has rescued many of my stalled cuttings.
Can I use a dark jar to prevent algae?
Yes. A dark jar significantly reduces algae growth.
The tradeoff is that you can’t see the roots developing without lifting the cutting out.
For PPP, where root development is slow and you want to check progress without disturbing the cutting, clear glass is my preference.
Just change the water more frequently when algae starts to appear.
How do I know the cutting is healthy during the wait?
Look at the leaves. Healthy leaves stay firm and hold their color.
Yellowing or drooping leaves can mean the cut end is rotting, the water is too warm, or the light is too low.
Also look at the water. If it smells bad or turns dark, change it immediately and inspect the cut end.
Final Thoughts
The Philodendron Pink Princess is one of the most rewarding plants I’ve propagated in eight years.
It’s also one of the most humbling.
There will be weeks where the cutting looks identical to day one. That is not failure.
The plant is doing invisible work beneath the waterline.
Your only job during that period is to stay consistent.
Change the water on schedule. Keep the temperature stable. Give it good indirect light.
When that first white root tip finally appears at the node, you’ll understand why PPP collectors get so passionate about this plant.
For more methods and species-specific propagation details, browse my full propagation guides section.
Once your cutting is established and you’re ready to level up the care routine, my guide on Philodendron Micans is a great next read. PPP and Micans share enough overlap in care preferences that the knowledge transfers directly.
Trust the process. Change the water. Don’t rush the soil.