Philodendron Water Propagation vs Soil: What 8 Years and 500 Plants Taught Me

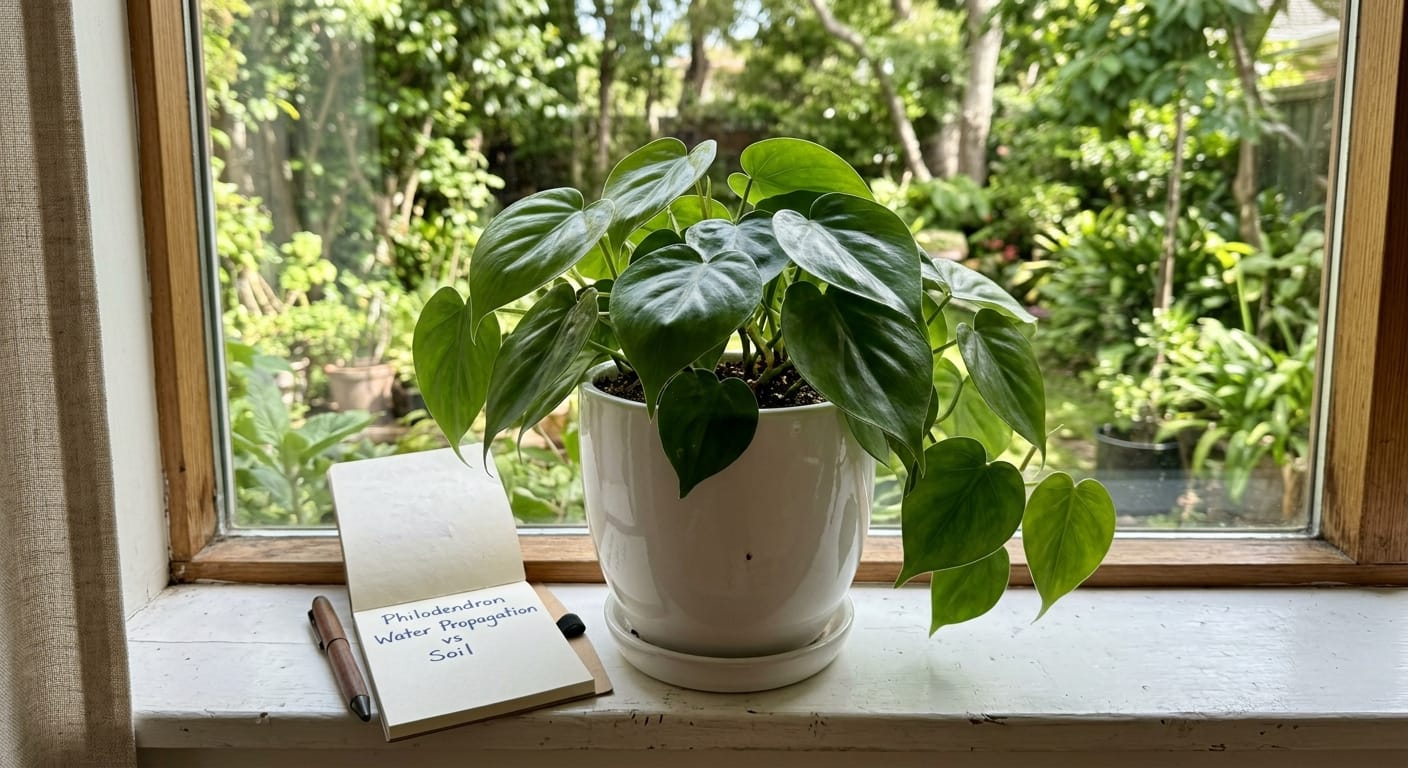
I still remember my very first propagation attempt.
It was a heartleaf cutting sitting in a glass jar on my windowsill.
I had absolutely no idea what I was doing.
Eight years and 500+ philodendrons later, I now propagate plants every single week.
And the question I get asked most is always the same.
Should I root my philodendron cutting in water or directly in soil?
Both methods work. But they do not work the same way.
And depending on your plant, your home, and your goals, one will clearly win.
This guide covers everything from root biology to real failure stories from my own collection.
Why Most People Get This Wrong
Most online guides treat water and soil propagation like simple personal preference.
They say: “Pick whichever you like!”
That is incomplete advice. And it costs people plants.
The truth is that water roots and soil roots are physically different structures.
They behave differently. They even look different under a magnifying glass.
Understanding that one fact changes how you approach every single cutting you take.
What Actually Happens at a Philodendron Node
Before comparing methods, let’s talk about what a node actually does.
A node is the bump on the stem where a leaf grows out.
It is also the only spot on a philodendron stem that can produce new roots.
You cannot root a cutting without including at least one healthy node.
Cut below the node. That is the rule. No node means no roots, ever.
Both water and soil methods stimulate that same node point.
But the environment around it changes how the root structure forms.
This difference is the entire reason this debate exists.
Water Propagation: What Really Happens
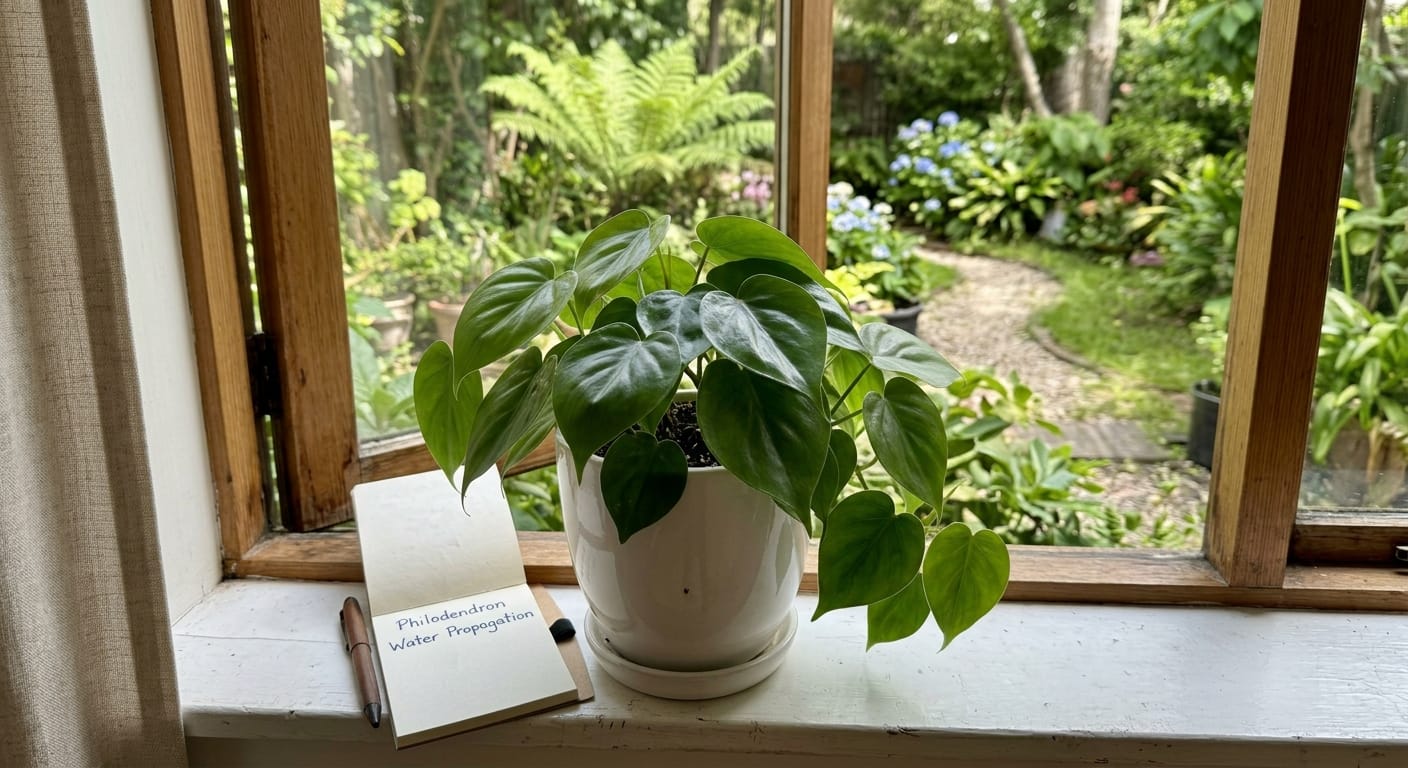
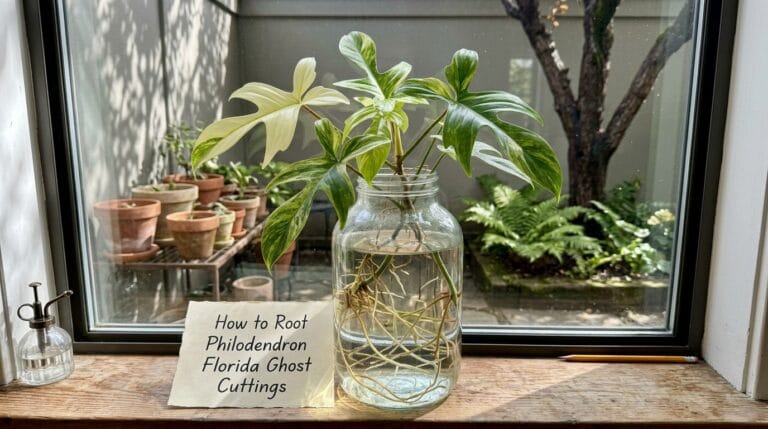
When you drop a cutting into water, the node responds to constant moisture.
It sends out roots that are thin, pale, and almost hair-like.
These are sometimes called water roots or hydroponic roots.
They are built to pull dissolved oxygen directly out of the water.
These hair-like water roots are adapted specifically for absorbing dissolved oxygen from an aqueous environment.
They grow fast. Very fast.
Philodendron cuttings in water typically show visible roots within 14 to 28 days.
That speed is the biggest appeal of water propagation.
You can literally watch the roots appear and grow longer every few days.
For a first-time propagator, that visual feedback is incredibly satisfying and reassuring.
Pros of Water Propagation
- You see root development in real time.
- You can catch rotting nodes immediately.
- No soil is needed, making it great for small spaces.
- Beginners feel confident because progress is visible.
Cons of Water Propagation
- Water roots are structurally different from soil roots.
- Moving roots from water to soil can cause transplant shock.
- Water goes stagnant fast if you forget to change it.
- Bacterial buildup can kill a cutting that looked perfectly healthy.
Cuttings moved from water to soil may suffer or go into shock during the transition.
This is a real problem that most guides underplay.
Soil Propagation: What Really Happens
When you plant a cutting directly into moist soil, the node environment is different.
The roots that form are thicker, stronger, and built for navigating solid particles.
Scientific research shows that plants grown in soil develop significantly higher suberin and lignin content in their roots compared to those grown in water.
Suberin is the waxy coating that protects roots from drying out and disease.
In simple terms: soil roots are tougher from the very beginning.
They do not need to go through a painful conversion process later.
That means when you pot a soil-rooted cutting into a bigger container, it adjusts much more easily.
Pros of Soil Propagation
- Roots develop the correct structure from the start.
- No transplant shock when moving to a permanent pot.
- Faster long-term establishment in its final container.
- Less risk of bacterial rot in the rooting medium.
Cons of Soil Propagation
- You cannot see the roots without disturbing the cutting.
- It is easy to accidentally overwater and cause rot.
- Roots take 4 to 6 weeks before they show any signs of growth.
- Beginners often pull the cutting out too early to check on it.
The Survival Rate Difference Nobody Talks About
Here is a stat that completely changed how I think about this decision.
Water-propagated cuttings show a 77% survival rate at 8 weeks after transplanting to soil. Soil-propagated cuttings show a 94% survival rate at the same point.
Read that again.
Water propagation gives you a 17-percentage-point disadvantage at the finish line.
You see roots faster. But you lose more plants in the long run.
For cheap common varieties, that tradeoff might be fine.
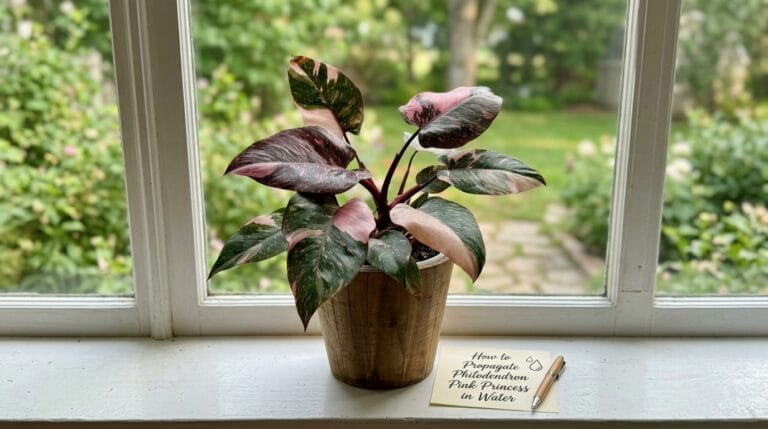
For a rare plant like a Philodendron Pink Princess or a Ring of Fire, that 17% loss is heartbreaking.
I learned this the expensive way back in 2021.
My Personal Experience: Two Plants, Two Very Different Results
I want to tell you about two propagation attempts I did in the same week.
Cutting #1: A basic Philodendron Brasil.
I dropped it in water and watched it push out long roots in 18 days.
When I moved it to soil, it dropped every single leaf within two weeks.
It looked completely dead.
Thankfully, it recovered after another three weeks. But it was a stressful month.
You can read more about the Brasil specifically in my guide on propagating Philodendron Brasil in soil.
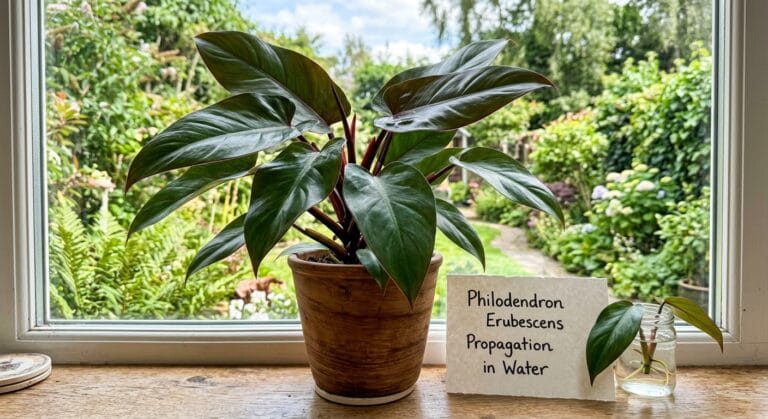
Cutting #2: A Philodendron Erubescens node I planted directly into chunky soil.
I saw zero signs of life for five full weeks.
I thought I had failed completely.
Then in week six, a tiny new leaf started to push up from the node.
Four months later, it was a full, thriving plant with zero transplant stress.
The patience required for soil propagation is real. But so is the reward.
Which Philodendron Types Do Better in Water?
Not all philodendrons respond the same way to water propagation.
Trailing, vining types generally handle water propagation better than upright self-heading types.
Trailing types of philodendron propagate easily from stem cuttings, with 3-to-6-inch sections readily rooting in water or well-draining rooting media.
Good candidates for water propagation include:
- Heartleaf Philodendron (Hederaceum): probably the easiest water propagation you will ever do.
- Philodendron Brasil: works well but watch for the transition shock I described above.
- Philodendron Micans: roots fast in water and handles the soil transition reasonably well. See my full Micans care guide for context.
- Philodendron Scandens: a fast rooter in water, very forgiving.
Upright, self-heading types like the Philodendron Prince of Orange are better started in soil.
That was the very first philodendron I ever owned. My mother-in-law gave me one back in April 2018.
I tried water propagating an offset from it in my second year. It did not go well.
The roots formed but the transition to soil was brutal.
I now always start upright varieties directly in a chunky, well-aerated soil mix.
For the Gloriosum specifically, the method is even more specific. I covered it in depth in my Gloriosum rhizome propagation guide.
How to Propagate Philodendron in Water (Step-by-Step)
If you decide water is the right method for your cutting, do it properly.
Sloppy water propagation is how you lose cuttings to bacterial rot.
What You Need
- A clean glass or clear jar
- Sharp, sterilized scissors or pruning shears
- Filtered or distilled water (tap water with chlorine can stress the cutting)
- Optional: a small piece of activated charcoal to keep the water clean
Steps
Step 1: Take the cutting correctly. Cut a stem section that is 4 to 6 inches long.
Make sure it has at least one node, ideally two.
Each node on a stem can function as a cutting when it contains a leaf blade, petiole, and a short piece of stem with an attached axillary bud.
Step 2: Remove lower leaves. Any leaves that would sit underwater will rot.
Rotting leaves create bacterial buildup that kills the cutting from below.
Strip them off completely before placing the cutting in water.
Step 3: Place the node in water. Submerge only the node and stem section.
The leaves must stay completely above the waterline.
Step 4: Find the right spot. Bright, indirect light is ideal.
Avoid direct sun, which heats the water and encourages bacterial growth.
A spot about 3 feet from a bright window works perfectly in most US homes.
Step 5: Change the water regularly. This is the step most people skip.
Change the water every 5 to 7 days without exception.
Stagnant water rapidly depletes oxygen and fills with bacteria.
If the water turns murky before the week is up, change it immediately.
Step 6: Transition to soil at the right time. Do not rush this. Wait until roots are at least 2 to 3 inches long.
Transferring too early is one of the top causes of transplant shock.
When you do move the cutting, use an airy mix with perlite and orchid bark.
Water it gently right after potting and keep the humidity up for the first two weeks.
How to Propagate Philodendron in Soil (Step-by-Step)
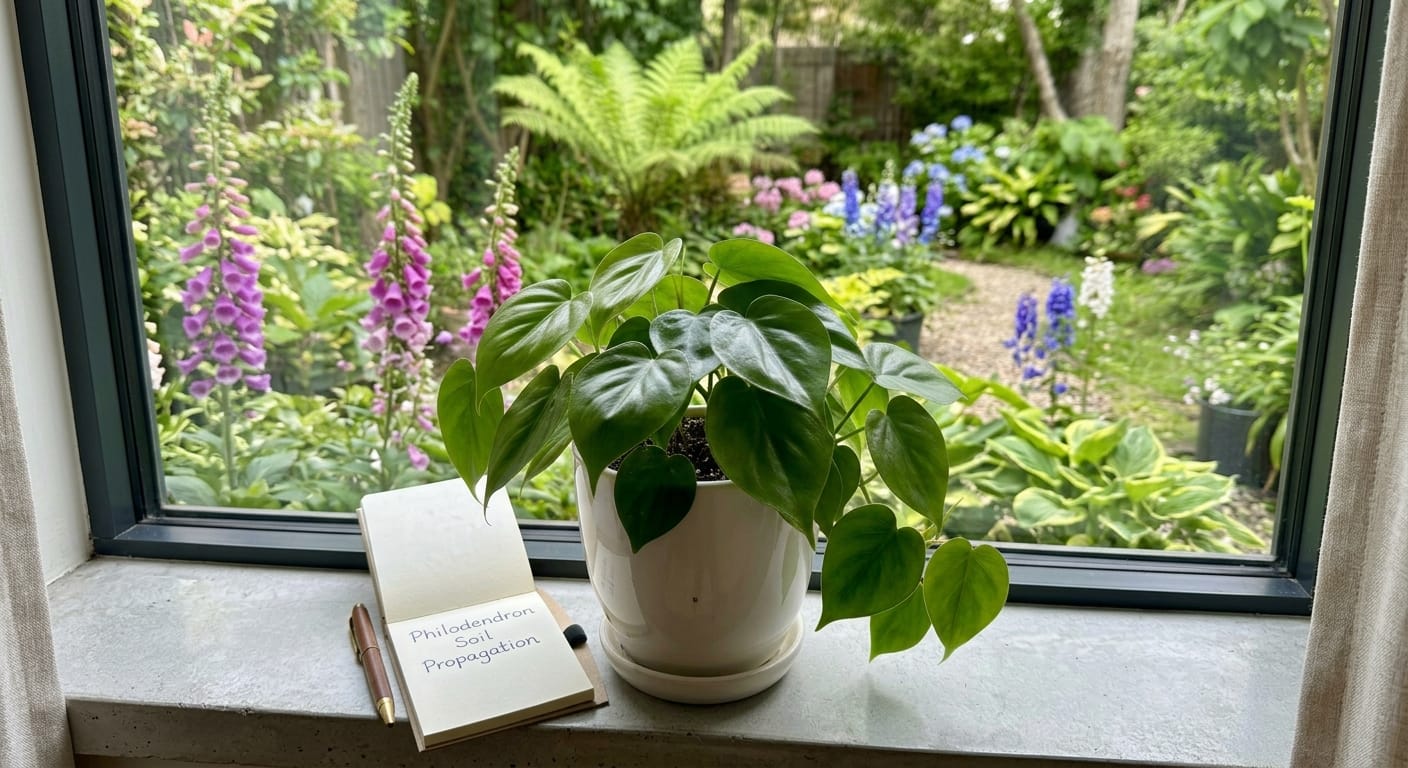
Soil propagation requires more patience but delivers a stronger plant.
This is the method I now use for most of my rare and valuable cuttings.
I also used it successfully with my Philodendron Pedatum.
What You Need
- A small pot with drainage holes
- A chunky, airy propagation mix: I use 60% perlite and 40% coconut coir
- Sharp, sterilized scissors or pruning shears
- Optional: rooting hormone powder or gel
Steps
Step 1: Prepare your cutting. Same rule as water propagation. You need at least one healthy node.
Stem sections that contain aerial roots tend to root more reliably in soil.
If your cutting already has a small aerial root nub on the node, that is your best candidate.
Step 2: Let the cut end callous. Set the cut end aside in the open air for 30 to 60 minutes.
This lets the wound dry slightly before contact with moist soil.
A callused cut resists bacterial rot much better than a fresh, wet cut.
Step 3: Apply rooting hormone (optional but recommended). Dip the cut end in powdered rooting hormone.
Tap off the excess. You want a light dusting, not a thick clump.
Rooting hormone contains auxin, which is the plant hormone that triggers root cell production.
It speeds things up noticeably, especially on slower-rooting species.
Step 4: Plant the node in the mix. Push the cutting in deep enough so the node is buried in the medium.
The node must have direct contact with the moist propagation mix.
Firm the mix gently around the stem to hold the cutting upright.
Step 5: Cover to trap humidity. Place a clear plastic bag or a humidity dome loosely over the pot.
This creates a mini greenhouse effect around the cutting.
High humidity around the leaves reduces water loss while the cutting has no roots to absorb moisture.
Step 6: Wait without disturbing. This is genuinely the hardest part of soil propagation.
Resist the urge to tug on the cutting to check for roots.
A light tug after 5 to 6 weeks will give you gentle resistance if roots have formed.
Resistance equals roots. No resistance means it needs more time.
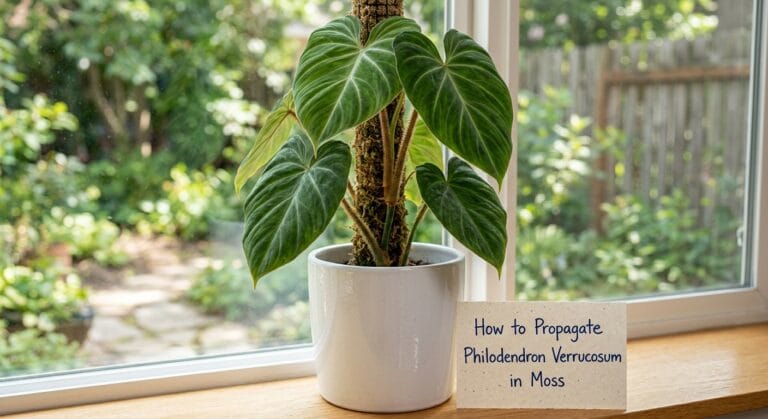
The Sphagnum Moss Option: A Middle Ground
There is actually a third option that I have been using more and more lately.
Sphagnum moss sits beautifully between water and soil in terms of moisture and aeration.
It holds enough moisture to encourage fast rooting like water does.
But it creates an aerial-feeling environment that encourages thicker, tougher roots.
I covered this method in full detail in my Philodendron Gigas sphagnum moss propagation guide.
The roots that form in moist sphagnum moss transition to soil much more easily than water roots do.
For rare or expensive cuttings, sphagnum moss is now my go-to method.
Common Mistakes That Kill Cuttings in Both Methods
In Water:
Using tap water without letting it sit: Chlorine in tap water can irritate the cut node. Let tap water sit uncovered for 24 hours before use, or use filtered water.
Not changing the water: This is the number one killer. Stagnant water = dead cutting.
Moving to soil too early: Wait for roots that are at least 2 to 3 inches long before transplanting.
Skipping the humidity boost after transplanting: The cutting needs a few weeks of extra humidity while its water roots convert to soil roots.
In Soil:
Using heavy, water-retaining potting soil: Standard potting mix holds too much moisture for a rootless cutting. Use perlite-heavy mixes instead.
Overwatering before roots form: The cutting has no roots to absorb water. Soggy soil at this stage causes stem rot at the node.
Placing in direct sun: Direct sun wilts a rootless cutting within hours. Stick to bright, indirect light only.
Pulling on the cutting to check progress: This breaks the tiny new roots that are just forming. Be patient.
Philodendron Water Propagation vs Soil: Which Method Should You Actually Use?
Here is my honest, straightforward breakdown after eight years of doing this.
Choose water propagation when:
- You are a beginner who needs visual confirmation of progress.
- You are propagating a common, affordable vining variety like Heartleaf or Brasil.
- You want to check that a node is viable before committing it to soil.
- You enjoy the aesthetic of rooting jars on a windowsill (I do not judge, I love it too).
Choose soil propagation when:
- You are propagating a rare or expensive variety where losing it is not an option.
- You are working with upright, self-heading types that struggle with water-to-soil transition.
- You want the cutting to establish faster after potting into its permanent home.
- You have done water propagation before and you know the transition shock risks.
Choose sphagnum moss when:
- You want faster root development than soil but tougher roots than water.
- You are propagating a velvet-leaved species that prefers higher humidity anyway.
- You have a rare node-only cutting and you need every advantage possible.
There is no single universal winner here.
The right method depends entirely on the variety, your experience level, and what you value more: speed or long-term survival.
A Note on Node Quality
Whatever method you choose, your cutting’s success depends on one thing above everything else.
The quality of the node you start with.
A healthy node comes from a healthy, actively growing mother plant.
Do not take cuttings from a stressed, overwatered, or pest-damaged plant.
The cutting will carry that stress into propagation and fail faster than a healthy one.
I only take cuttings after I have given the mother plant a thorough watering.
A fully hydrated stem roots noticeably faster than a dry, stressed one.
This one habit has improved my propagation success rate more than any other single change.
Frequently Asked Questions
How long does philodendron water propagation take? Most philodendron cuttings show roots in water within 14 to 28 days. Warmth and indirect light speed the process up considerably.
Can I leave my philodendron in water permanently? Some people do keep philodendrons in water long-term. The plant survives but you must fertilize the water with a very diluted liquid fertilizer, since plain water contains no nutrients.
Why did my philodendron cutting rot in water? Bacterial buildup is almost always the cause. Change the water every 5 to 7 days. Remove any mushy or discolored stem tissue immediately with a sterile knife.
Why won’t my philodendron root in soil? Check these three things: the node is in direct contact with the medium, the soil mix is airy enough (not dense potting soil), and humidity around the cutting is high enough.
Does rooting hormone actually work for philodendrons? Yes, but not dramatically for easy-rooting varieties like Heartleaf or Brasil. For slower species or node-only cuttings, rooting hormone makes a noticeable difference in speed.
What is the best soil mix for philodendron propagation? I use 60% perlite and 40% coconut coir. It holds just enough moisture without staying soggy, and the aeration encourages healthy root formation from the start.
Resources I Trust
For deeper reading on the science behind plant propagation, these are the resources I actually use:
- Iowa State University Extension: How to Propagate Philodendron covers the basics with solid, reliable horticultural guidance.
- NC State Extension Gardener Handbook: Chapter 13 on Propagation is the most thorough free propagation resource I have found online.
- Peer-reviewed research on root morphology differences between soil and hydroponic growth media explains the science behind why water roots and soil roots are fundamentally different structures.
Final Thoughts
I still propagate plants in water sometimes.
There is something genuinely fun about watching roots develop in a clear glass jar.
But for anything rare, anything expensive, or anything I truly care about, soil wins every time.
The patience required for soil propagation used to drive me crazy.
Now I think of those quiet weeks of waiting as trust.
You are trusting the plant to do what it has been doing for millions of years.
It almost always comes through.
If you want to see species-specific propagation methods, check out the full Propagation Guides section on the blog.
Every guide there is based on what I have personally done with my own collection.
Not what I read. Not what I was told. What I actually did, including the failures.
Good luck with your cuttings. Feel free to reach out through the contact page if you have a specific plant situation you are stuck on.