How to Propagate Philodendron Gigas in Sphagnum Moss (Step-by-Step)

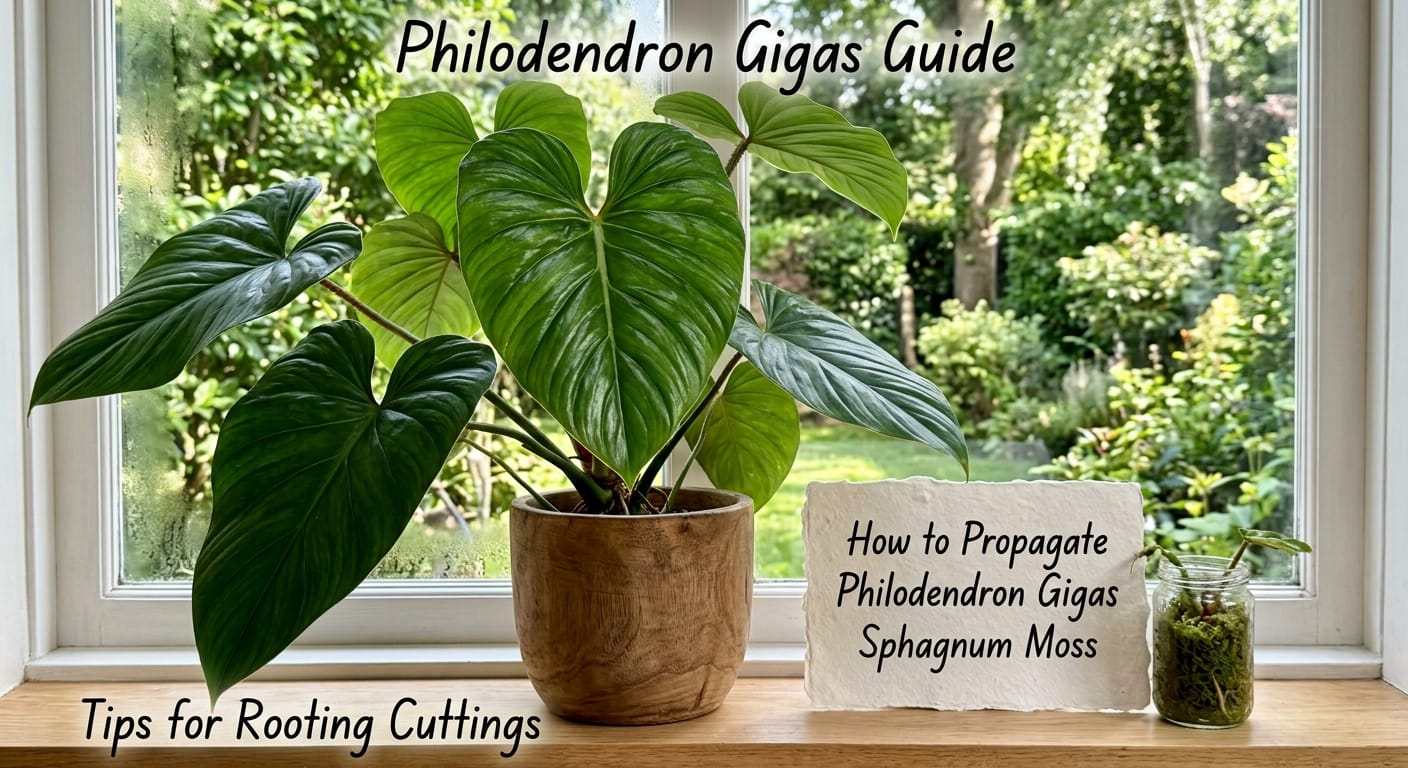
I got my first gigas cutting in 2020. It was not cheap, and I knew before I even opened the shipping box that losing it would be a genuinely painful outcome.
The leaves on a mature gigas are massive and velvety in a way that photographs do not fully capture — they feel like soft fabric and can grow to sizes that draw double-takes from anyone who walks past the plant.
My first instinct was water propagation, which is what I used for most climbers at the time. It technically worked, but the roots that developed were thin and poorly adapted to the soil transition.
When I moved the cutting to a mix, those roots struggled badly. The second time around I used sphagnum moss.
The roots came out thicker and far more robust, and the transition to soil was noticeably smoother.
That difference pushed me to understand why moss outperforms water for this specific plant — and the answer is rooted in how gigas actually grows in the wild.
Everything that follows comes from that foundation.
What Makes Philodendron Gigas Different From Other Philodendrons
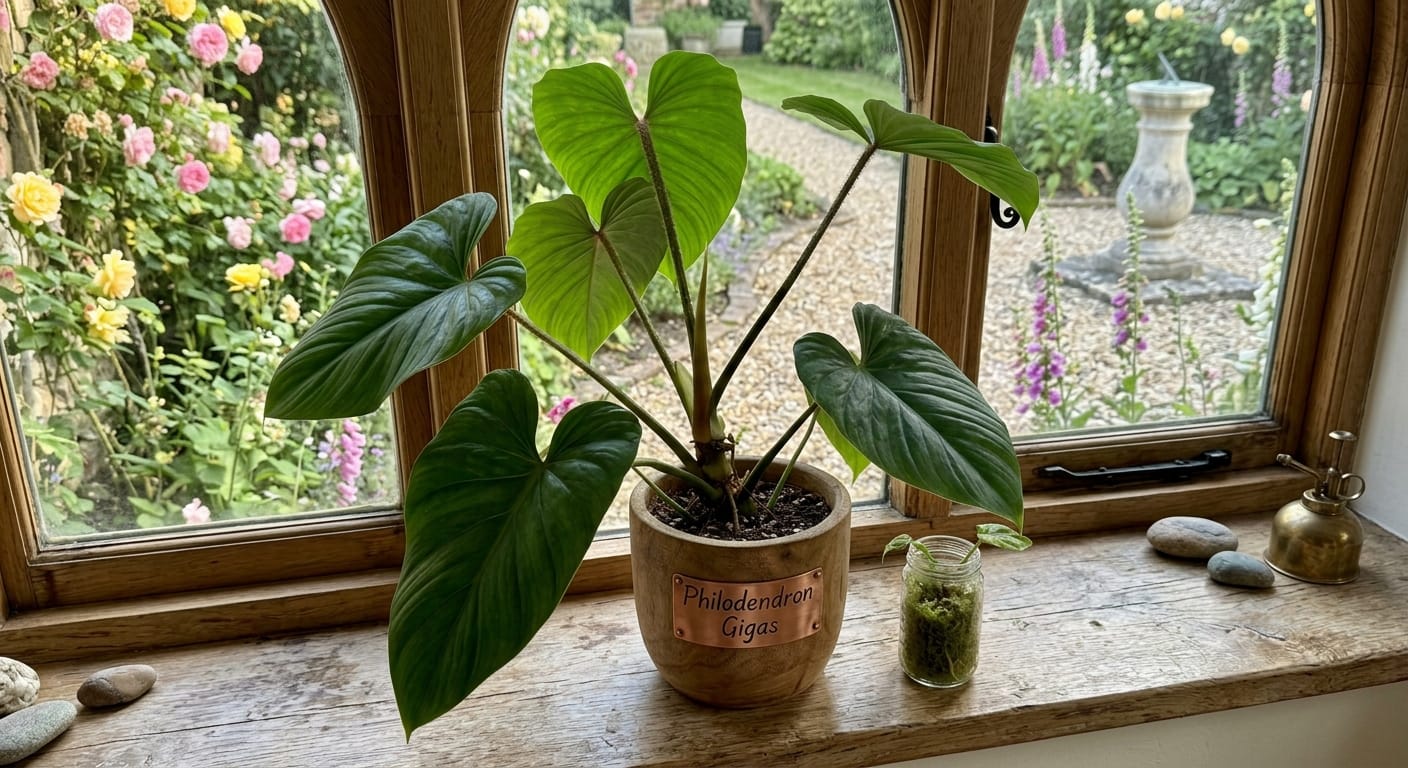
Before you pick up a pair of scissors, you need to understand this plant.
Philodendron gigas is native to Panama. Specifically, it grows along the El Llano-Cartí road.
It is found in humid foothill rainforest at elevations of 300 to 375 meters.
In the wild, it climbs enormous trees in the tropical forest canopy.
Its roots grip onto rough tree bark. They breathe open air around them at all times.
They never sit in heavy, waterlogged soil. That’s just not how gigas evolved.
This is the single most important fact you need to know before you propagate.
The roots of this plant need oxygen just as much as they need moisture.
That is exactly why sphagnum moss outperforms every other propagation medium for gigas.
Moss holds water consistently AND lets air reach the developing roots simultaneously.
Heavy potting soil physically cannot do both of those things at the same time.
Understanding this helps you make every decision in the propagation process correctly.
Why Sphagnum Moss Works Better Than Soil or Water
I have personally tried water, potting soil, LECA, and sphagnum moss for this plant.
Moss wins every single time. And there is real science that explains why.
Sphagnum moss contains natural polysaccharides in its fibrous cell walls.
A peer-reviewed study published in PLOS ONE confirms these compounds carry genuine antimicrobial and antifungal properties.
This matters enormously when you are working with fresh, unprotected cuttings.
Root rot is the number one killer during propagation. Moss actively suppresses the bacteria that cause it.
Second, sphagnum moss holds up to 20 times its own weight in water.
But its structure stays loose and fibrous. It does not compact down like potting mix.
That airy texture is critical. It keeps oxygen circulating around the new roots as they form.
Third, sphagnum is slightly acidic, sitting around a pH of 4.0 to 5.0.
Most aroids, including philodendron gigas, actually prefer that slightly acidic root environment.
These three properties working together create an ideal rooting zone for this specific plant.
Water propagation produces roots too, but they are adapted for a watery environment.
When you then move those water roots into soil, they often struggle to adjust.
Moss roots are already grown in a medium that mimics soil conditions. The transition is far smoother.
What You Need Before You Start
Gather all your materials before making a single cut. Never scramble mid-process on a rare plant.
Here is the complete list of what I use:
Long-fiber sphagnum moss: New Zealand or Chilean grade is the best quality available.
Perlite (optional but recommended): I mix 70% sphagnum with 30% perlite for better drainage.
Clean, sharp scissors or pruning shears: Dull blades crush stem tissue. That severely slows rooting.
Isopropyl alcohol (70%): Use this to sterilize your cutting tool before every single cut you make.
A small nursery pot or propagation box: Something with drainage holes at the bottom.
Clear plastic wrap or a large ziplock bag: This creates your humidity tent during the rooting phase.
Rooting hormone powder (optional): Gigas roots without it, but it measurably speeds the process.
Spray bottle filled with clean water: You will use this to maintain moss moisture throughout rooting.
Having everything ready saves you from rushing, which is when most propagation mistakes happen.
How to Pick the Right Cutting
This is where most beginners go wrong, and it costs them the whole cutting.
Philodendron gigas cannot root from a leaf cutting alone. This is a hard rule.
A leaf with no node attached to the stem is just a decorative piece of the plant.
It will not produce roots. It will not produce new growth. It will simply die.
You need a stem cutting that includes at least one visible node.
A node is the slightly raised, bumpy joint on the stem, usually found opposite a leaf petiole.
Every new root and new leaf on a philodendron grows from a node. Not from anywhere else.
Look for a stem section with one to two healthy, fully formed leaves attached.
The stem itself should feel firm and solid, colored green or dark brown.
Avoid any cutting from a stem section that feels soft, mushy, or smells off.
Those are warning signs of bacterial infection or rot already progressing inside the tissue.
Also look specifically for aerial roots near the node you plan to cut below.
Aerial roots are the brownish, string-like growths that stick out from the stem naturally.
A node that already has an aerial root attached will root significantly faster in moss.
Those aerial roots are already designed and adapted to absorb moisture from the air directly.
When you bury them in damp sphagnum moss, they respond very quickly by producing more roots.
If you are newer to philodendron propagation, my full collection of propagation guides covers identifying nodes and other key propagation concepts across multiple species.
Step-by-Step: Propagating Philodendron Gigas in Sphagnum Moss
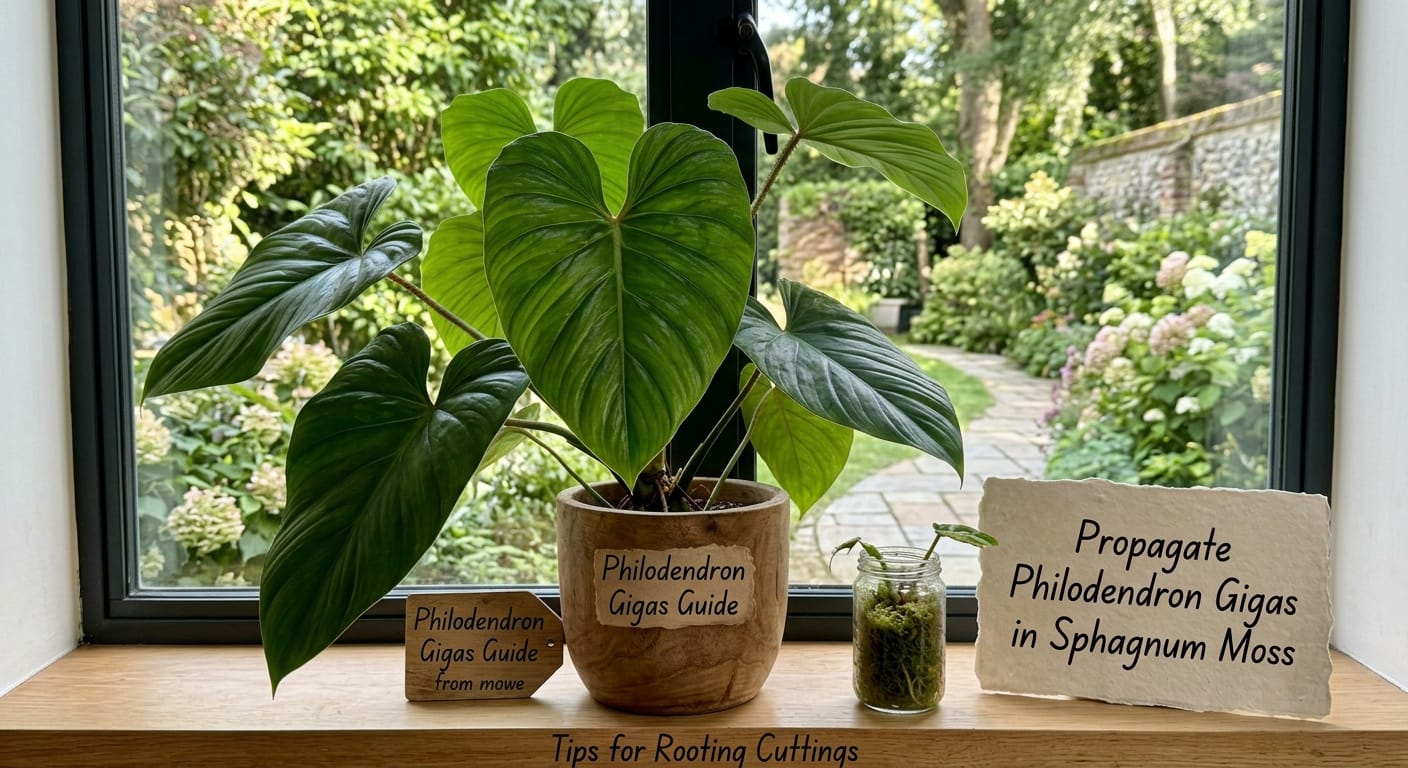
Step 1: Prepare Your Sphagnum Moss
Start by placing your dry sphagnum moss in a bowl of clean, room-temperature water.
Let it soak fully for about 10 minutes. The moss will expand and absorb the water.
After soaking, pull it out and squeeze it firmly in your hands.
You want the moss to feel damp, not dripping. It should be like a wrung-out sponge.
Squeeze it until no water runs freely from it when you press hard.
If it still drips easily with gentle pressure, it is still too wet for use.
Overly wet moss is the single most common cause of stem rot during propagation.
If you are adding perlite, mix them together now until the blend looks even throughout.
Set the prepared moss mixture aside in a clean bowl. You are ready for the next step.
Step 2: Take the Cutting
Wipe your scissors or shears thoroughly with isopropyl alcohol.
Let the alcohol dry for about 30 seconds before you touch the plant with them.
Make your cut cleanly just below the node you have chosen. One smooth, decisive snip.
Do not saw back and forth on the stem. A single cut causes far less tissue damage.
Now set the cutting down in a shaded spot and leave it alone for 2 to 3 hours.
This resting time allows a light callus layer to form over the fresh cut surface.
That callus is a thin protective barrier that blocks pathogens from entering the open wound.
I skipped this step once when I was impatient. I lost a $60 cutting to rot within a week.
Two to three hours of waiting costs you nothing. Skipping it can cost you the whole cutting.
Step 3: Apply Rooting Hormone (Optional)
After the callus has formed, dip the cut end lightly into rooting hormone powder.
Tap the cutting gently against the side of the container to knock off any excess powder.
A light coating is all you need. Thick buildup of rooting hormone can actually burn the stem.
If you do not have rooting hormone on hand, skip this step entirely.
Philodendron gigas will root in sphagnum moss without it. The hormone just shortens the timeline.
Step 4: Plant the Cutting in Moss
Fill your nursery pot about halfway with your prepared, damp sphagnum and perlite mix.
Place the cutting into the moss so the node sits 1 to 2 inches below the surface.
If there are aerial roots on your cutting, tuck those gently into the moss as well.
Do not force the roots. Just nestle them in so they make contact with the damp moss.
Fill the rest of the container with moss around the cutting.
Do not pack it tightly. The moss should be snug around the stem but still loose and airy.
Step 5: Build Your Humidity Tent
Place a clear plastic bag loosely over the entire cutting and the nursery pot.
If you have a propagation box with a lid, that works even better and gives more room.
The goal is to trap a zone of high humidity directly around the cutting at all times.
Research on philodendron gigas in cultivation confirms this plant needs humidity between 65 and 80% to thrive.
Most American homes run between 30 and 50% relative humidity. That is too dry for rooting gigas.
The tent creates a micro-environment that compensates without requiring a whole-room humidifier.
Leave a small gap at the bottom of the bag. This allows a little air exchange.
A completely sealed tent traps stagnant air, which encourages mold and fungal growth instead.
Temperature and Light During Propagation
Place the cutting in a warm spot. The target temperature is 72 to 78°F.
Never let the temperature drop below 60°F while the cutting is trying to root.
Cold temperatures dramatically slow root development in tropical aroids like gigas.
If your home runs cool during fall or winter, a seedling heat mat placed under the pot helps.
Set the mat to its lowest heat setting. You want gentle warmth, not high heat.
High heat combined with wet moss creates conditions that speed up bacterial growth, not root growth.
Place the cutting in bright, indirect light during the entire rooting period.
Keep it away from direct sun completely. Direct light dries the moss out too quickly.
It also stresses the cutting heavily at the exact time it has no roots to absorb water with.
A spot near a north-facing window or a few feet back from an east-facing window is ideal.
Keeping the Moss at the Right Moisture Level
This specific step trips up more growers than any other part of the process.
Check the moss moisture level every two to three days by pressing your finger into it.
It should feel like a cold, barely damp sponge. Cool and slightly moist but never soggy.
Use your spray bottle to mist the inside walls of the bag and the top surface of the moss.
Do not pour water directly into the container. That saturates the moss unevenly.
Misting gives you much more precise control over the moisture throughout the whole rooting period.
If you see water pooling at the very bottom of the pot, your moss is too wet.
Remove the bag, open the drainage holes fully, and let things breathe for a few hours.
What to Expect: The Rooting Timeline
Patience is genuinely the hardest part of propagating philodendron gigas in sphagnum moss.
Gigas is not the fastest rooter among philodendrons. Do not panic if nothing visible happens at first.
In warm, appropriately humid conditions, you can expect small root nubs within 3 to 4 weeks.
In cooler or drier indoor conditions, rooting can take anywhere from 6 to 10 weeks.
For the first week or so, the cutting may look droopy, sad, or even slightly wilted.
This is completely normal behavior. Without roots, the cutting cannot absorb water from the moss.
It is surviving entirely off the stored energy and moisture inside its own stem tissue.
Resist the urge to pull the cutting out to check for roots every few days.
Every time you disturb the cutting, you risk snapping the tiny, hair-thin new root structures.
Set a phone reminder for week three. Check the roots gently then by lifting the cutting slightly.
If you feel any resistance from the moss as you lift, roots have formed and anchored in.
Air Layering: The Safer Method for Expensive Cuttings
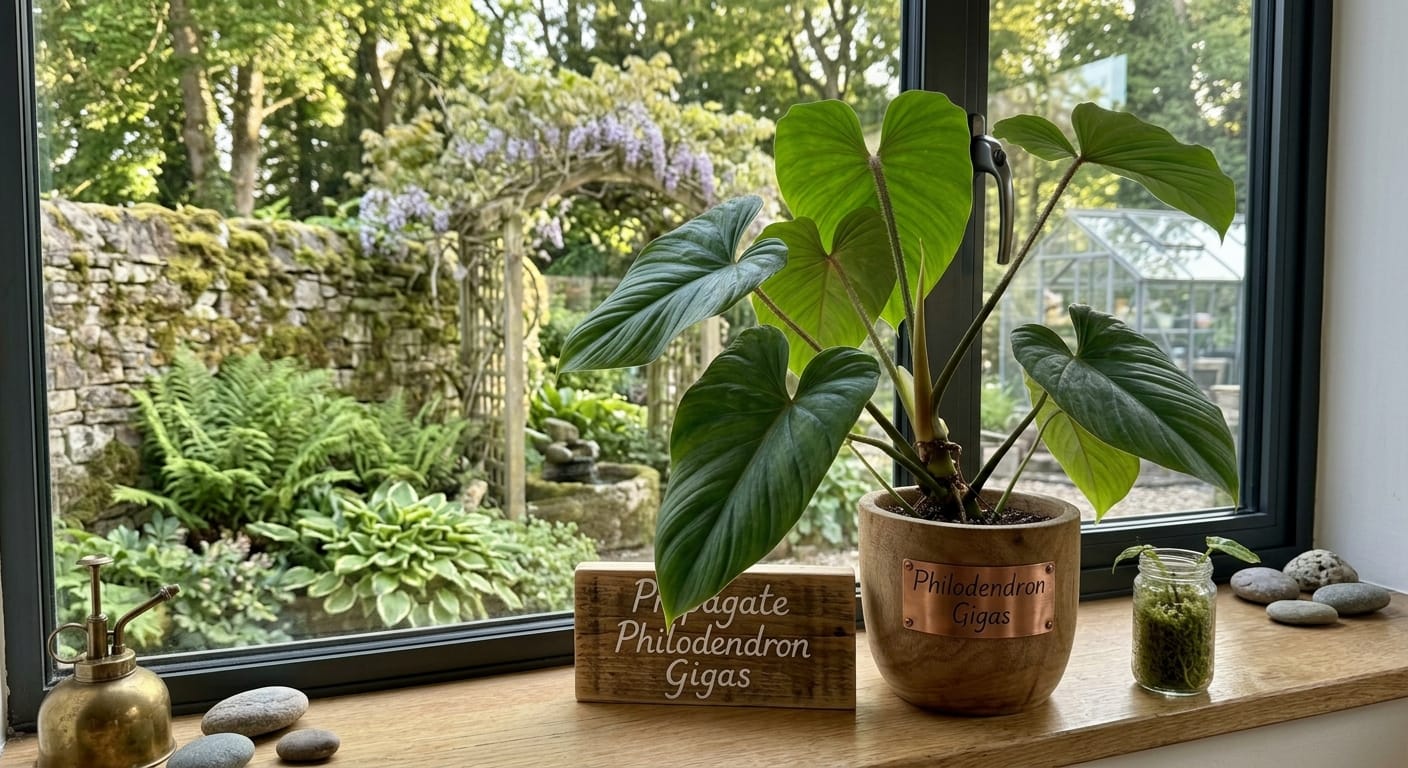
If your gigas is particularly rare or expensive, air layering is the method to learn.
Air layering lets roots grow on the plant before you ever separate the cutting from it.
You eliminate the risk of losing an expensive cutting entirely during the rooting process.
This technique is described in detail by Exotica Esoterica’s field research on Philodendron gigas in its Panamanian habitat, which shows exactly why root development before separation matters for this species.
Here is how I do it with sphagnum moss specifically:
Find a healthy, actively growing stem section with at least one node and two leaves.
Use a sterilized knife to make a small, shallow wound just below the chosen node.
Cut no more than one-third of the way through the stem diameter. Do not go deeper.
Wet a generous handful of sphagnum moss thoroughly, then wring it out firmly.
Wrap the damp moss completely around the wound and the node area.
Wrap clear plastic film tightly around the moss ball. Secure both ends with twist ties or string.
Check the moss every few days by feeling through the plastic wrap. Re-mist if it feels dry.
Within 4 to 8 weeks, you will see white roots growing visibly through the plastic wrap.
When roots reach at least 1 inch in length, cut the stem cleanly below the root bundle.
Plant the rooted section directly into a well-draining aroid soil mix.
The adjustment period is much shorter because the plant already has a functional root system.
Common Mistakes That Kill Gigas Cuttings in Sphagnum Moss
I have personally made most of these mistakes at least once over my eight years of growing.
Mistake 1: Moss that is too wet going in.
This is by far the most common cause of stem rot during propagation.
Squeeze your moss much harder than feels necessary before planting any cutting into it.
Mistake 2: Cutting a section with no node.
I cannot say this clearly enough. A leaf alone will not root. Ever.
Always locate and confirm the node before cutting anything off your mother plant.
Mistake 3: Skipping tool sterilization.
One cut with an unsterilized blade introduced a bacterial infection that killed my first gigas cutting.
Clean your tools with alcohol before every single cut. The whole process takes 10 seconds.
Mistake 4: Running the heat mat too hot.
High heat combined with wet sphagnum moss creates perfect conditions for harmful pathogens.
Low and slow is always the right approach with heat mat use during propagation.
Mistake 5: Checking the roots too early.
Pulling a cutting out repeatedly to look at it breaks the delicate new root hairs forming underneath.
Set a three-week reminder and leave it alone until that date arrives.
Mistake 6: Putting the cutting in direct sunlight.
Direct sun dehydrates the cutting quickly. Without roots, it cannot compensate for that water loss.
Indirect light only, for the full duration of the rooting period.
When to Move From Sphagnum Moss to Soil
Roots that are 1 to 2 inches long are ready for their first permanent pot.
At that length, the root structures are sturdy enough to survive being moved.
Moving too early risks snapping the fragile root tips during the repotting process.
When you do move the cutting, shake off any loose moss gently. Do not strip the roots bare.
Some moss clinging to the roots is totally fine. It will break down naturally over time.
Plant into a chunky, well-draining aroid mix. I use orchid bark, perlite, and a small amount of coco coir.
This mix mimics the bark-clinging root environment that gigas naturally grows in out in the wild.
Water thoroughly right after potting and return the plant to the same indirect light spot.
Post-Propagation Care for Your New Gigas Plant
A freshly rooted gigas is still fragile for its first few months in a pot.
Keep ambient humidity above 60% if at all possible. A pebble tray with water nearby is a simple fix.
For a deeper look at managing velvet-leaf philodendrons long term indoors, my guide on caring for Philodendron Melanochrysum covers nearly identical humidity and light needs for a plant with a very similar growth style.
Do not fertilize for the first 6 to 8 weeks after potting your newly rooted cutting.
The fresh root system is too sensitive right now. Fertilizer salts can burn young roots badly.
Provide a climbing support immediately. A moss pole is the best option for gigas indoors.
Gigas is a natural climber. Giving it something to climb triggers noticeably larger leaf production over time.
Do not trim the aerial roots that develop on your plant. They are not just decorative extras.
Aerial roots absorb humidity directly from the air and anchor the plant securely to its climbing support.
The same logic applies to most climbing aroids. My guide on propagating Philodendron Gloriosum from its rhizome dives into how different root structures in the same genus serve totally different roles.
Quick Answers to Common Questions
Can gigas root in water instead of sphagnum moss?
Yes, it can root in water. But water-grown roots are wispy and adapted to a submerged environment.
They often struggle badly when you then transplant them into soil or moss.
Moss-grown roots are thicker and more robust. The transition to soil is far smoother with them.
Is rooting hormone actually necessary for gigas?
No, it is not required at all. Gigas will root on its own in proper conditions.
Rooting hormone just speeds the process up by a week or two at most.
What if I see mold growing on the sphagnum moss surface?
A small amount of white fuzzy surface mold is common and usually harmless.
Improve airflow slightly by leaving the humidity tent slightly more open each day.
That small increase in air circulation usually resolves the mold issue on its own.
How long until I see new leaf growth after rooting?
New leaf growth typically follows 2 to 4 weeks after the roots are well established.
A new leaf unfurling is your signal that the cutting has fully transitioned to a growing plant.
Can a bare node cutting (no leaf) root in sphagnum moss?
Yes. A bare node with no leaf attached can still root successfully in damp sphagnum moss.
It takes longer because there is no photosynthesis happening to support the plant during rooting.
But it works, and it is a good option when you have a small cutting without a healthy leaf.
My Final Thoughts From Eight Years of Growing Gigas
Getting a philodendron gigas to root successfully is one of the more satisfying things in this hobby.
It is not the easiest philodendron on my shelves. But it is nowhere close to the hardest.
The sphagnum moss method removes the biggest variable, which is stem rot from poor drainage.
Get your moss moisture level right before you plant anything.
Keep the humidity high throughout the rooting period.
Make a clean cut with a sterile blade and let it callus before you do anything else.
Those three fundamentals alone account for about 90% of propagation success with this plant.
The other 10% is patience. Give it the weeks it needs and do not rush it.
If you run into trouble at any point, leave a comment below. I read every single one.