Philodendron Erubescens Propagation in Water: What Actually Works in 2026

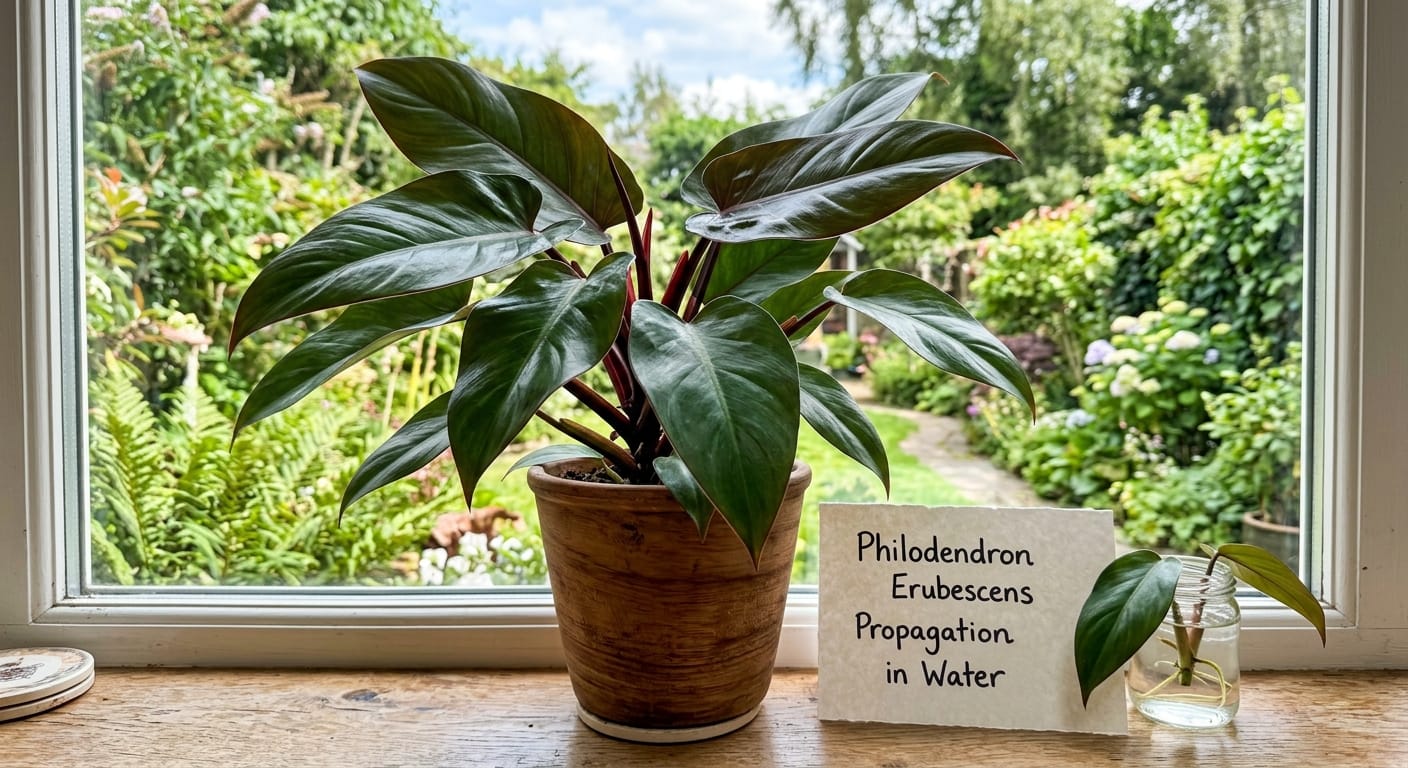
My first attempt at water propagation was in spring of 2019, with a Blushing Philodendron I had just brought home from a local nursery.
I grabbed what looked like a decent stem, dropped it into a mason jar of tap water, and waited.
Three weeks later the stem had turned brown and mushy and smelled like standing pond water. I had no idea what I had done wrong. The cutting went into the trash.
That failure sent me down a real research spiral. I wanted to understand the biology of what was actually supposed to happen at the node level, not just follow instructions I did not understand.
After years of propagating philodendrons, my success rate with water propagation is now consistently high — and the margin between success and failure is much smaller than most guides suggest.
This post covers what I actually learned, including the specific mistakes that kill most water propagation attempts before roots ever form.
What Is Philodendron Erubescens?
Before cutting anything, it helps to understand this plant’s background.
According to NC State Extension, Philodendron erubescens is a climbing tropical perennial in the Araceae family.
It is native to the rainforest of Colombia.
In the wild, it climbs tree trunks using aerial roots.
It can reach up to 60 feet tall in its natural habitat.
Indoors, it stays around 3 feet.
“Erubescens” is Latin for “blushing.”
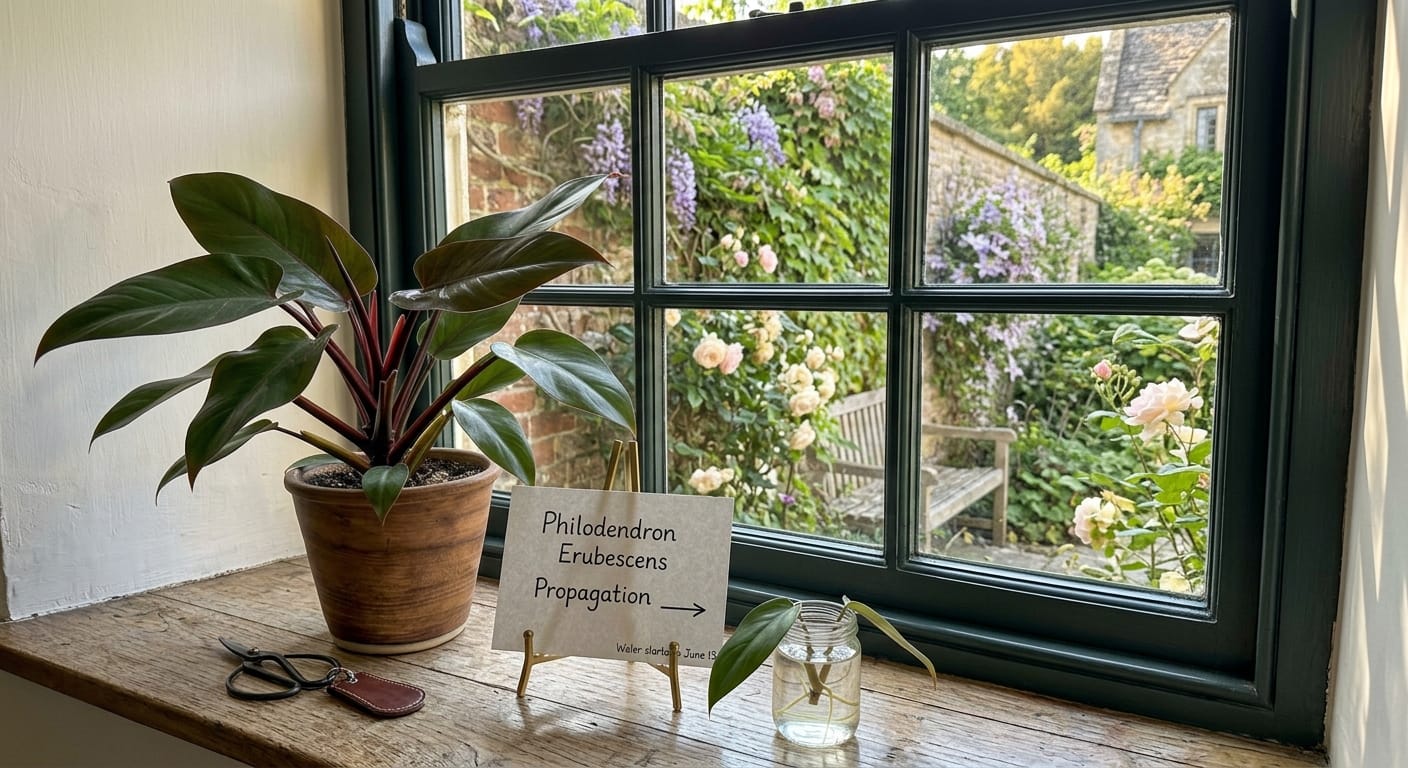
The name fits perfectly. The red stems, coppery leaf undersides, and dark burgundy petioles make it stand out.
Most people grow it as the straight species, but it has produced many popular cultivars.
Pink Princess, Prince of Orange, and Imperial Red are all cultivars of P. erubescens.
That last fact matters a lot when we talk about which varieties root well in water.
Why Water Propagation Works So Well for This Plant
Philodendron erubescens is a natural climber. Its biology gives it a built-in advantage for water propagation.
In the Colombian rainforest, this plant pushes out aerial roots to grip tree bark.
Those aerial roots are always hunting for moisture. They absorb water directly from humid air.
When you drop a node into a jar of water, you are giving those roots exactly what they want.
The transition from aerial rooting to water rooting is short for this plant.
That is why it roots faster and more reliably than many other houseplants.
Velvet-leaf types like Philodendron Melanochrysum are much pickier and more difficult in water.
Erubescens is far more forgiving, which makes it a great plant to practice water propagation skills.
The Node: The One Thing That Determines Success or Failure
This is why I failed in 2019. I had no idea what a node was.
A node is a small bump on the stem where a leaf attaches.
Every philodendron stem has them. They look like slightly raised rings or bumps along the vine.
Inside each node sits specialized plant tissue called meristem.
Meristem is the only tissue in the plant that can generate brand-new roots and shoots.
Without a node on your cutting, roots will never form. This is non-negotiable.
Plant science shows that cutting 0.5 to 1 cm below the node exposes vascular tissue to water.
This triggers a hormonal conversation between two plant hormones, auxin and cytokinin.
That hormonal interaction is what signals root cells to start forming.
This is also why a lone leaf in water never grows roots.
A leaf with a petiole attached can sit in water for months and look perfectly healthy.
But without a node, no root-forming tissue exists. Nothing will ever grow.
I see this mistake constantly in plant groups online.
Always confirm you have a visible node before placing any cutting in water.
Nodes with a small aerial root nub already poking out are the best candidates.
Those nodes are already producing root-initiating hormones. They root noticeably faster.
The Best Time to Propagate Philodendron Erubescens
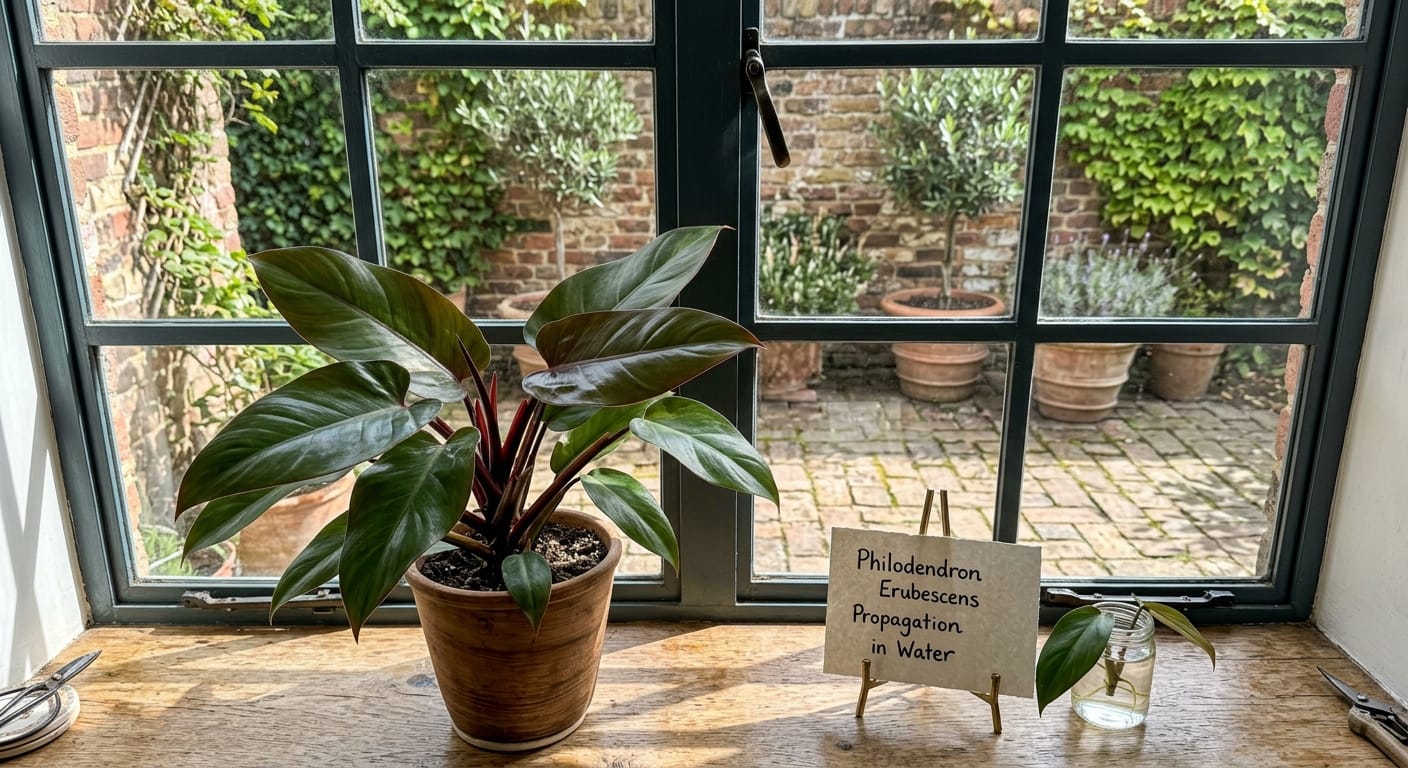
Timing is one of the most underrated factors in water propagation.
The ideal window is late spring through early summer, roughly May through July.
During this period, longer days trigger hormonal shifts inside philodendrons.
Auxin transport increases throughout the plant. Cell division speeds up naturally.
The plant is directing energy toward new growth, not defense or dormancy.
Root development happens faster and more reliably during this seasonal window.
I have tried propagating in November. The results were painfully slow.
Cuttings taken in winter can take two to three times longer to root.
Indoor heating dries the air. Short days reduce photosynthesis in the cutting.
If winter propagation is necessary, use a grow light set to 12 hours per day.
A cheap LED grow bulb in a regular desk lamp is enough. No expensive equipment needed.
Add a heat mat under the jar set to around 75°F. This keeps root metabolism moving.
For everyone reading this in the summer months, just take the cutting now. The timing is ideal.
What You Actually Need
The good news is that water propagation does not require a lot of equipment.
Here is what you actually need.
A healthy mother plant. This is the most important item on the list.
Do not take a cutting from a stressed, yellowing, or pest-damaged plant.
A cutting inherits the physiological state of the mother plant at the time of cutting.
A weak mother produces a weak cutting. Fix the plant first, then propagate.
Clean, sharp scissors or pruning shears. Dull blades crush the stem tissue at the cut site.
Crushed tissue invites bacterial rot before a single root ever forms.
Wipe blades with rubbing alcohol before every cut. This kills bacteria and fungal spores on contact.
A clear glass jar or vase. Clear glass lets you watch root development without disturbing the cutting.
Wide-mouthed mason jars work perfectly. They give the stem space and look great on a windowsill.
Room-temperature water. More on water quality shortly. It matters more than most people realize.
A bright, indirect light source. A spot near a window with no direct sun is ideal.
That is the complete list. No rooting hormone required for a healthy cutting.
How to Take the Right Cutting
This step determines everything that comes after it.
Step 1: Identify your target node on a healthy stem.
Look for a node that already has a small aerial root nub emerging from it.
These root much faster in water than a bare, inactive node.
If you can not find an active node, a clean, inactive node still works. Just expect slower results.
Step 2: Count down to the internode just below your target node.
The internode is the smooth stretch of stem between two nodes.
Your cut will happen in this zone, just below the lower node of your target section.
Step 3: Cut 0.5 to 1 centimeter below the node.
Use a clean, sterilized blade. Make the cut at a slight angle.
A slight angle increases the exposed surface area at the cut site.
More exposed surface area means more vascular tissue in contact with the water. This improves rooting.
Step 4: Remove any leaves that would sit below the waterline.
Submerged leaves decompose rapidly. Decomposing plant tissue feeds bacteria aggressively.
High bacteria levels attack root cells before they can mature. Removing those leaves is not optional.
Leave one or two healthy leaves above the waterline. The cutting still needs to photosynthesize.
Step 5: Let the cut end sit open to air for 20 to 30 minutes.
This step took me years to add to my routine, and it made a real difference.
The brief air exposure allows the cut site to form a thin callous layer.
That callous reduces the risk of immediate bacterial invasion when the stem hits the water.
It takes less than half an hour. The improvement in early survival rate is worth it.
Setting Up the Water Propagation Jar
Fill your jar with clean, room-temperature water.
Cold water shocks the node tissue and slows hormone activity.
Very warm water promotes bacterial growth. Room temperature is the right balance.
Tap water quality matters more than most guides admit.
Most US city tap water contains chlorine or chloramine as disinfectants.
These additives are fine for humans but can irritate the sensitive meristem tissue at the node.
Filling a jar the night before and leaving it on the counter allows chlorine to off-gas overnight.
By morning, the water is much gentler on the cutting.
If you already own a countertop water filter, filtered water is even better.
Distilled water works too, but the difference over dechlorinated tap water is minor in my experience.
Now place the cutting into the jar so the node sits below the water surface.
The leaves must sit fully above the waterline. Not touching. Not partially submerged.
If a leaf touches the water, it will rot within days and contaminate the whole jar.
Place the jar in bright, indirect light. An east-facing windowsill is usually perfect for US homes.
Never place the jar in direct afternoon sun. Direct sun heats the water rapidly.
Overheated water loses dissolved oxygen and kills the developing root cells.
The Water Change Rule That Most Guides Skip
This is where I see most beginners fail after getting the cutting right.
Changing the water regularly is not optional. This rule determines whether the cutting lives or dies.
I change the water in my propagation jars every three to four days without exception.
Here is why this matters so much.
As the cutting sits in water, bacteria naturally multiply around the organic material in the jar.
When the water turns cloudy or smells slightly musty, the bacterial load is already dangerously high.
High bacteria levels attack the new root tissue as it tries to form. The result is rot.
Frequent water changes keep bacteria at manageable levels.
But there is a second reason that almost no propagation guide mentions.
Roots need oxygen. Not just water. Dissolved oxygen.
Stagnant water gradually loses its dissolved oxygen as time passes.
Low oxygen suffocates root cells the same way dense, soggy soil suffocates them in a pot.
Fresh water brings a new supply of dissolved oxygen. This is one of the biggest reasons frequent water changes improve root quality.
When you change the water, rinse the jar with clean water.
Do not use dish soap. Soap residue irritates the root tissue.
Just a clean rinse with fresh water is all that is needed.
What Healthy Root Development Actually Looks Like
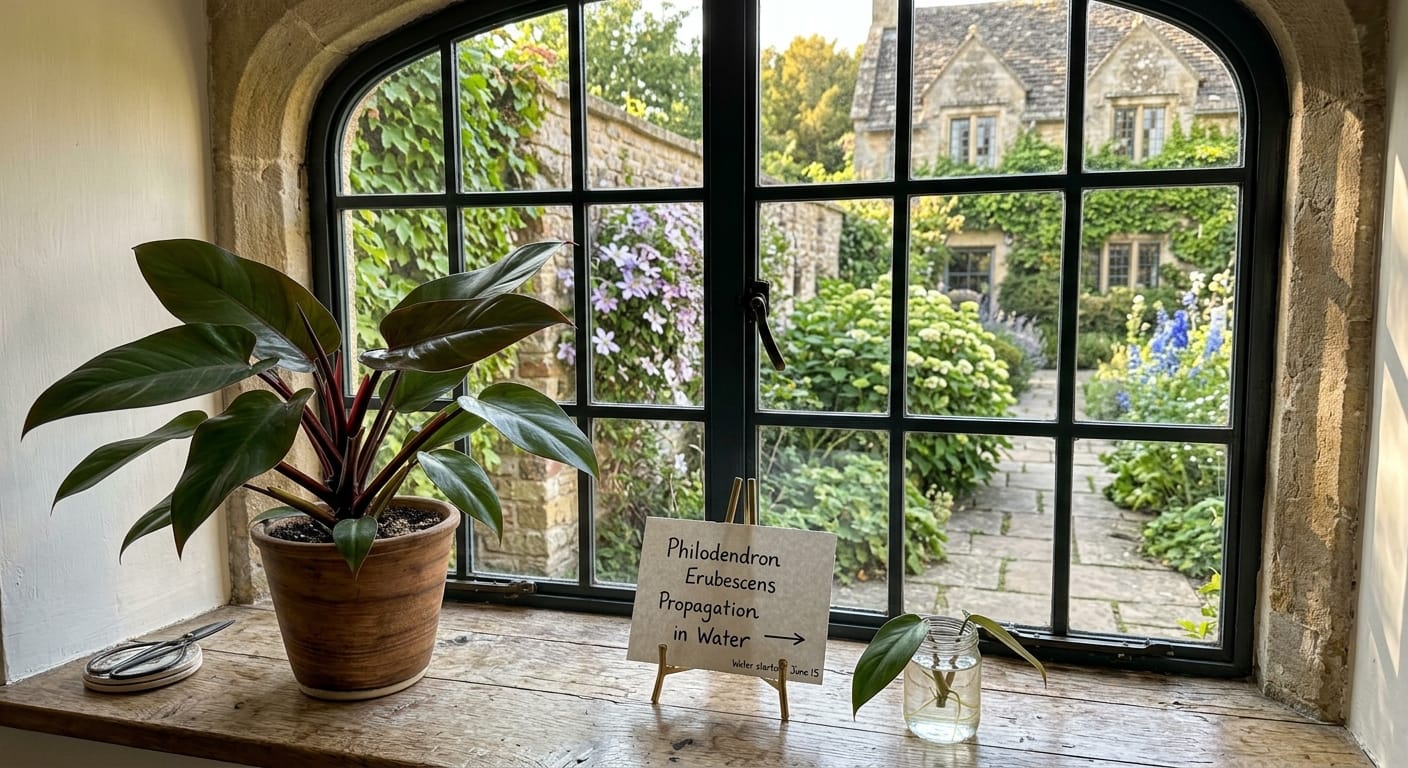
After seven to ten days, small white bumps will begin appearing at the node.
These are root primordia, the earliest stage of root cell formation.
Do not touch them. Do not poke them. Do not move the jar to a new location.
At this stage, physical disturbance can kill the fragile developing cells.
By week two to three, those bumps extend into actual white or cream-colored roots.
Healthy roots are bright white to pale cream and feel firm when touched gently.
Brown or black roots signal bacterial rot. Something went wrong.
If you see brown or black roots forming, act quickly.
Trim the affected roots with sterilized scissors. Do an immediate water change.
Then monitor the jar closely for the next several days.
Sometimes a cutting recovers after a rot event if caught early. Sometimes it does not.
Prevention through regular water changes is always better than dealing with rot after the fact.
When to Transfer from Water to Soil
This is the question I receive most often from readers.
Wait until the roots are genuinely 1 to 2 inches long before transferring to soil.
Many people transfer too early. A tiny root nub of a quarter inch is not ready.
Short roots have almost no surface area. They cannot absorb moisture from soil effectively.
Early transfer leads to severe transplant shock. The plant wilts and may not recover.
Wait for roots that are 1 to 2 inches long and beginning to show branching.
Branching means smaller secondary roots coming off the main root strand.
Secondary branching tells you the root system has enough maturity to handle a new medium.
When you see clear branching, the cutting is ready.
Making the Water-to-Soil Transition Work
The transition from water to soil is the most stressful part of the whole process.
Here is something most guides do not explain: water roots and soil roots are structurally different.
Water roots grow adapted to absorbing dissolved nutrients and oxygen directly from liquid.
Soil roots must push through a physical medium and tolerate much drier conditions between waterings.
When you move the cutting to soil, those water roots need time to restructure.
For the soil mix, do not use standard potting soil on its own.
Standard potting soil holds too much moisture for a plant transitioning from water.
I use roughly 60 percent standard potting mix, 30 percent perlite, and 10 percent orchid bark.
This chunky, fast-draining mix reduces the risk of shock-induced root rot during the adjustment period.
Keep the soil slightly more moist than usual for the first two weeks after transplant.
Not soggy. Not bone dry. Consistently just-barely-moist.
Cover the plant loosely with a clear plastic bag to create a humidity tent.
This reduces water loss from the leaves while the roots adapt to their new environment.
After two weeks, gradually let the soil dry out a bit more between waterings.
Remove the humidity tent slowly over the following week.
By week four, your newly propagated erubescens should be fully adjusted and pushing new leaf growth.
Why Your Cutting Might Not Be Rooting
Let me be direct. Here are the real failure causes I have personally experienced.
No node on the cutting. The most common reason. Always double-check before you cut.
Tap water used straight from the faucet. Leave it overnight before use. Dechlorination matters.
Cutting placed in direct sunlight. The jar overheats. Heat destroys root cells. Move to indirect light.
Water not changed for two weeks or more. Bacteria take over and attack the forming roots.
Cutting transferred to soil before roots were long enough. Wait for 1 to 2 inches of branching roots.
Cutting taken from a stressed or sick mother plant. Fix the mother plant first, then propagate.
Dirty or unsterilized cutting tool. Bacteria enter the stem at the cut site and cause early rot.
Cutting left in direct AC airflow. AC dries the cutting and chills the water below optimal temperature.
Every one of these failures is something I personally went through at some point.
Knowing this list saves weeks of frustration.
Erubescens Cultivars That Root Well in Water
One of the more interesting things I have discovered over eight years is how cultivar behavior differs.
The straight species P. erubescens roots consistently and reliably in water.
But many popular plants in collections across the US are erubescens cultivars, not the straight species.
Pink Princess is a hybrid derived from P. erubescens. It roots well in water, though slightly slower.
The variegation can sometimes make the cutting weaker since variegated tissue has less chlorophyll.
I wrote a full separate guide on how to propagate Philodendron Pink Princess in water if you grow one.
Prince of Orange is another cultivar traced back to erubescens, and it propagates reliably in water.
I have taken cuttings from it more times than I can count over the years — it roots quickly, usually within three weeks under good conditions, and transitions well to soil.
For full care details on the Prince of Orange, my dedicated guide covers everything worth knowing.
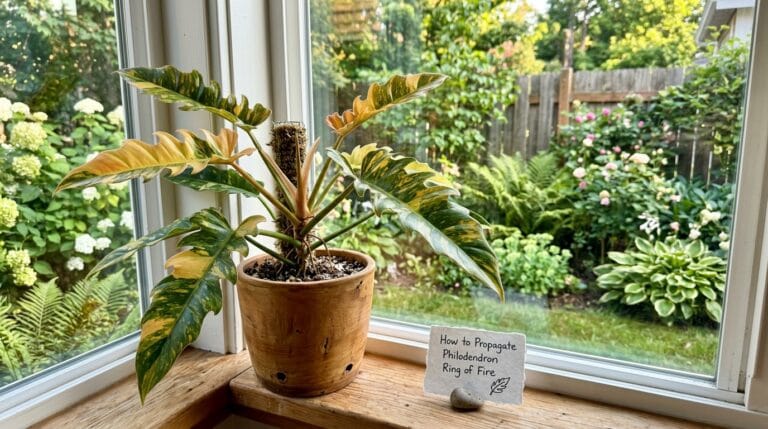
Ring of Fire is another climbing variety that responds very well to water propagation.
I documented my full step-by-step method in this guide: How to Propagate Philodendron Ring of Fire.
For a full library of propagation guides in one place, visit my Propagation Guides category page.
Caring for Your Newly Propagated Plant Long-Term
Your newly propagated erubescens is going to want to climb.
This is a climbing plant by nature. It belongs to the same growth category as Philodendron Silver Sword.
In the Colombian rainforest, it scales tree trunks reaching for the light canopy above.
Give it a moss pole or coco coir pole. The aerial roots will grip it tightly.
As it climbs a support, the leaves grow significantly larger. This is one of the most rewarding things to watch.
For light, aim for bright indirect light from an east-facing or north-facing window.
Harsh afternoon sun from west or south-facing windows will scorch the leaves.
A sheer curtain between the plant and direct sun solves this easily.
For watering, check the top inch of soil before every session.
If the top inch feels dry, water thoroughly and let the excess drain completely.
Never let the pot sit in standing water in a saucer. That setup leads directly to root rot.
For humidity, aim for 50 to 60 percent if your home allows it.
Grouping plants closely together raises the local humidity naturally around each one.
This is a free method that works better than most people expect.
A Few Things Worth Noting About This Plant’s Growth Pattern
One thing that surprises first-time erubescens growers is how the new leaves emerge.
They come out reddish, coppery, or burgundy depending on the cultivar and light conditions.
Then over the following days, as the leaf hardens off, it gradually darkens toward deep green.
This process is called maturation of leaf color. It is completely normal and not a sign of stress.
Do not panic if a new leaf comes out looking orange-red and then turns green.
That is exactly how it is supposed to work.
Also worth knowing: new leaves occasionally come out slightly wrinkled or curled.
This is most common in low-humidity environments. It is not a disease or pest issue.
Maintaining humidity above 50 percent generally prevents this from happening.
If Philodendron Micans is also part of your collection, it benefits from the same humidity range.
Final Thoughts
Philodendron erubescens propagation in water is one of the more satisfying things you can do in this hobby.
Watching white roots push out from a node never gets old.
Even after eight years and 500-plus plants, that moment still feels rewarding every single time.
The process is genuinely simple when the fundamentals are in place.
A cutting with a confirmed node. Clean water changed every three to four days. Bright indirect light. Time.
Those four things produce reliable results almost every time.
The biggest mistakes, no node on the cutting, dirty water, and transferring too early, are all avoidable.
Knowing what not to do is just as valuable as knowing what to do.
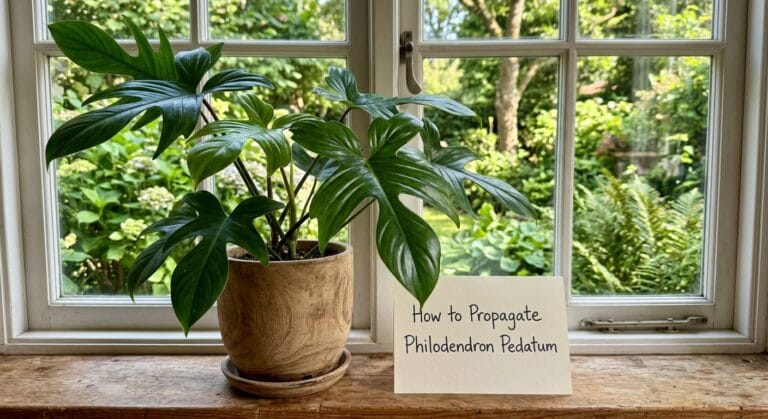
If you are propagating a related climbing variety right now, this guide may also help: How to Propagate Philodendron Pedatum.
Got a cutting sitting in a jar right now? Drop a question in the comments below.
I read and respond to every one.