Philodendron Burle Marx Yellowing Leaves: Every Real Cause and Fix (From 8 Years of Growing)

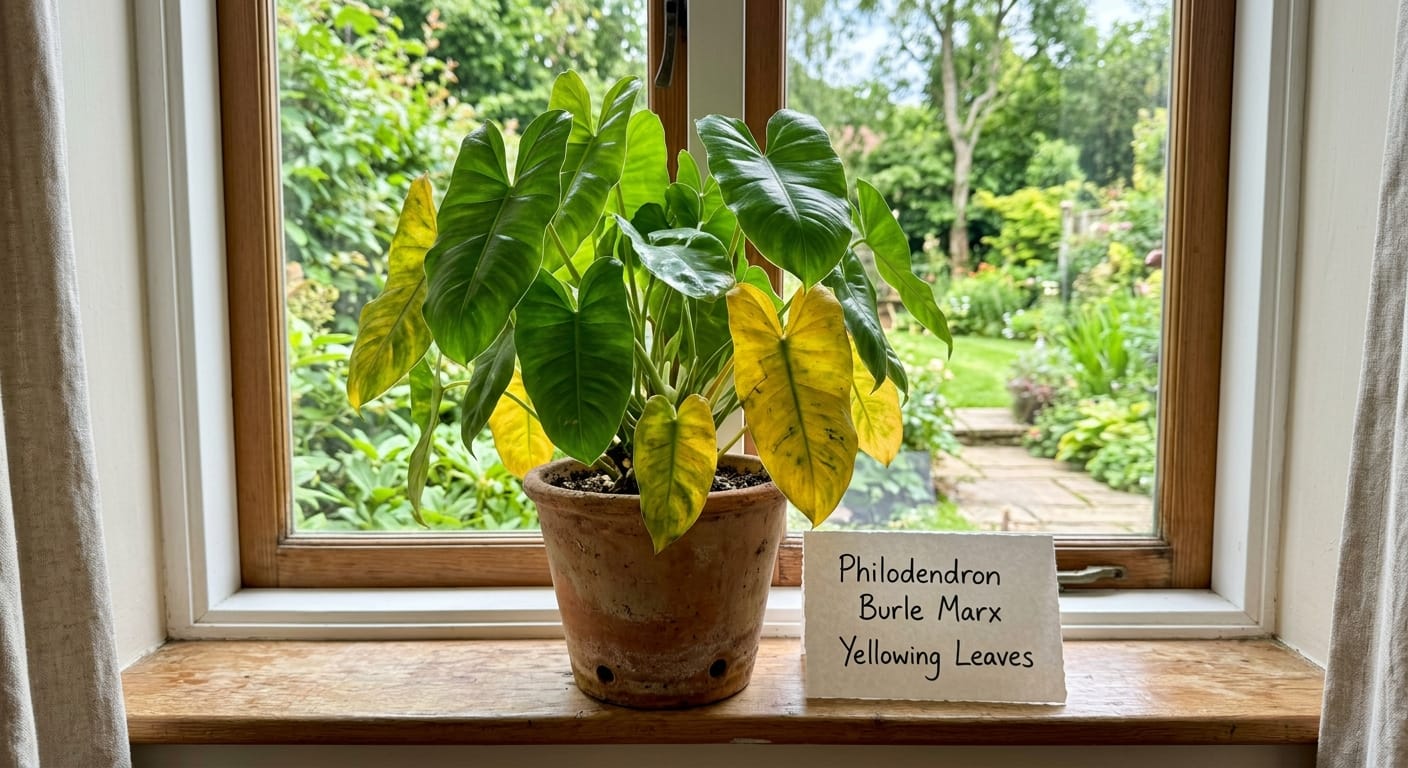
My Burle Marx threw a yellow leaf at me during its third week in my home. I had brought it back from a local nursery in spring of 2021, and it looked completely healthy on the shelf.
By day eighteen, one lower leaf had gone fully yellow and I had no idea whether I had just killed it.
After years of growing philodendrons and working through that same scenario with dozens of plants, I can tell you that yellowing on a Burle Marx almost always has a fixable cause — but reading the right cause from the symptoms takes some practice.
The pattern of the yellowing, the texture of the affected leaves, and what the soil is doing at the time all tell different parts of the story.
This guide walks through every real cause I have dealt with in my own home, along with a step-by-step diagnostic process you can run in under three minutes whenever a new yellow leaf appears.
First, Let’s Talk About This Plant
The Philodendron Burle Marx is named after Roberto Burle Marx.
He was a famous Brazilian landscape architect who championed native plants in his iconic designs.
The Chicago Botanic Garden notes it is native to the tropical jungles of Brazil.
In the wild, it grows in clumps, climbs trees, and thrives in dappled forest light.
Indoors, it stays compact and bushy, reaching around two to three feet wide.
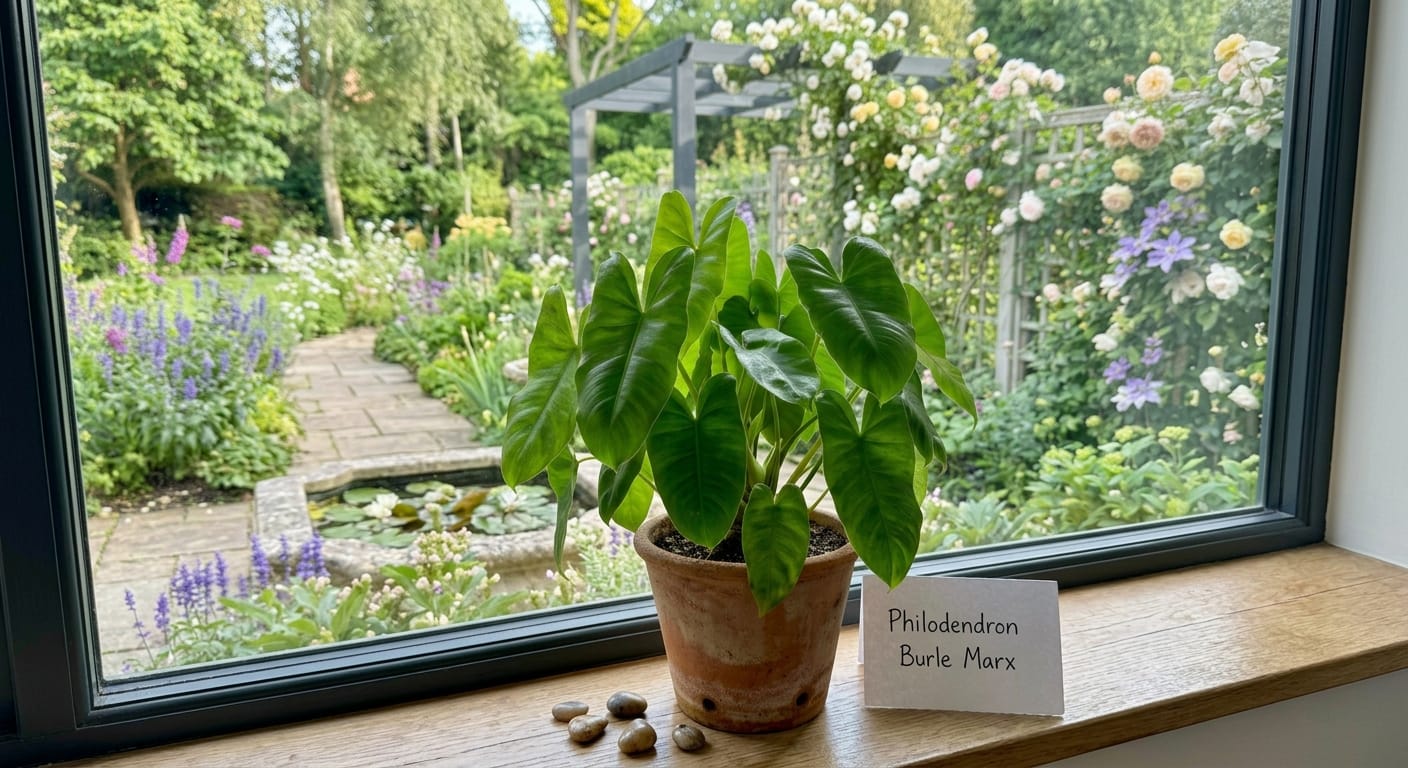
The leaves are glossy, slender, and a rich jungle green on reddish stems.
This is actually one of the tougher philodendrons I grow.
It is far more forgiving than my Melanochrysum or my Spiritus Sancti.
But “tough” does not mean immune to yellow leaves.
Knowing where it comes from helps you understand what it actually needs.
Bright, dappled light. Moist but airy soil. Consistent warmth. That is its baseline.
Anything that disrupts that baseline will show up as yellow leaves first.
Some Yellowing Is Completely Normal
Before you spiral, let me tell you this upfront.
A single yellow leaf at the very bottom of the plant is usually nothing to worry about.
Philodendrons routinely drop their oldest, lowest leaves as they push new growth upward.
The plant is redirecting energy. It is a natural housekeeping process.
I see this on my Burle Marx every few months without fail.
The yellow leaf usually comes off clean with a gentle tug.
There is no foul smell. No mushy stem. No widespread pattern.
The warning sign is when multiple leaves yellow at once.
That is the plant telling you something in its environment is wrong.
Pattern, location, and texture of the yellowing are your three diagnostic clues.
Write those words down. You will use them throughout this guide.
Cause #1: Overwatering (The Biggest Culprit)
This is the number one reason I see Burle Marx leaves turning yellow.
It is also the hardest mistake for new growers to admit they are making.
Overwatering does not always mean you water every day.
It means the soil is staying wet for too long between waterings.
A heavy potting mix can hold moisture for two full weeks after a single watering.
The roots sit in soggy soil. They cannot breathe. They start to break down.
When roots are damaged, the plant cannot pull up nutrients or water properly.
The leaves lose their chlorophyll. They turn a uniform, dull yellow.
What to look for: Soft, slightly mushy leaf texture. Multiple leaves yellowing. Wet soil.
Also check the pot. Is there no drainage hole? That is your problem right there.
The fix:
Stop watering immediately and let the soil dry out fully.
Stick your finger two inches into the soil before every watering session.
If it still feels moist at that depth, put the watering can down.
I personally lift my pots. A light pot means dry soil. A heavy pot means wet soil.
Switch to a chunky mix: two parts standard potting soil, one part perlite, one part orchid bark.
This mix drains fast and lets the roots breathe between drinks.
Cause #2: Underwatering
Yes, underwatering also causes yellow leaves. The pattern looks different, though.
With underwatering, the yellowing usually starts at the leaf tips and edges first.
The leaves may feel crispy or papery rather than soft and limp.
The soil will be bone dry and pulling away from the edges of the pot.
The fix:
Water your Burle Marx thoroughly until water runs freely from the drainage holes.
Do not water just the top inch. Flush the whole root zone.
After watering, check back in a few days. Adjust your schedule from there.
In summer, most Burle Marx plants in US homes need water every seven to ten days.
In winter, that can stretch to every fourteen days or even longer.
Cause #3: Too Much Direct Sunlight
Remember, in the wild this plant grows under a canopy of taller trees.
It gets bright light, but not harsh direct rays beating down on its leaves.
Indoors, a south or west-facing window in summer can scorch it fast.
The yellowing from too much sun looks different from watering issues.
You will see bleached patches of pale yellow or white on the parts of the leaf that face the window.
The damage is often confined to one side of the plant.
The fix:
Move the plant back from the window by two to three feet.
Use a sheer curtain to filter the light if moving it is not an option.
East-facing windows are my favorite spot for Burle Marx plants in my own home.
Cause #4: Too Little Light
Too little light causes slow, creeping yellowing across many leaves at once.
The plant cannot produce enough chlorophyll without adequate light energy.
Growth slows to almost nothing. New leaves come out smaller and paler than normal.
Dark corners and interior rooms more than ten feet from any window are a problem.
The fix:
Move the plant closer to a bright window.
If your space does not have great natural light, a basic LED grow bulb works well.
I use inexpensive grow bulbs in standard floor lamps during winter in my home.
You do not need anything fancy. Consistent bright, indirect light is the goal.
Cause #5: Nutrient Deficiency
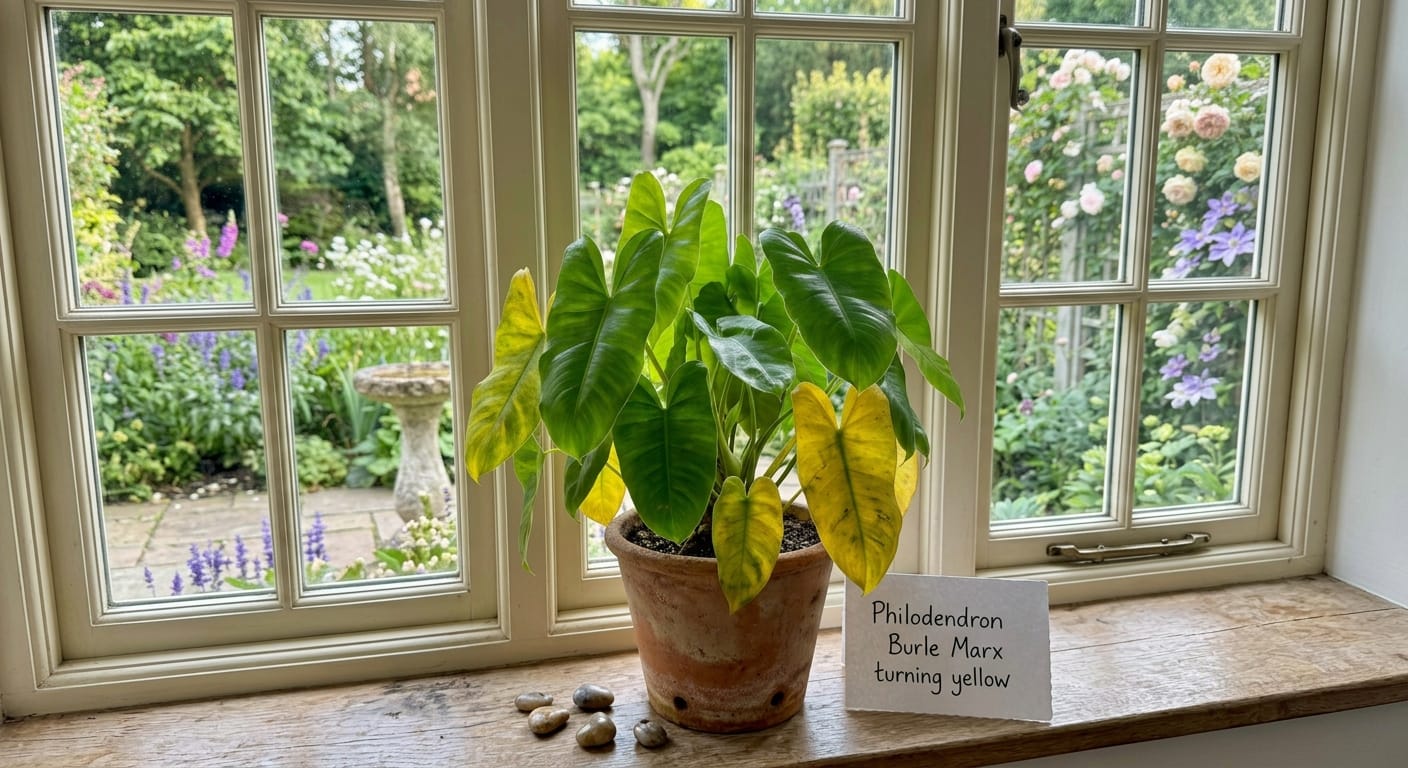
This one is sneaky. It often gets misdiagnosed as a watering problem.
The key here is to look at the pattern of yellowing very carefully.
Research from the University of Maryland Extension explains exactly how to read these patterns.
Nitrogen deficiency causes older, lower leaves to turn fully yellow and drop off.
The plant pulls nitrogen out of old leaves to feed new growth higher up.
Iron deficiency causes yellowing between the veins on new, younger leaves.
The veins stay green while the tissue around them turns yellow.
This is called interveinal chlorosis. It is a very specific visual signal.
Magnesium deficiency looks similar to iron but shows up on older leaves instead.
You will see yellow patches between the veins on leaves that have been around a while.
Why does this happen?
Usually, one of three things is the cause.
The plant has been in the same pot with the same soil for over a year.
Or you repotted it into fresh soil months ago but have never added any fertilizer.
Or you have been watering with very hard tap water that builds up salts and blocks nutrient absorption.
The fix:
Use a balanced liquid fertilizer, diluted to half strength, once every three to four weeks in spring and summer.
Look for an NPK ratio close to 20-20-20 or 10-10-10.
If you suspect iron deficiency specifically, a chelated iron supplement can help.
If you suspect magnesium, one teaspoon of Epsom salts dissolved in a gallon of water works well.
Always water the plant first before you fertilize. Never apply fertilizer to dry roots.
Stop all fertilizing in fall and winter when the plant is resting.
Cause #6: Root Rot
Root rot is overwatering taken to its worst possible conclusion.
It deserves its own section because the fix is more involved than just adjusting your watering schedule.
When roots rot, they turn brown, mushy, and smell foul.
A healthy root should be white or light tan and firm to the touch.
The plant’s leaves yellow rapidly and may begin to wilt even when the soil is wet.
That wet soil plus wilting combo is a classic root rot signal. Pay attention to it.
The fix:
Unpot the plant completely.
Rinse the root ball under room-temperature water to get a clear look.
Use clean, sharp scissors to cut off every dark, mushy root section.
Let the healthy remaining roots air dry for thirty minutes.
Repot into fresh, well-draining soil in a clean pot with drainage holes.
Do not water again for at least five to seven days.
I went through this process with three plants during my second year of growing.
Losing those plants to root rot because of dense soil was a hard but necessary lesson.
Now I always mix in perlite and orchid bark, no matter what.
Cause #7: Spider Mites and Mealybugs
Pests are the cause of yellowing that beginners miss most often.
The bugs themselves can be nearly invisible until the damage is already widespread.
A peer-reviewed study on tropical plant chlorosis confirms that pest damage disrupts chlorophyll production at the cellular level, causing the same yellow discoloration as nutrient deficiency.
That is why pest-caused yellowing is so easy to confuse with a fertilizer problem.
Spider mites are the most common pest I find on my Burle Marx plants.
They leave tiny yellow or white speckling on the upper leaf surface.
Flip the leaf over. You may see fine silky webbing between the leaves and stem.
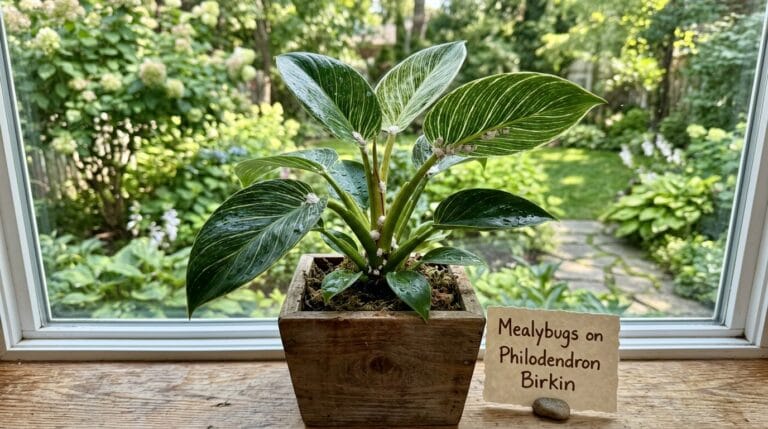
Mealybugs cluster in white, cottony masses at leaf joints and along stems.
They suck sap from the plant, which drains the leaf of color and vigor.
The fix:
For spider mites, spray the entire plant with a strong stream of water first.
Then apply neem oil mixed with a small amount of dish soap and water.
Coat both the upper and lower leaf surfaces completely.
Repeat every five to seven days for at least three full treatment rounds.
For mealybugs, use a cotton swab dipped in rubbing alcohol to remove clusters manually.
Follow up with an insecticidal soap spray on all leaf surfaces.
Check neighboring plants immediately. Pests spread fast in a home collection.
I cover this topic in much more detail over in my pest and disease diagnosis guides.
Cause #8: Temperature Shock and Cold Drafts
Philodendron Burle Marx is a tropical plant. It does not like the cold.
Temperatures below 55 degrees Fahrenheit will stress it quickly.
A cold draft from an air conditioning vent or a drafty window in January can trigger yellow leaves fast.
The yellowing from cold stress often appears suddenly after a position change or season shift.
The fix:
Keep your Burle Marx in a spot that stays between 65 and 85 degrees Fahrenheit year-round.
Keep it away from exterior walls in winter. Keep it away from A/C vents in summer.
If you move plants outdoors in summer, bring them inside before nighttime temps drop below 60.
Cause #9: Fluoride and Salt Buildup from Tap Water
This one is a slow-burn problem that many growers overlook for months.
US tap water in many cities contains fluoride, chlorine, and dissolved minerals.
Over time, these accumulate in the soil and block the plant’s ability to absorb nutrients.
The result looks exactly like a nutrient deficiency, even though you fertilize regularly.
You may also notice a white crusty deposit forming on the top of the soil.
That crust is mineral salt buildup. It is a visual confirmation that flushing is overdue.
The fix:
Every two to three months, flush the soil by running water slowly through it for several minutes.
Let it drain completely before returning the pot to its spot.
Alternatively, switch to filtered water, rainwater, or water you let sit overnight to off-gas chlorine.
I started collecting rainwater in a bucket on my back porch.
My plants responded noticeably within a few weeks.
Cause #10: Being Root Bound
A root-bound Burle Marx cannot absorb water or nutrients efficiently.
The roots fill every inch of the pot. There is no more fresh soil left.
Water runs straight through without being retained. Nutrients get depleted fast.
The result is a plant that looks chronically underfed no matter what you do.
Check for roots growing out of the drainage holes or circling the top of the soil.
The fix:
Repot into a container that is one to two inches larger in diameter than the current pot.
Do this in spring when the plant is actively growing.
Use fresh, well-draining soil mix when you repot.
How to Diagnose Your Burle Marx Step by Step
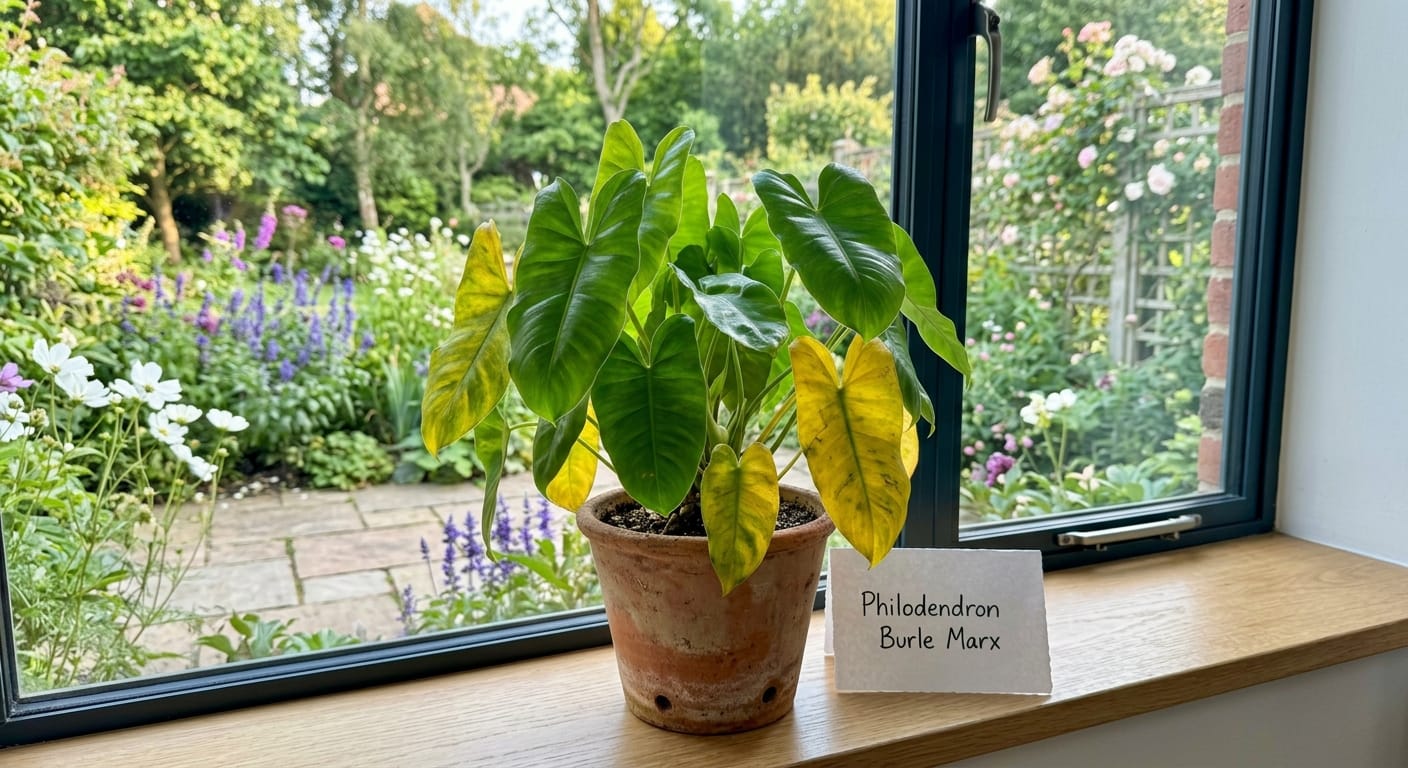
Stop guessing. Use this checklist every time you see yellow leaves.
Step 1: Count the yellow leaves. One or two at the very bottom? Probably natural aging. Move on.
Step 2: Check the soil moisture. Wet and heavy? Overwatering or root rot is likely. Bone dry and pulling from the pot edge? Underwatering.
Step 3: Look at the pattern of yellowing. Uniform full-leaf yellow? Watering issue or nitrogen deficiency. Yellow between the veins, green veins? Iron or magnesium deficiency. Bleached patches facing the window? Too much direct sun. Speckled, dusty-looking yellow? Check for spider mites immediately.
Step 4: Flip the leaves and inspect the stems. White fluff or webbing? Pests confirmed. Start treatment today.
Step 5: Check the location. Near an A/C vent? Cold draft? Dark corner? Address the environment first.
This five-step check takes less than three minutes. Run it before you do anything else.
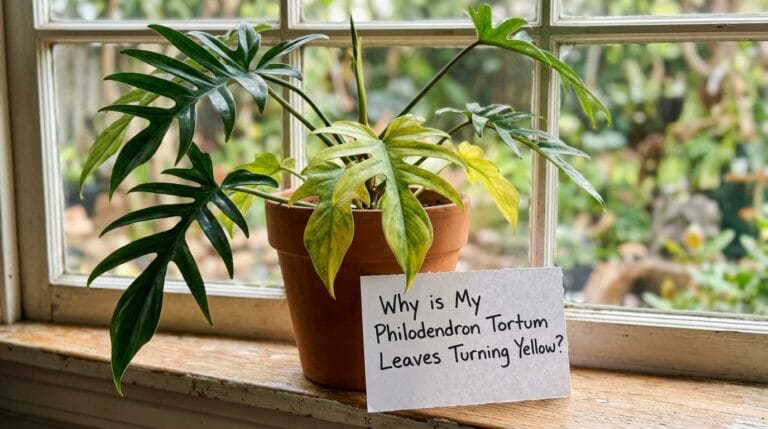
I also wrote about a very similar diagnostic process for my Philodendron Tortum yellow leaves guide if you want to see it applied to another species.
My Quick-Reference Prevention Checklist
Follow these habits and yellow leaves become rare events rather than regular emergencies.
- Water only when the top two inches of soil are dry.
- Always use a pot with at least one drainage hole.
- Mix perlite and orchid bark into every potting soil you use.
- Place the plant in bright, indirect light. East windows are ideal.
- Fertilize at half strength every three to four weeks in spring and summer.
- Flush the soil with plain water every two to three months.
- Inspect the undersides of leaves once a week for pests.
- Keep temperatures above 60 degrees Fahrenheit at all times.
- Never let the pot sit in standing water in its saucer.
These nine habits are the core of how I keep my Burle Marx thriving year after year.
One Last Thing Before You Go
Yellow leaves are not a death sentence for your plant. They are information — your Burle Marx communicating that something in its environment is off.
After eight years of growing, a yellow leaf still makes me pause and run through the checklist before I do anything else. That habit alone has saved more plants than any single product or technique I have ever used.
If you want to go deeper on philodendron troubleshooting, the full pest and disease diagnosis library on Jefrev.com blog has more detailed guides for specific problems I have dealt with firsthand.
Take a breath, work the checklist, and give your plant the chance to recover. Most of the time, it will.