How to Propagate Philodendron Plowmanii (4 Methods That Actually Work)

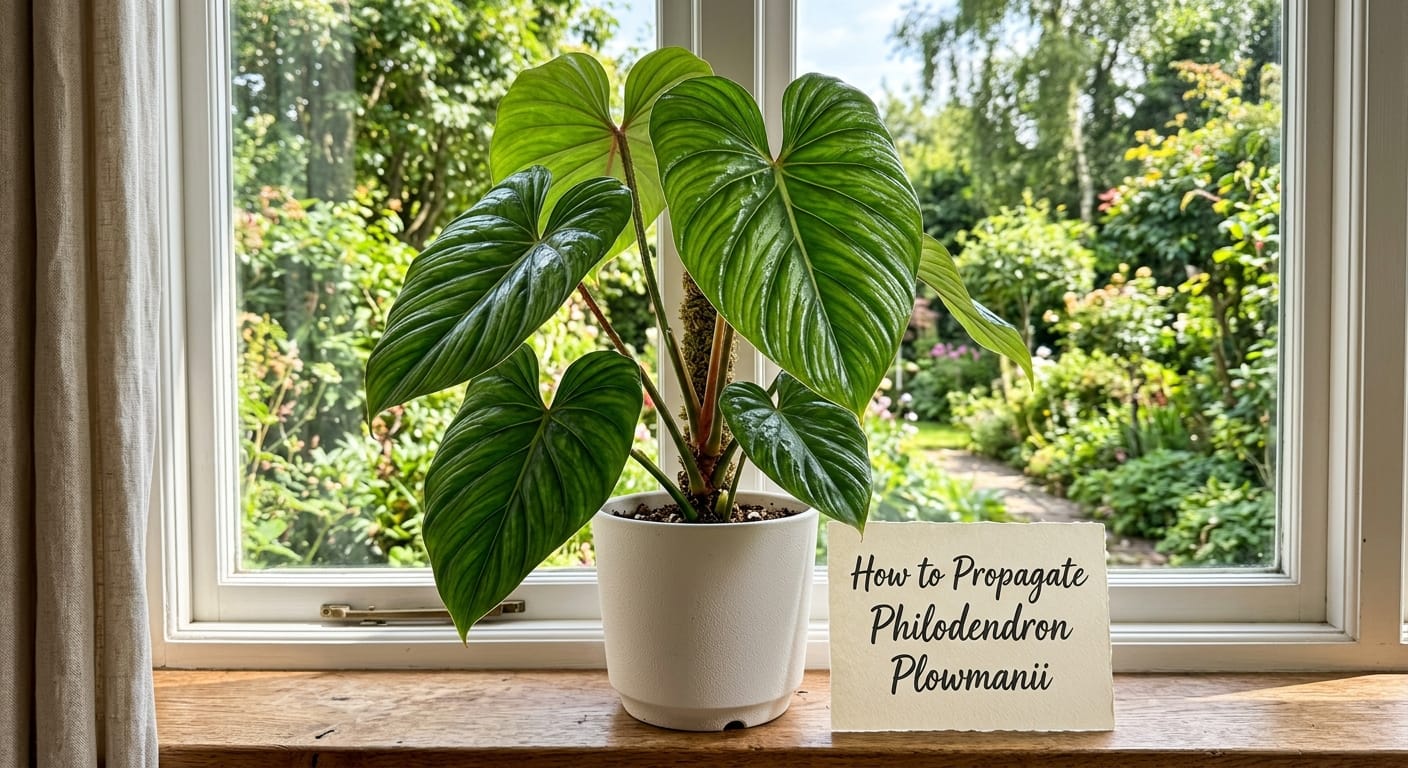
My first Philodendron plowmanii almost broke my confidence as a grower.
Not because it was sick. It was perfectly healthy.
It just sat there for months looking the same.
No new leaves. No movement. Nothing.
When I decided to propagate it, I made things worse.
I treated it like a heartleaf. Like a Brasil. Like any regular stem-cutter.
That was a fundamental mistake, and I want to make sure you don’t repeat it.
This guide covers four real propagation methods for Philodendron plowmanii.
It also covers the timing, the tools, and the honest pitfalls from eight years of hands-on growing.
Before Anything Else: Quick Answer for Searchers
Philodendron plowmanii is best propagated by stem cutting (in water or sphagnum moss) or rhizome division for mature plants.
Take a cutting with at least one healthy node. Remove lower leaves. Root in water or damp sphagnum moss at 75 to 80°F. Expect roots in 4 to 8 weeks.
Keep reading for the full breakdown of all four methods, including the one most guides skip entirely.
This Plant Is Not Like Your Other Philodendrons
This is the most important thing in the entire guide.
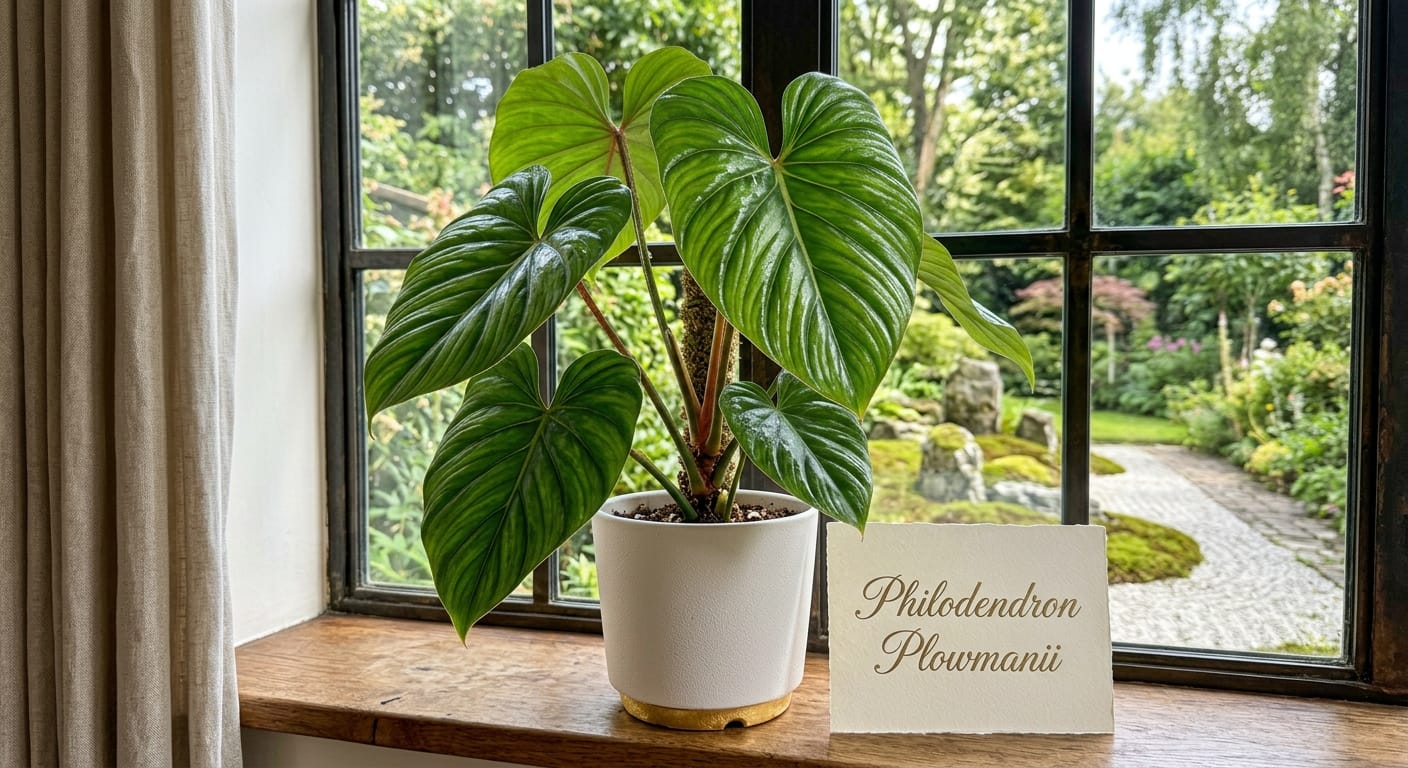
Philodendron plowmanii is a terrestrial creeper, not a climber.
Most philodendrons climb tree trunks in the wild. This one does not.
Its stem, called a rhizome, crawls horizontally along the forest floor.
The Royal Horticultural Society confirms it is native to tropical rainforests in Peru and Ecuador, growing in the understory.
Botanists call its growth habit “repent.” The stem moves sideways, not upward.
This changes everything about how propagation works.
On climbing philodendrons, aerial roots dangle visibly from the stem nodes.
On a plowmanii, root structures are tucked tightly against the underside of the rhizome.
They are not obvious. You have to look for them.
You also cannot just cut off a leafy stem and expect it to root.
You need a section of the actual rhizome with a node attached.
Forget that and your cutting will sit in water for weeks and rot.
Are You Sure You Have a Plowmanii?
Online plant sellers mislabel plants all the time. I have been burned by this.
Philodendron plowmanii is very commonly confused with two other species.
Plowmanii vs. Mamei: Both have large, heart-shaped leaves and a creeping growth habit.
The key difference is on the leaf surface. Mamei has visible silver-grey variegation between the veins.
Plowmanii has none of that. Its leaves are solid, deep green.
If your plant has silver markings, check out the Philodendron Mamei care guide instead. That species needs slightly different treatment.
The petiole test: Look at the leaf stem right where it meets the rhizome.
A plowmanii’s petiole is distinctly ruffled along its edges.
It also has a D-shaped cross-section and a subtle reddish or orange tint.
Mamei petioles are smoother. That ruffled edge is your clearest ID marker.
Confirm the plant’s identity before you propagate. You want to use the right method from day one.
The Best Time to Propagate
Spring is the best season. Early to mid-spring is even better.
Your plowmanii is naturally breaking dormancy and pushing growth hormones through the plant.
Cuttings taken during active growth root faster and hold up better under stress.
Iowa State University Extension confirms that early spring gives philodendron cuttings the best success rate.
You can also propagate successfully in early summer. I have done it plenty of times.
Avoid propagating in winter if at all possible. Root development slows dramatically below 65°F.
If your home stays above 75°F year-round, you have more flexibility than most.
What You Need Before You Make a Single Cut
Gather your supplies first. Rushing mid-cut causes sloppy cuts and avoidable rot.
Sharp, sterilized scissors or a knife: Dull blades crush stem tissue instead of cutting cleanly. That slows rooting significantly.
Sterilizing agent: Rubbing alcohol or hydrogen peroxide. Wipe your blade between every single cut.
Rooting hormone (IBA-based): A gel or powder form both work. This step is optional but makes a real difference for slow rooters like plowmanii.
Michigan State University Extension research shows that IBA-based rooting compounds significantly improve the consistency of root formation on cuttings.
For a species this slow, consistency matters a lot.
Propagation medium: Clean water, sphagnum moss, perlite, or a coco coir and perlite blend.
A clear container: A wide glass jar or a clear lidded propagation box.
Protective gloves: Philodendrons produce calcium oxalate crystals in their sap. The white latex can irritate skin and eyes. Gloves are not optional here.
Method 1: Stem Cutting in Water
This is the most beginner-friendly method and the most popular starting point.
You can watch roots form in real time through the glass. That part never gets old.
Step 1: Choose the right section of stem
Look along the rhizome for a healthy node.
A node is the slight bump or joint where leaves, petioles, and roots emerge.
Your cutting needs at least one node. Two nodes give you a better backup if one fails.
The cutting should be around 3 to 5 inches long along the rhizome.
Step 2: Cut at an angle
Use your sterilized scissors or knife to cut just below the node.
A 45-degree angle is better than a straight cut.
That angled surface increases the area exposed to water and helps nutrient uptake.
Step 3: Remove lower leaves
Strip off any leaves that would sit below the waterline once the cutting is in the jar.
Submerged leaves rot quickly. Rot clouds the water and invites bacterial infection.
Keep one or two leaves above the waterline. The plant needs those for photosynthesis.
Step 4: Let the cut end callous
Set the cutting aside on a clean surface for 30 to 45 minutes before placing it in water.
This short rest lets the wound start to seal.
It reduces the risk of rot entering the fresh cut surface.
Most guides skip this step entirely. I skip it at my own risk now.
Step 5: Prepare your water
Fill your container with room-temperature water.
If you use tap water, let it sit uncovered overnight before using it.
This allows chlorine and other additives to off-gas from the water.
I do this automatically now. The extra 24 hours actually matters.
Step 6: Position the cutting
Place the cutting so the node is fully submerged.
The leaves must stay above the water surface at all times.
Find a warm spot with bright, indirect light.
Direct sun will heat the water too quickly and stress the cutting badly. Avoid it completely.
Step 7: Maintain the water
Change the water every 3 to 4 days.
Fresh water prevents bacterial buildup around the stem.
When you change it, do so gently. Disturbing early, fragile root hairs can set your progress back weeks.
What to expect
With a plowmanii, expect roots to appear in 4 to 8 weeks.
Do not panic if you see nothing at week three. This species is genuinely slow.
Wait until roots are 1 to 2 inches long before moving to soil.
Method 2: Sphagnum Moss Propagation
This is my personal preferred method for plowmanii. I use it above all others.
Sphagnum moss mimics the moist, airy forest floor where this plant actually lives in the wild.
It holds humidity right at the node while still letting roots breathe.
I consistently get better root development here compared to plain water.
This is also the method I reach for when a cutting is valuable and I cannot afford to lose it.
I use the same approach for Philodendron Gigas propagation. Same logic. Same results.
Step 1: Prepare the sphagnum moss
Soak it fully in room-temperature water until saturated.
Then squeeze it firmly until it feels uniformly damp but is not dripping.
If it drips when you squeeze, it is too wet. Excess moisture causes rot here too.
Step 2: Take and treat your cutting
Take your stem cutting the same way as in Method 1.
One to two nodes, 3 to 5 inches long, lower leaves removed.
At this point, dip the cut end into IBA rooting hormone gel or powder.
For this slow-growing species, that step genuinely accelerates the process.
Tap off any excess. Too much hormone can burn the tissue at the cut site.
Step 3: Nest the cutting in moss
Surround the node section completely with damp sphagnum moss.
The leaves should extend above the moss freely.
Place this moss bundle in a clear plastic bag or a clear lidded humidity dome.
Seal it partially. Leave a small gap for air circulation so the moss does not go anaerobic.
Step 4: Placement and temperature
Set it somewhere warm and bright with indirect light only.
Aim consistently for temperatures between 75°F and 80°F.
Below 65°F and root development almost completely stops for this species. I tested this accidentally one January.
Step 5: Regular checks
Open the container every 3 to 4 days for a few minutes.
Check that the moss is still uniformly damp. Mist lightly with a spray bottle if it is drying out.
Watch for white root tips emerging after 3 to 5 weeks.
When to pot up
Once roots are about 1 inch long, plant the cutting into a well-aerated mix.
I use coco coir mixed with orchid bark and perlite for every aroid I grow.
It drains fast, stays loose, and lets roots breathe.
Method 3: Rhizome Division
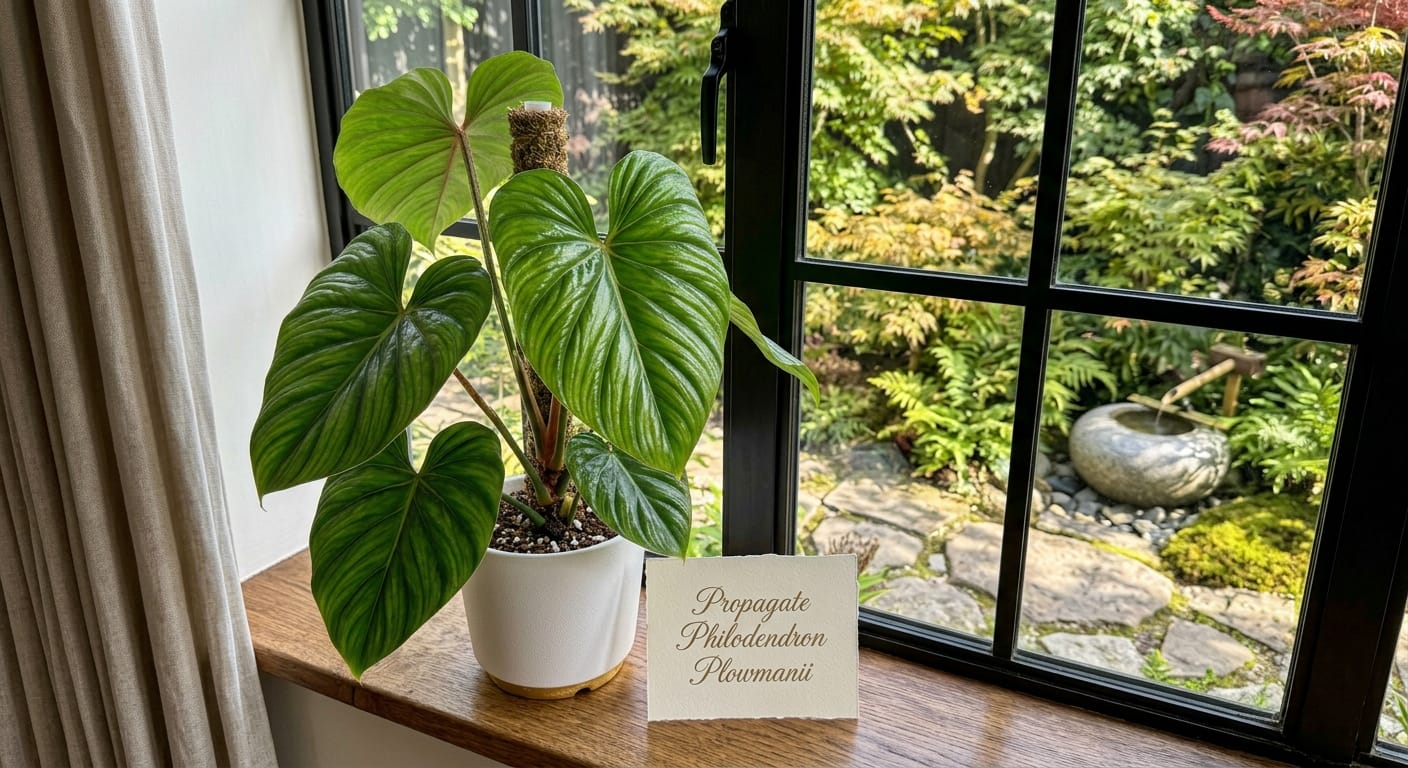
This is the propagation method almost no guide for plowmanii talks about.
And it is honestly the most reliable option for a mature, established plant.
Remember the creeping rhizome we discussed at the beginning?
A healthy adult plowmanii will develop multiple growth points along that horizontal stem over time.
Each of those growth points is capable of becoming its own independent plant.
That process is called rhizome division.
It works very similarly to what I describe in the Philodendron Gloriosum rhizome propagation guide.
Gloriosum is also a terrestrial creeper. The principles transfer directly.
When can you actually divide?
Only when your plant has at least two clearly distinct leaf clusters growing from separate points along the rhizome.
Do not attempt this on a young plant. You will set it back significantly.
Wait until the mother plant is visibly mature with multiple well-established growth points.
Step 1: Remove the plant from its pot
Tip it out gently and shake loose excess soil from the roots.
Do not pull or yank. Let the soil fall away on its own.
Give it time. Damaging the root system now defeats the purpose of the whole process.
Step 2: Find the natural split point
Look carefully along the rhizome.
Find where one growth cluster connects to another.
There is usually a narrower section between the two clusters. That narrowing is your cut point.
Step 3: Make a clean, firm cut
Use your sterilized knife. Cut straight through the rhizome at that narrow point.
Every section you keep must have at least one node, one leaf, and a portion of the root system attached.
Step 4: Callous the cut surfaces
Set both pieces in a warm, shaded spot for 30 to 60 minutes.
Letting the cut rhizome surfaces begin to seal reduces rot risk significantly when repotted.
Step 5: Plant each division right away
Pot each new division into its own container with a well-draining mix.
Water lightly. Place in bright, indirect light.
Because each division already has an established root system, recovery time is much faster than a cutting from scratch.
Expect a new leaf within 4 to 6 weeks in most cases.
Method 4: Air Layering
Air layering is the most advanced method here. Most casual growers skip it.
It is most useful when your plowmanii has a very long rhizome that is awkward to cut.
It is also the right call when you want strong root development in place before you separate the new plant.
Step 1: Choose a node on the rhizome
Pick a healthy node that is not currently producing a new leaf.
Step 2: Make a shallow wound
Use a sterilized knife to make a small, shallow cut just below that node.
You want to nick the outer layer of the stem without cutting all the way through.
Step 3: Apply IBA rooting hormone
Dab a small amount of IBA rooting gel directly into and around the wound site.
Step 4: Pack with damp sphagnum moss
Press a ball of pre-moistened sphagnum moss firmly around the wound.
Make sure the moss fully covers the wound and the node.
Step 5: Seal with plastic wrap
Wrap the moss completely with clear plastic wrap.
Seal both the top and bottom tightly. No moisture should be escaping.
Step 6: Wait and observe
Check through the clear plastic after 4 to 6 weeks.
You should see white roots growing visibly into the moss bundle.
Once roots are clearly visible and at least an inch long, cut the stem below the rooted section.
Plant the new cutting immediately into your regular mix.
Transitioning Your Propagated Cutting Into Soil
This step trips up a surprising number of experienced growers.
Moving from water or sphagnum moss directly to dry soil is a shock to new roots.
Roots that form in water are “water roots.” Their structure is slightly different from soil roots.
They can adapt, but the transition needs to be handled with care.
Pot selection
Use a wide, shallow pot for your plowmanii.
This is not optional. It matters specifically because of the horizontal growth habit.
The plant wants to spread sideways. A deep, tall pot just creates unnecessary dead soil below the root zone.
I use wide, low terracotta or shallow plastic nursery containers for all my plowmanii plants.
Start with a pot that is only slightly larger than the root mass.
An oversized pot holds too much moisture around small roots. Root rot follows quickly.
The first two weeks after potting
Water lightly immediately after planting.
Then place a clear humidity dome or a loosely-draped plastic bag over the cutting for the first week.
This reduces moisture loss through the leaves while the roots adjust to their new environment.
Remove the dome gradually. Do not rip it off all at once.
Crack it open a bit more each day over three to four days.
Common Mistakes I Made (So You Don’t Have To)
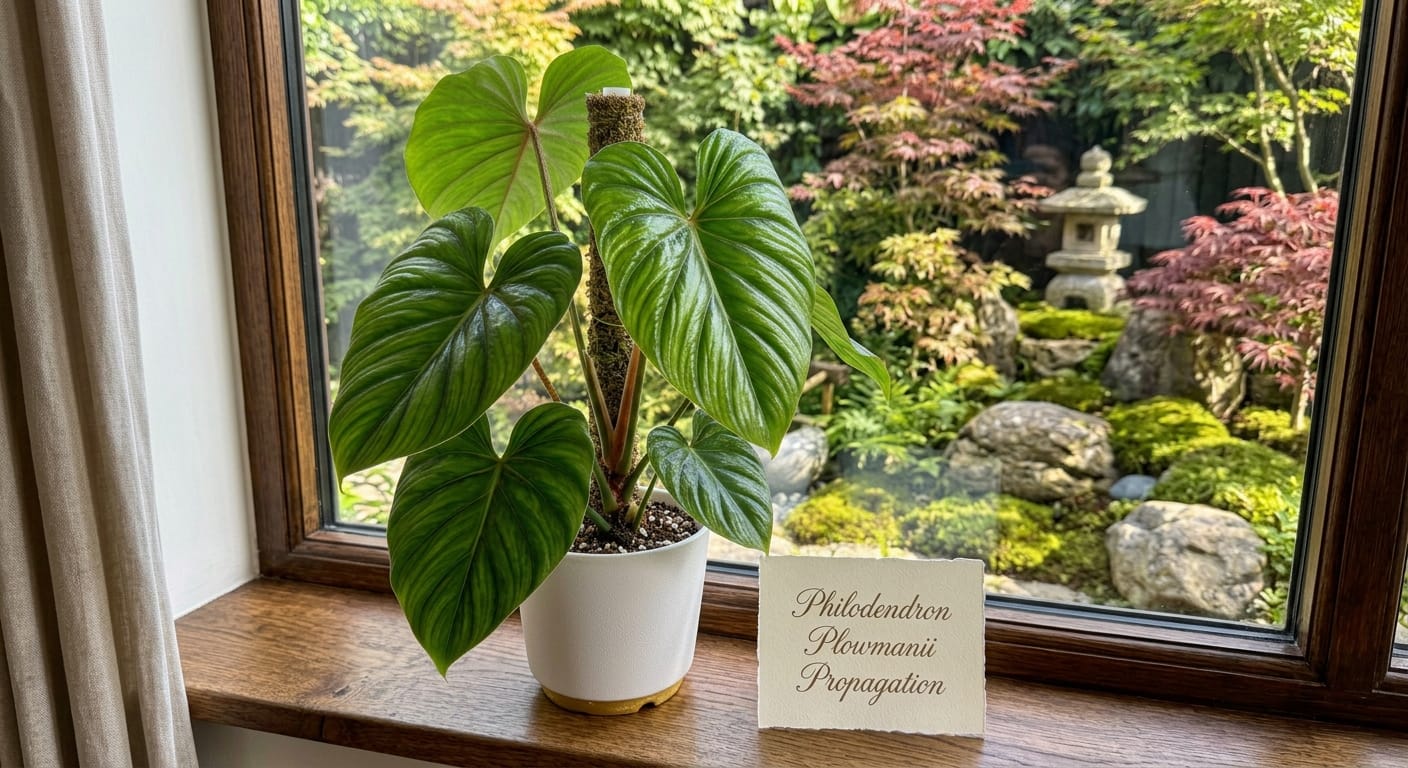
I want to be straight with you here. I have made every one of these mistakes personally.
Mistake 1: Using soil that was too dense and heavy
I packed standard potting mix tightly around a fresh cutting in my second year of collecting.
The roots suffocated before they could establish. The cutting rotted at the node.
Use a chunky, airy mix. Coco coir, perlite, and orchid bark. That combination drains fast and breathes.
Mistake 2: Putting the propagation jar in direct sun
I thought more light would push faster roots. It did not.
Direct sun heated the water, stressed the cutting, and promoted rapid bacterial growth.
Bright, indirect light only. Always and without exception.
Mistake 3: Giving up far too early
I once threw away a perfectly viable plowmanii cutting at week four.
It was showing no visible roots yet. I assumed it had failed.
I know now that this species sometimes takes the full 6 to 8 weeks to even start.
Give it time. Do not declare failure before week six at the earliest.
Mistake 4: Not sterilizing between cuts
Early in my collecting, I spread a bacterial issue from one cutting to three others in one session.
All four cuttings eventually rotted.
Wipe your scissors or knife with rubbing alcohol between every single cut. Never skip this step.
Mistake 5: Taking cuttings without nodes
I did not fully understand what a node was for the first several months.
I took leafy cuttings with no node attached and put them in water.
They looked fine for a while. Then they slowly rotted. No roots ever formed.
A leaf with a petiole but no node attached to stem tissue cannot root.
Look for and confirm the node is present before you place any cutting in water or moss.
Frequently Asked Questions
Can you propagate Philodendron plowmanii from just a leaf?
No. A leaf alone will not form roots or grow into a new plant.
You need a section of the rhizome with at least one intact node.
How long does propagation take?
Expect 4 to 8 weeks for visible roots to form in water or sphagnum moss.
Cooler conditions stretch that timeline further. This is a naturally slow-growing species.
What is the easiest method for beginners?
Water propagation. You can monitor root progress clearly without disturbing the cutting.
Should I use rooting hormone?
For this species specifically, yes. The slow growth rate makes IBA rooting hormone genuinely worthwhile.
It does not guarantee success, but it improves the consistency of root formation.
Why is my plowmanii cutting turning yellow in water?
One or two yellowing lower leaves during early propagation is completely normal.
The plant is redirecting its energy toward root production rather than maintaining existing leaves.
Remove yellowed leaves promptly to keep the water clean.
What humidity level does a propagating cutting need?
Above 60% is ideal. If your home runs dry, a humidity dome helps significantly during the rooting phase.
Do I need a special soil mix after rooting?
Yes. Standard potting soil is too dense and too wet-retaining for plowmanii.
Use a chunky, well-draining aroid mix. Coco coir, orchid bark, and perlite in roughly equal parts works well.
Wrapping This Up
Propagating a Philodendron plowmanii takes patience.
More patience than almost any other philodendron I have worked with.
But the first time you see white roots peeking out of the sphagnum moss around that node, you will understand why it is worth the wait.
If you want to go deeper on propagating other rare and unusual philodendron species, the How to Propagate Philodendron Pedatum guide covers another species with similarly specific needs.
And the full list of propagation guides on this site is a solid reference if you are building your collection cutting by cutting.
Now go make those cuts. Your next plowmanii is already waiting.