Propagating Philodendron Brasil in Soil: My Complete Step-by-Step Guide

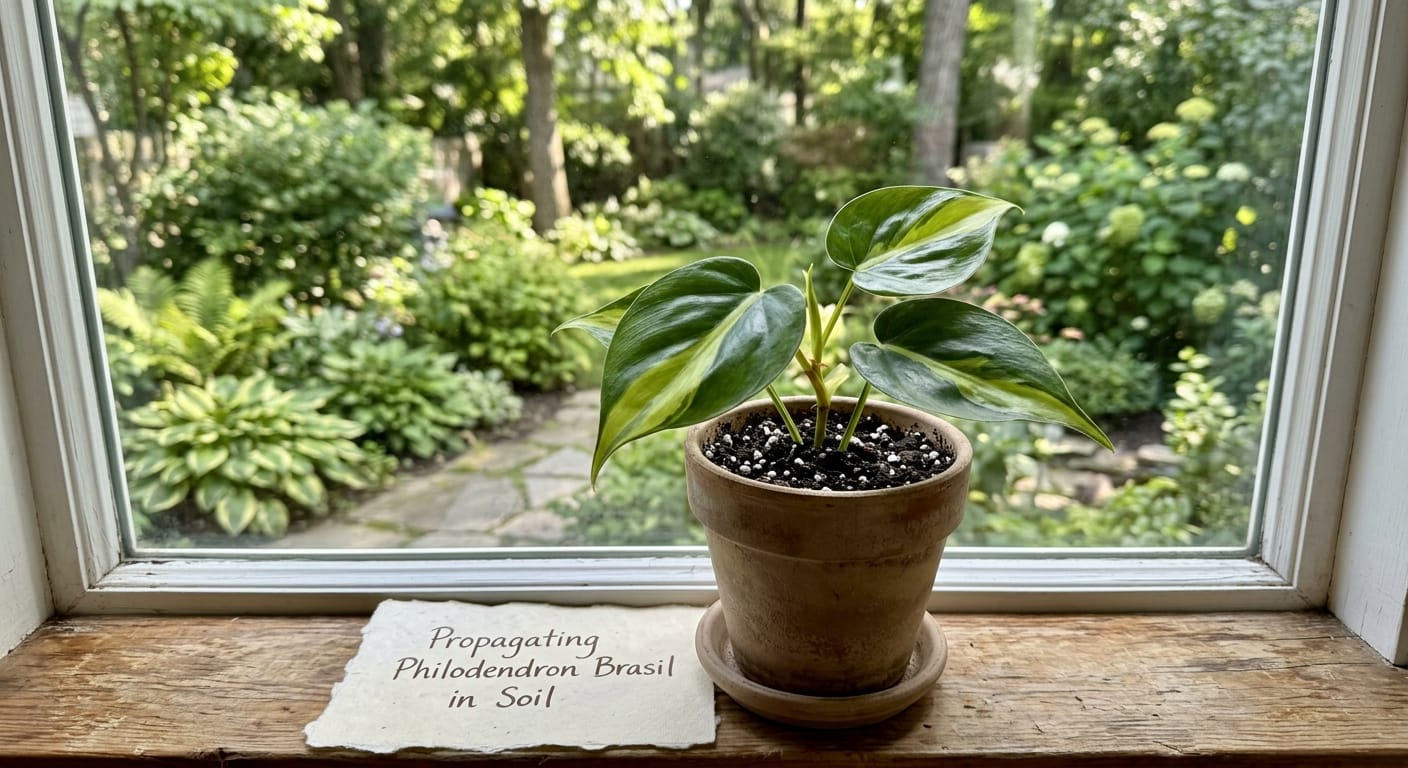
My Philodendron Brasil showed up by accident, on an early trip to a local nursery — a hanging pot with wild variegation, dark green edges bleeding into bright lime down the center of each leaf. I bought it without a second thought and had no idea what I was getting into.
I’ve since propagated that same plant more times than I can count, killed my share of cuttings figuring out why, and now sit above a 90 percent success rate.
This guide walks through exactly how I do it, start to finish, from hands-on experience in my own living room.
First, Understand What You Are Actually Propagating
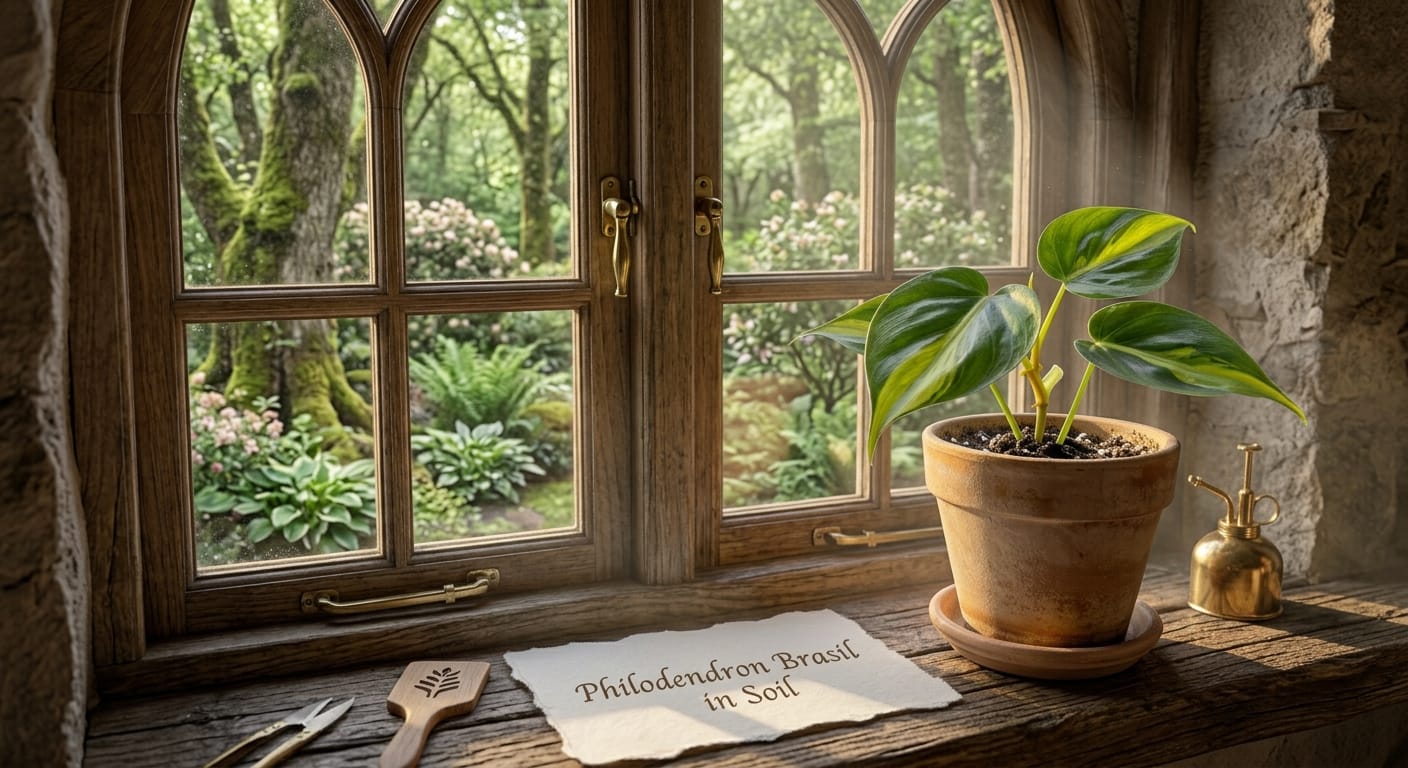
Philodendron Brasil is not a true wild species. It is a cultivar.
Its full botanical name is Philodendron hederaceum ‘Brasil’.
The lime-green variegation is a cultivated trait that lives in the plant’s cellular genetics.
This one fact changes how you choose your cuttings. I will come back to this shortly.
Why Propagate Philodendron Brasil in Soil Instead of Water?
Water propagation gets a lot of attention online. It is easy to watch and track.
But soil propagation builds stronger, tougher roots from the very beginning.
Here is the real problem with water propagation. The roots that grow in water are fragile.
When you move a water-rooted cutting to soil, those delicate roots often snap off.
The plant then has to grow a brand new root system all over again in soil anyway.
Soil roots are different. They are built specifically to anchor and absorb through a solid medium.
When you root directly in soil, your cutting skips the transition phase entirely.
No transplant shock. No wilting. Just clean, steady growth from day one.
There is also a practical benefit. You never have to babysit water levels or change a jar.
Once the cutting is in the pot, you manage moisture and walk away.
For a Propagation Guide that confirms the soil method works across multiple philodendron types, check my full category on the blog.
How to Pick the Perfect Cutting
This step determines 80 percent of your outcome. Cutting selection is everything.
Match the Variegation, Not Just the Vine
Your new plant will inherit the traits of the stem section you cut from.
Cut from an all-green portion of the vine and you will get a mostly-green plant.
The Brasil variegation you love will be weak or completely absent in the new growth.
Always cut from a section of vine where the leaves show strong lime-green and dark-green contrast.
That is how the variegation genetics carry forward into your new plant.
Locate the Nodes First
Nodes are the small bumps on the stem at each leaf attachment point.
Every root your cutting will ever grow emerges from a node. That is it. That is the whole mechanism.
No node on the cutting means no roots. No roots means no plant.
Make sure your cutting has at least two nodes, preferably three.
With three nodes, even if one gets damaged during planting, you still have backup.
Aerial Roots Are a Bonus
Sometimes you will spot small brownish nubs growing off the stem between nodes.
Those are aerial roots. In the wild, Philodendron hederaceum uses these to grip tree bark while climbing.
When you plant a cutting that already has aerial roots, they hit the soil and get to work fast.
Whenever I see aerial roots on a Brasil cutting, I prioritize that section. It roots noticeably quicker.
Tools You Will Need
Nothing specialized is required. Here is my actual list.
Sharp, clean scissors or pruning snips. Dull blades crush the stem instead of cutting through it cleanly.
Crushed stems invite bacterial rot immediately. A clean cut heals fast and resists infection.
I wipe my blades with rubbing alcohol before every single cut I make.
A 4-inch pot with drainage holes. Small pot, good drainage. Non-negotiable.
Your soil mix. This is the single most important piece of your propagation setup.
A plastic bag. Clear grocery bags work perfectly. I will explain their role shortly.
Optional: rooting hormone powder. Technically not required for Brasil. But a light dusting does help slightly.
My Exact Soil Mix for Soil Propagation
Dense potting soil was responsible for most of my early propagation failures.
I used to grab standard mix straight from the bag. The cuttings sat in wet mud for weeks.
The stems rotted. The cuttings died. I blamed myself when I should have blamed the soil.
In the wild, Philodendron hederaceum grows up tree trunks where its roots contact airy, bark-covered surfaces.
The roots are not designed for sitting in heavy, compacted dirt. They need oxygen around them.
According to research published by Gardening Know How, a well-draining potting mix is essential for philodendron propagation in soil.
My exact soil recipe for a single small propagation pot:
- 50% quality potting mix (I use an indoor potting mix, not outdoor garden soil)
- 30% perlite (improves drainage and adds air pockets)
- 20% fine-grade orchid bark (mimics the bark-climbing environment these plants evolved with)
Mix it together in a bowl before filling the pot. Pre-moisten it slightly before the cutting goes in.
This mix drains within seconds of watering. It holds just enough moisture at the node level.
It is the same mix I use across most of my philodendron propagation work, including my Philodendron Micans Care and general trailing varieties.
Step-by-Step: Propagating Philodendron Brasil in Soil
Here is my full process from cut to rooted plant.
Step 1: Take the Cutting
Find a healthy, well-variegated section of vine with at least two or three nodes.
Make your cut about a quarter inch below the lowest node on that section.
Cut straight across with clean snips. Keep the cut smooth and precise.
Remove any leaf that sits at or below the lowest node you plan to bury.
Leaves buried in soil will rot. Rotting leaf matter spreads bacteria to the fresh stem.
Keep all upper leaves intact. They photosynthesize and feed root development while roots are forming.
Step 2: Let the Cutting Rest
Lay the cutting on a clean surface and let it sit for 30 to 60 minutes.
You are allowing the fresh cut end to form a very light callous.
This minor healing reduces the risk of immediate rot when the stem contacts moist soil.
I started adding this step after three cuttings rotted in a single week. The problem never returned.
Step 3: Apply Rooting Hormone (Optional)
Philodendron Brasil is a trailing aroid with naturally high auxin production.
Auxin is the plant hormone directly responsible for triggering adventitious root formation in stem cuttings.
Research on adventitious root formation published in Frontiers in Plant Science (via NIH) confirms that auxin concentration in the rooting zone is the primary driver of root initiation.
Because Brasil produces auxin naturally in useful amounts, added rooting hormone is not a must.
That said, I still apply a very light dusting of IBA (indole-3-butyric acid) powder to the cut end.
Tap off every bit of excess before you plant. Too much rooting hormone is actually inhibitory.
You want just a faint coating on the cut surface. Nothing more than that.
Step 4: Prepare the Pot
Fill your 4-inch pot with your pre-mixed, slightly damp aroid mix.
Do not pack the soil down firmly. Loose soil means oxygen can reach the node zone.
Oxygen is not optional during root development. Pack the soil and you slow everything down.
Step 5: Plant the Cutting
Use a chopstick or pencil to poke a channel into the center of the soil.
This pre-drilled hole keeps the cutting from scraping off the rooting hormone on the way in.
Insert the cutting so the lowest node is fully below the soil surface.
The node needs contact with the moist medium. That is where root cells begin to divide.
Gently press the soil around the base of the stem just enough to hold it upright.
Do not compress. You want stability, not compression.
Step 6: Add the Humidity Dome
This is the step that most beginners skip. It is also the step that matters most.
Place a clear plastic bag over the entire pot. Seal it loosely at the base.
A cutting without roots cannot pull water up from the soil to replace what it loses through its leaves.
That water loss happens every hour the cutting sits in normal indoor air.
The humidity dome keeps the air around the leaves moist. It keeps the cutting hydrated.
The cutting can then spend all its energy on root development instead of fighting water stress.
I leave my humidity domes on for the first seven to ten days.
After that, I start lifting the bag for a few hours each day to let fresh air in.
By day fourteen or so, I usually remove it completely.
Where to Keep Your Cutting
Environment matters as much as technique during propagation.
Temperature: Keep the cutting somewhere that stays between 70 and 80°F consistently.
Root development slows sharply at temperatures below 65°F. Warmth speeds up cell division.
I set my Brasil cuttings on top of my refrigerator. It stays consistently warm up there year-round.
Light: Bright, indirect light only. Direct sun will scorch a leafy cutting that has no roots.
Think about what the cutting is dealing with. It has no way to replace lost water yet.
Direct sun accelerates water loss and adds heat stress the cutting is not equipped to handle.
An east-facing window is my top choice. Gentle morning light, no harsh afternoon rays.
How to Know Roots Are Forming
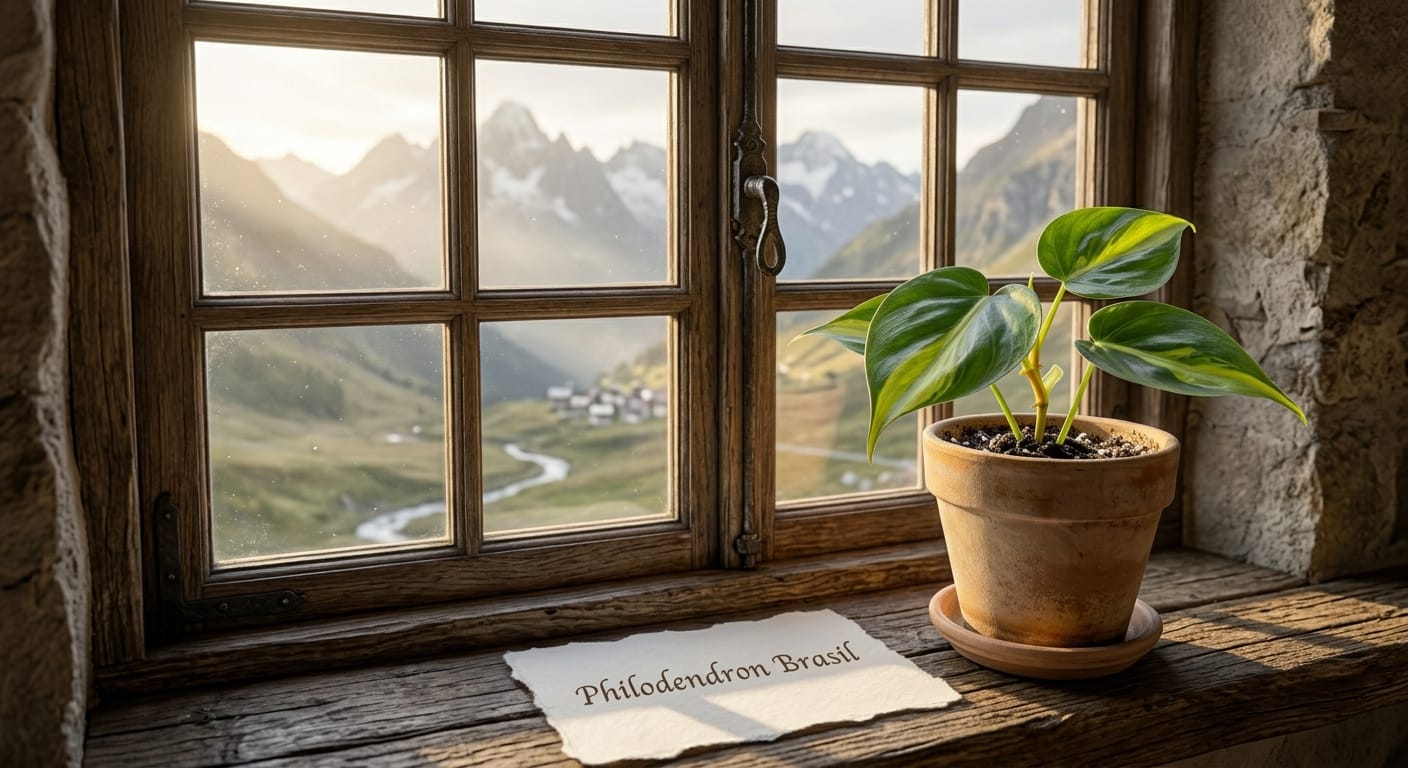
This is the hardest part of soil propagation. You cannot see underground.
Here are the signals I watch for.
New leaf growth. A fresh new leaf is the clearest sign roots are working.
A cutting cannot push new growth without a root system to support it. New leaf means rooted cutting.
The gentle tug test. After about 14 days, give the stem a very light tug.
If you feel resistance, roots have anchored into the medium.
If the stem slides out with zero resistance, the cutting is not rooted yet.
Put the humidity dome back on and check again in another week.
Upright, healthy leaves. Some initial drooping in the first two or three days is normal.
If the leaves perk back up and stay looking firm and healthy, the cutting is coping well.
Limp, yellowing leaves after day five are a warning sign. Check for stem rot at the base.
How to Water During Propagation
This is the most misunderstood part of the whole process.
A rootless cutting cannot drink soil moisture the way a fully rooted plant can.
Piling water into the pot of an unrooted cutting does nothing useful. It just creates rot.
After the initial pre-moistening, I check the top of the soil every three days.
I use a small spray bottle to mist the topsoil surface if it is starting to dry out.
I do not pour water from a watering can into the pot until roots are confirmed.
The mister gives you precision. You keep the zone around the node slightly damp without flooding the soil.
Mistakes I Made Before I Got This Right
I have killed Brasil cuttings in every way imaginable. Here are the lessons.
Cutting From an All-Green Section
It happened during my first year of collecting. I grabbed a healthy-looking vine and just cut it.
I did not look at the color pattern of the leaves. The section I grabbed was mostly green.
The cutting rooted. The plant grew. Every new leaf was almost fully dark green.
The Brasil variegation I bought the plant for was basically gone.
If you care about the variegation pattern, check your cutting source carefully before you cut.
Ohio Tropics confirms this clearly: cuttings from all-green sections produce plants that lack the signature Brasil chartreuse variegation.
Planting the Node Too Deep
My second major mistake was burying the cutting too far down in the pot.
The lowest node was three inches below the surface. It had almost no oxygen around it.
Roots need oxygen to develop. A deeply buried node in dense soil just sits there.
Keep the lowest node just barely below the surface. One inch down is plenty.
Overwatering the Propagation Pot
I poured a full glass of water into my propagation pot every other day.
The soil stayed soaking wet. There were no roots yet to absorb any of that moisture.
The excess water bred bacteria. The stem base turned black and mushy within ten days.
Mist, don’t drench. Remember that without roots, the cutting is a passive passenger in wet soil.
Skipping the Humidity Dome
Without the dome, my success rate on Brasil cuttings hovered around 50 percent.
The cuttings kept wilting and eventually dying before roots could form.
Once I started using a simple plastic bag over the pot, success jumped to above 90 percent.
That grocery bag is one of the most powerful propagation tools I own. Use it every time.
Using Dirty Scissors
I once had a mysterious streak of stem rot that killed five cuttings in a row.
The soil mix was right. The watering was careful. The light was good.
The problem was a pair of scissors I had never once cleaned.
Dirty tools carry fungal spores and bacteria directly into the fresh cut you just made.
Wipe your scissors or snips with rubbing alcohol. Do it every single time. No exceptions.
When to Move the Rooted Cutting to a Bigger Pot
After rooting is confirmed, you still wait a little longer.
Let the root system fill the small 4-inch propagation pot before sizing up.
The sign I look for is roots coming out of the drainage holes at the bottom.
Or consistent new leaf production happening every one to two weeks.
At that point, move the cutting to a 6-inch pot. Use the same aroid mix.
Do not jump to a large pot. Excess soil volume holds excess moisture and can still rot new roots.
Small and steady wins this race. One size up at a time.
How Many Cuttings Should You Propagate at Once?
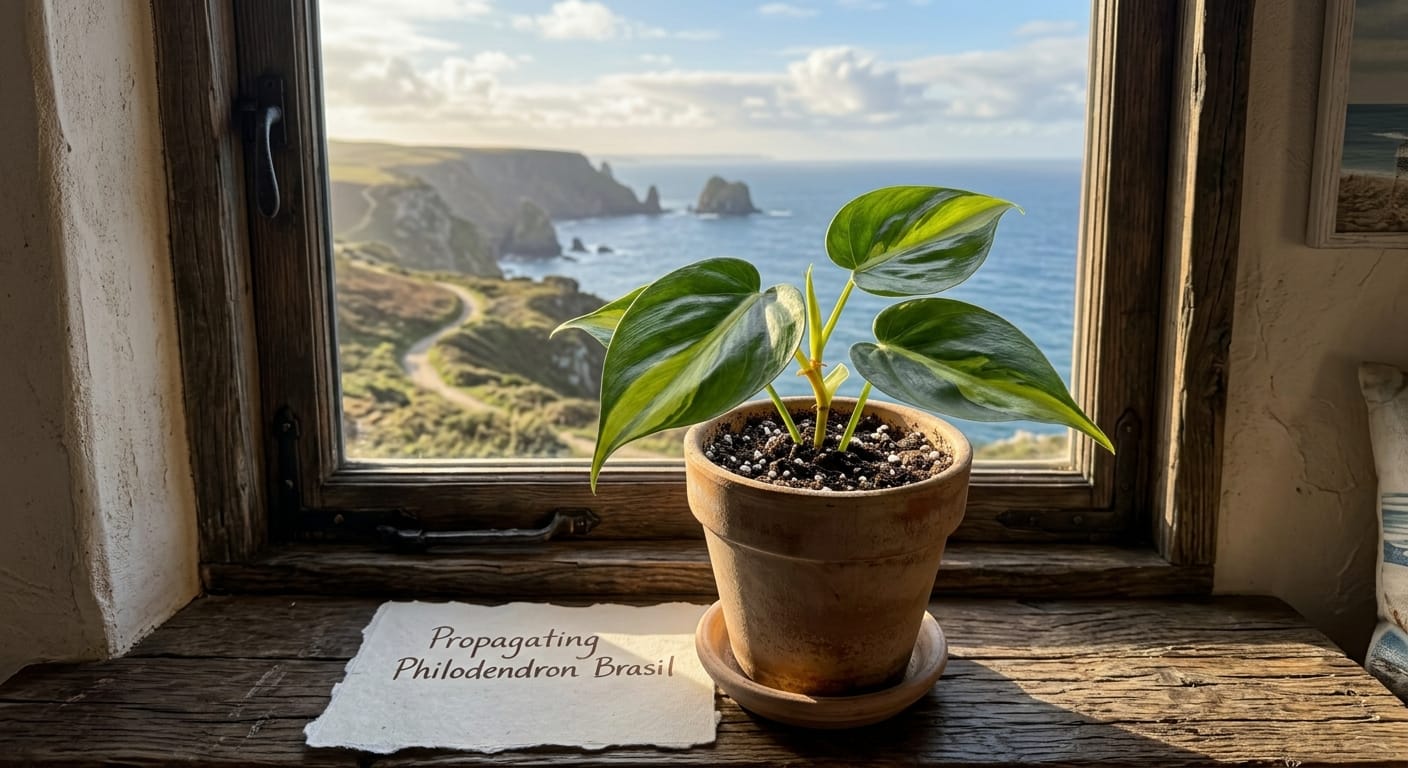
I always take three to five Brasil cuttings during any propagation session.
Even with a perfect setup, not every cutting roots. That is just the reality of propagation.
Taking multiple cuttings gives you insurance so at least two or three will almost certainly root.
I plant all my cuttings into one wider propagation tray together when I have several.
Grouping them creates a shared microclimate. The humidity stays more stable across all of them.
If you are propagating multiple philodendron types at once, check out my guide on How to Propagate Philodendron Pink Princess in Water for a comparison on method differences.
A Quick Timeline for What to Expect
Here is what the typical Brasil soil propagation journey looks like from start to finish.
Day 1: Cutting is planted. Humidity dome is on. Rest begins.
Days 2 to 5: Some leaf drooping may occur. This is normal. The dome helps manage it.
Days 7 to 10: Start lifting the dome for a few hours daily to allow airflow.
Days 14 to 21: Perform the gentle tug test. Look for new leaf emergence.
Days 21 to 28: In warm conditions, most cuttings are rooted by this point.
Days 30 to 45: Roots are filling the pot. New leaves are coming in regularly.
Day 45 onward: Time to size up to a 6-inch pot with fresh aroid mix.
Patience is the skill that separates successful propagators from frustrated ones.
The biology needs time. Rushing it by moving the cutting too early is how you set it back.
My Full Quick-Reference Checklist
Here is the entire process in one clean list:
- Choose a stem section with clear lime-green Brasil variegation
- Identify two or three healthy nodes on the stem
- Cut a quarter inch below the lowest node with clean snips
- Remove any leaf sitting at or below the lowest node
- Let the cut end rest in open air for 30 to 60 minutes
- Apply a light dusting of IBA rooting hormone powder (optional but helpful)
- Fill a 4-inch draining pot with your 50/30/20 aroid mix (pre-moistened)
- Poke a channel with a chopstick and insert the cutting
- Bury the lowest node just below the surface; hold the stem upright
- Place a clear plastic bag over the pot to create a humidity dome
- Set in bright indirect light at 70 to 80°F
- Mist the topsoil every three days; do not use a watering can yet
- Start lifting the dome daily after day seven
- Test for rooting at day fourteen with a gentle tug
- Look for new leaf growth as your main confirmation signal
- Move to a 6-inch pot once roots are coming out the drainage holes
Closing Thoughts
Propagating Philodendron Brasil in soil is one of the most rewarding skills in this hobby.
It takes some setup. It takes patience. But once you nail it, you can repeat it forever.
The keys are a chunky, airy soil mix, a humidity dome, the right light, and consistent warmth.
Get those four things right and the Brasil cutting will do the rest on its own.
It is the second plant I ever bought. I still have the original mother plant on my shelf.
Eight years later, I am still taking cuttings from it. That kind of plant does not quit.
For more on the Brasil’s full care requirements and how to keep the variegation strong long-term, check out my growing Philodendron Species and Care Guides.
And if you want to know more about where all of this knowledge came from, read my About Us page.
I am just a US grower with eight years of soil under my fingernails.
No fancy degrees. Just a lot of cuttings, a lot of failures, and a lot of plants that eventually made it.