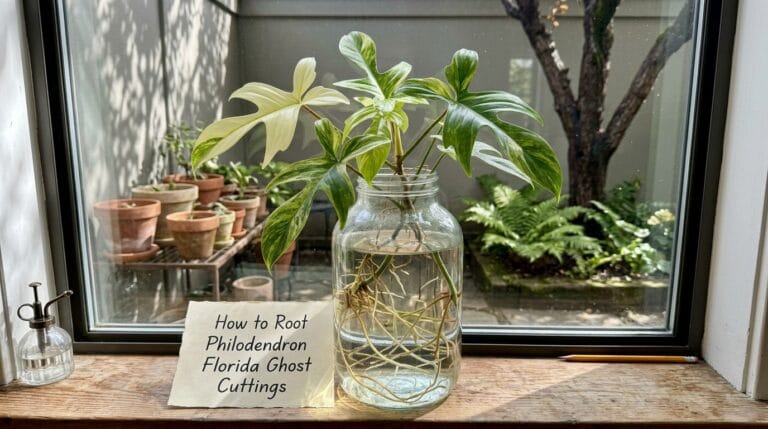
How to Propagate Philodendron Pedatum: A Complete Step-by-Step Guide

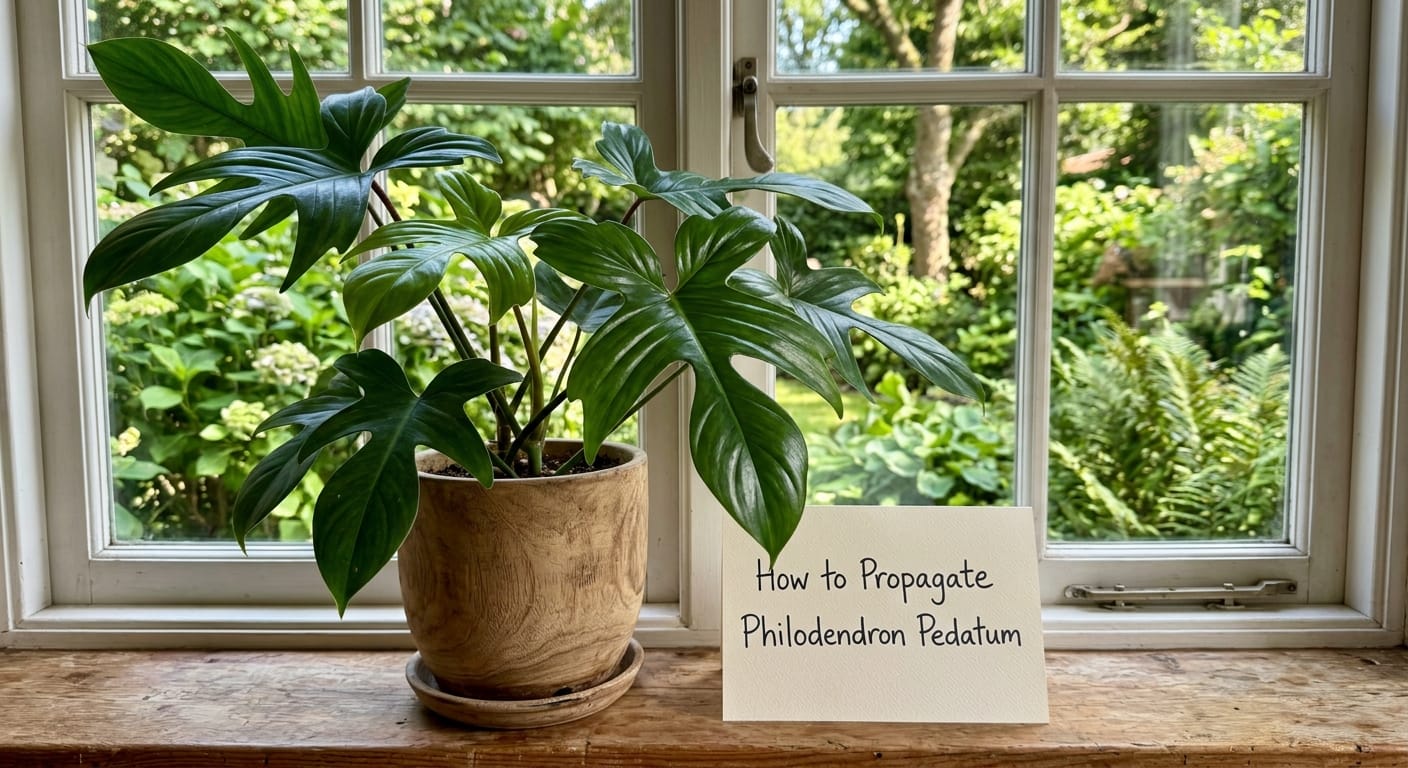
My philodendron pedatum gave me my first real propagation win back in 2020, right after I’d lost two cuttings trying to copy a random YouTube method.
Those failures taught me exactly what not to do with this plant. These days I care for over 500 philodendron varieties, and the pedatum is one I propagate regularly and confidently.
This guide covers what I’ve actually learned doing it — not recycled advice from someone who’s never touched one of these plants.
Just what actually works.
What Makes Philodendron Pedatum Different From Other Vining Philodendrons
Before talking about cutting and rooting, let’s talk about the plant itself.
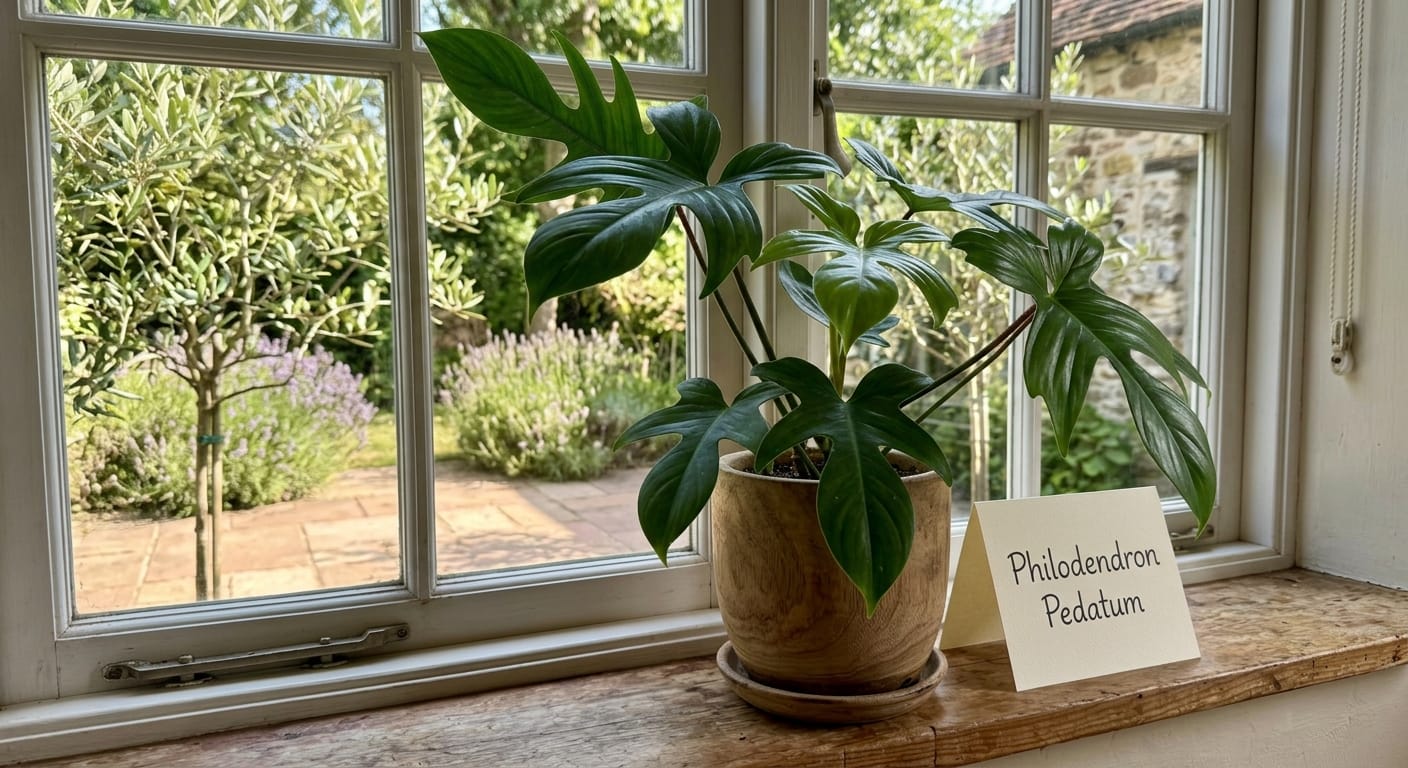
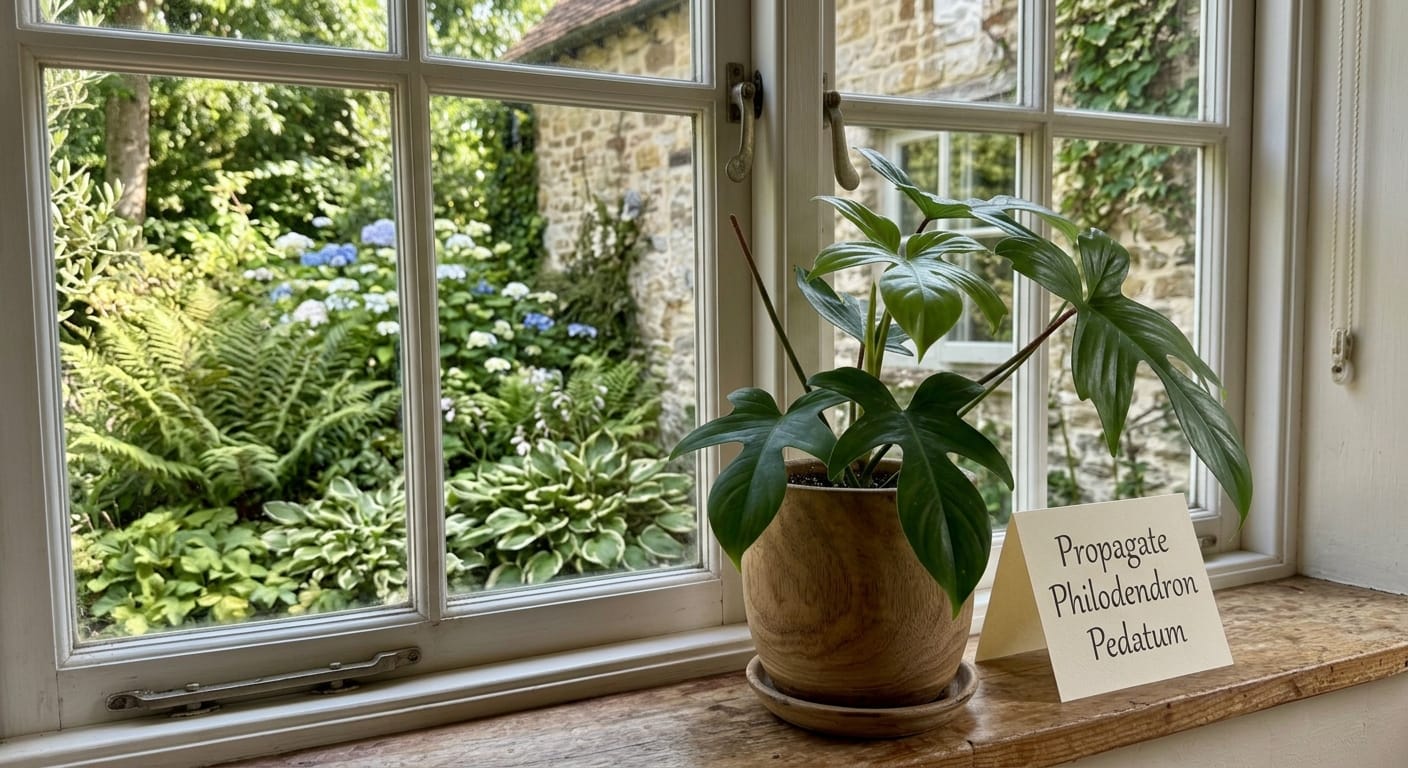
Philodendron pedatum is commonly called the “oak leaf philodendron” for a very obvious reason.
Its deeply lobed leaves look like something between an oak leaf and a dinosaur footprint.
According to Plants of the World Online (Kew Science), this species is native to South America.
Its natural range covers Colombia, Venezuela, Ecuador, Guyana, Brazil, and Bolivia.
In the wild, it climbs closely against trees in warm, moist lowland tropical forests.
That climbing behavior is critically important to understand before you propagate.
In nature, the pedatum sends aerial roots outward from every single node on its stem.
Those roots grip onto tree bark and absorb moisture directly from humid jungle air.
When you propagate a pedatum cutting, you’re triggering that exact same survival response.
You’re giving the stem no other option but to push out brand new roots.
Understanding the plant’s climbing habit makes the propagation process feel much more logical.
When Is the Best Time to Propagate Philodendron Pedatum?
Timing matters far more than most beginners realize when propagating this plant.
The best window to take a cutting is during spring or early summer.
That’s when the plant enters its most energetic active growth phase.
Longer days and warmer temperatures push the pedatum to produce new leaves and roots rapidly.
I personally take most of my pedatum cuttings between April and June each year.
You can propagate in fall or winter, but expect root formation to slow dramatically.
I tried rooting a cutting in November once. It sat in water for six full weeks doing nothing.
The same type of cutting taken in May had visible roots within seventeen days.
If you must propagate in cooler months, place a heat mat under the propagation vessel.
A consistent temperature of around 72-76°F at the root zone speeds things up noticeably.
Tools You Need Before You Start
You don’t need expensive specialized gear. Here’s what I keep ready at my propagation station:
- A sharp pair of scissors or pruning shears
- 70% isopropyl alcohol for sterilizing your tools before every cut
- A clear glass jar or cup (for water propagation)
- A small pot with drainage holes (for soil propagation)
- Rooting hormone powder (optional but genuinely helpful)
- Sphagnum moss (an excellent third rooting option)
- Room-temperature water that has sat out for at least an hour
The sterilization step is the one most beginners skip entirely.
Dirty blades carry bacteria directly into the fresh cut wound.
That bacteria can cause the stem end to rot before a single root ever forms.
I wipe my scissors with alcohol before every single cut. No exceptions.
Understanding the Node: The Most Critical Part of Your Cutting
This section is the foundation. Understand this and your propagation success rate will climb fast.
A node is where all root development happens on a philodendron stem.
On a pedatum, the node is the slight bump or joint where a leaf attaches to the stem.
This spot contains specialized meristematic cells capable of generating entirely new roots.
A stem piece with no node will never produce roots no matter what you do.
It will just slowly decay in water or collapse in soil.
A cutting with at least one healthy node will almost always root successfully.
Now here is the upgrade most guides never mention clearly enough: aerial roots.
Pedatum stems regularly grow small brownish nubs between the leaf nodes along the vine.
These are aerial roots. You’ve probably noticed them poking out sideways from the main stem.
If your cutting already has an aerial root attached, you have a serious head start.
That pre-existing root is already primed and ready to reach into water or soil immediately.
According to Iowa State University Extension, trailing philodendrons with visible nodes root readily in water or well-draining rooting media.
A cutting that includes a node PLUS an aerial root is your absolute best-case scenario.
How to Choose the Right Stem to Cut
Not every stem on your pedatum is ready for propagation. You have to be selective.
Look for a stem that is actively growing and feels firm when you pinch it gently.
Avoid stems that look limp, yellowing, or show any signs of pest damage.
The ideal cutting comes from a healthy mid-section of the plant’s main vine.
Top cuttings with one or two leaves also work well and root very reliably.
Whatever stem you pick, your cutting should be at least 4-6 inches long.
It must include at least one node, but two nodes is the smarter choice.
Having two nodes on one cutting is a reliable insurance policy.
Even if the bottom node struggles, the upper one often compensates and produces strong roots.
Remove the lowest leaf cleanly before placing the cutting in any rooting medium.
A leaf submerged in water rots within days and quickly contaminates the whole jar.
Method 1: Propagating Philodendron Pedatum in Water
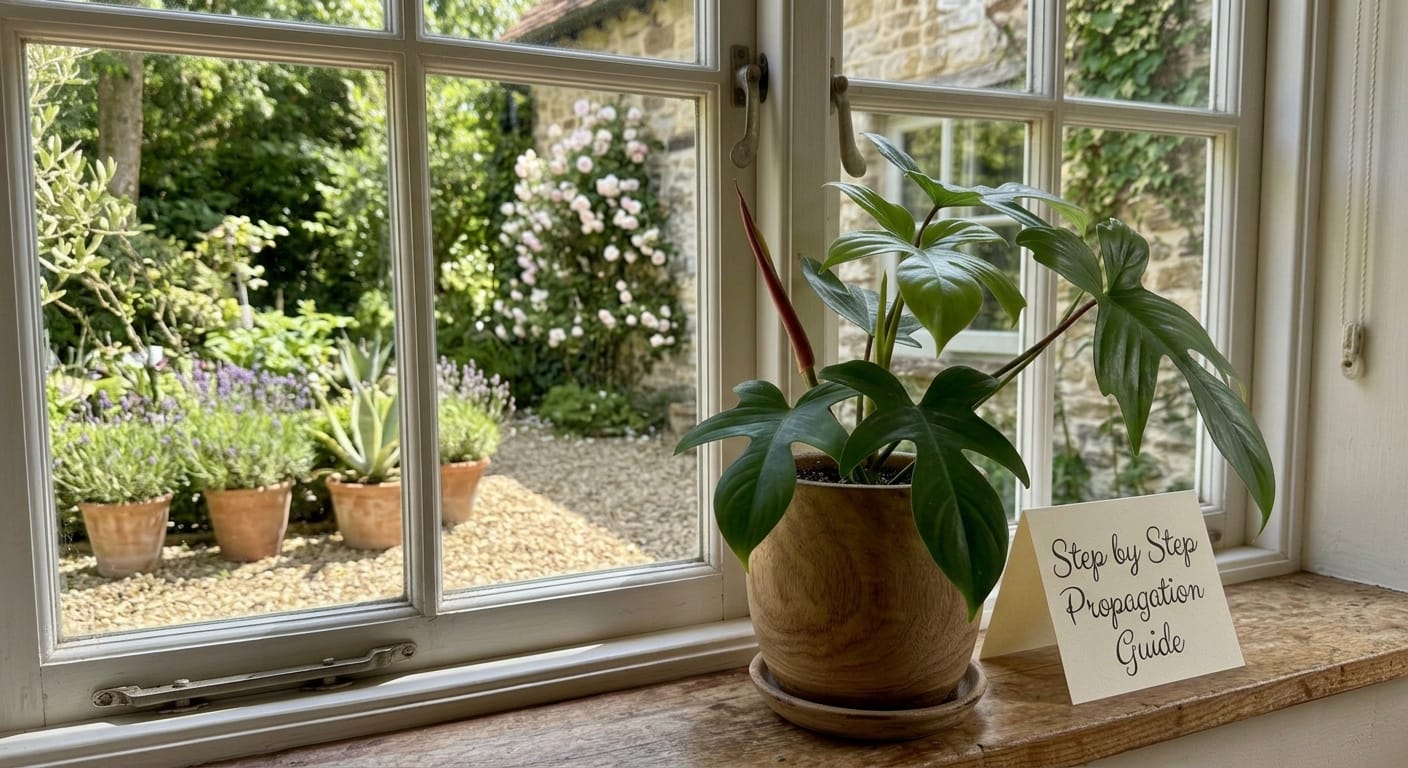
Water propagation is my personal favorite method for this particular plant.
The reason is straightforward: you can watch the roots developing in real time.
That visual feedback tells you exactly when the cutting is ready to pot up.
Step 1: Take the Cutting Correctly
Cut cleanly about half an inch below the lowest node on the stem.
Cutting below the node gives the roots maximum stem surface to emerge from.
Make the cut at a slight downward angle rather than straight across.
An angled cut exposes more surface area, which helps roots form more quickly.
Step 2: Let the Cut End Callous
Set the fresh cutting aside in open air for 60 to 90 minutes before placing it in water.
This callousing step creates a thin physical barrier over the wound.
That barrier resists water-borne bacteria from entering the stem immediately.
Most guides skip this step entirely. Don’t skip it.
Even a brief callousing period makes a measurable difference in how cleanly the cutting roots.
Step 3: Place the Cutting in a Clean Glass Jar
Fill the jar with clean, room-temperature water.
Position the cutting so the node is fully submerged but no leaves touch the water surface.
Place the jar in a spot with bright, indirect light.
Direct sunlight will overheat the water, grow algae fast, and stress the cutting.
Step 4: Change the Water Every 3-4 Days
This step is non-negotiable. Stale water breeds bacteria that kill young roots quickly.
I set a phone reminder so I never accidentally forget a water change.
Each time you swap the water, rinse the jar out too.
Bacterial film on the glass walls will recontaminate fresh water within hours.
Step 5: Wait and Watch
In warm indoor conditions (70-80°F), expect to see white root tips within 2-4 weeks.
If your cutting already had an aerial root attached, you may see growth in 10-14 days.
Once roots reach about 1-2 inches long, the cutting is ready to transition to soil.
Don’t wait until roots are 4+ inches long. Longer water roots are fragile and brittle.
They snap easily during transplanting, forcing the plant to regenerate them from scratch.
Method 2: Propagating Philodendron Pedatum in Soil
Soil propagation skips the water stage and roots the cutting directly into growing medium.
The clear advantage is that soil-grown roots are immediately stronger and better adapted.
The tradeoff is that you can’t see the root development happening underground.
Step 1: Prepare Your Potting Mix
Do not use standard, heavy potting mix straight from the bag.
Dense soil holds excess moisture and suffocates the fragile new roots before they establish.
For propagating philodendron pedatum, I mix equal parts perlite and a light potting mix.
This combination retains just enough moisture while staying open and airy at the root zone.
You can also use a blend of perlite, coco coir, and a small amount of orchid bark.
The target is a medium that stays consistently damp but never becomes waterlogged.
Step 2: Dip the Stem in Rooting Hormone (Optional)
Dip the cut end of the stem into rooting hormone powder.
Tap off any excess. A light coating is all the stem needs.
Rooting hormone isn’t magic. It signals the plant’s cells to redirect energy toward root production.
It won’t save a bad cutting, but it does accelerate rooting on a healthy one.
Step 3: Plant the Cutting Carefully
Make a small hole in the moist mix using a pencil or chopstick before inserting the stem.
Insert the cutting so the node sits about 1 inch below the surface.
Never jam the cutting straight into the mix without making a hole first.
Forcing it in scrapes rooting hormone off the stem and can bruise the delicate node.
Firm the mix gently around the base. Packing it too hard restricts airflow.
Step 4: Cover With a Humidity Dome
Place a clear plastic bag loosely over the pot to trap warmth and humidity.
Or use a proper propagation dome if you have one available.
The dome mimics the humid tropical air that the pedatum naturally thrives in.
Leave a small gap at the bottom edge for airflow. Sealed completely, it will grow mold fast.
Step 5: Maintain Warmth and Indirect Light
Keep the pot in a consistently warm location, away from cold drafts or air conditioning vents.
Check the moisture level of the soil every couple of days.
It should feel barely damp when you press a finger into the top layer.
Spray the surface lightly with a spray bottle if it starts to dry out.
After 3-5 weeks, give the cutting a very gentle tug.
Resistance when you pull means roots have anchored into the mix.
If it pulls out easily, it hasn’t rooted yet. Reinsert it carefully and give it more time.
Method 3: Sphagnum Moss Propagation
Most guides cover only water and soil. Sphagnum moss is genuinely worth knowing about.
Moss holds moisture beautifully while staying breathable enough to prevent rot.
It closely mimics the moist-but-airy bark surface the pedatum clings to in the wild.
Soak your sphagnum moss in water and then squeeze out all excess moisture firmly.
Wrap the damp moss around the cutting’s node and any aerial root present.
Place the wrapped cutting in a clear plastic cup or inside a sealed zip-lock bag.
Check every few days to ensure the moss hasn’t dried out completely.
White roots should visibly push through the moss clump within 2-4 weeks.
Once you see strong, developed roots weaving through the moss, pot the cutting up directly.
Roots formed in moss transition smoothly into soil because they’re already used to a fibrous medium.
No water-to-soil adjustment period is needed, which is a real advantage of this method.
Potting Up Your Rooted Pedatum Cutting
This is the step where a lot of growers make their final and most costly mistake.
They pot fresh rooted cuttings into the same dense mix they use for large mature plants.
Those over-retentive mixes are far too heavy for a baby cutting with brand new roots.
I always start newly rooted cuttings in a light, chunky aroid mix.
My go-to blend for freshly rooted cuttings:
- 40% perlite
- 30% coco coir
- 20% orchid bark
- 10% worm castings
This blend drains fast, stays airy, and provides gentle, balanced nutrition without burning the new roots.
Choose a small pot for this stage. A 3-4 inch pot is ideal.
Oversized pots hold far more moisture than a small cutting can absorb.
That excess moisture builds up around the fragile roots and triggers rot within days.
Water the cutting thoroughly once right after potting it up.
Then let the top inch of soil dry out before watering again.
Keep the newly potted cutting out of direct light for the first two weeks.
Bright, indirect light is the sweet spot while roots adjust to their new soil environment.
Common Philodendron Pedatum Propagation Mistakes
Cutting a stem with no node. This is the single most common error beginners make. A nodeless stem will never root. Identify the node first and then make your cut.
Leaving leaves submerged in water. Any leaf that touches the water will rot within a few days. Remove all leaves below the water line before placing the cutting in the jar.
Not changing the water regularly. Old water becomes a bacterial soup within days. Set a reminder and change it every 3-4 days without fail.
Potting up too early. A cutting with tiny root stubs is not ready for soil. Wait until roots are at least 1 inch long before transplanting.
Placing the cutting in a dark spot. Low light dramatically slows root production. Bright, indirect light keeps the process moving at a good pace.
Using cold tap water straight from the tap. Very cold water can shock the cutting and stall root development. Let water sit at room temperature before using it.
Overwatering the soil-propagated cutting. Soggy soil is the top killer of cuttings rooted directly in mix. The soil should feel like a wrung-out sponge, not wet mud.
Frequently Asked Questions
Can I propagate philodendron pedatum from just a leaf?
No. A leaf without a node cannot generate a new plant. It will stay green briefly, then collapse. You must have a node attached.
How long does philodendron pedatum propagation take?
In warm conditions (70-80°F), expect visible roots in 2-4 weeks in water or moss. Soil propagation may take 4-6 weeks before you can confirm rooting by the gentle tug test.
Does philodendron pedatum need rooting hormone?
It isn’t required. The pedatum is a willing rooter and will root without it. However, hormone powder does visibly speed up the process, especially during cooler months.
Can I propagate philodendron pedatum in LECA or semi-hydro?
Yes, LECA works well. Keep the water level at the bottom third of the LECA layer only. This creates a passive wicking moisture zone without fully submerging and drowning the node.
My cutting is turning yellow. What does that mean?
One slowly yellowing leaf on a propagating cutting is usually normal. The plant redirects energy inward toward root production and sacrifices older leaves to do it. If the stem itself turns yellow or mushy, that’s rot. Remove the cutting and start fresh with a new one.
What is the ideal humidity for rooting a pedatum cutting?
Aim for 60-75% relative humidity around the cutting. A plastic bag or dome creates that microclimate easily without a specialized humidifier.
A Word on the Pedatum’s Naming Confusion
You’ve probably seen plants sold online under the name “Philodendron laciniatum.”
That name is actually an old botanical synonym for philodendron pedatum.
The Wikipedia entry for Philodendron pedatum lists “Philodendron laciniatum” among several accepted historical synonyms.
Both names refer to the exact same plant. Don’t let overlapping names confuse you at the nursery.
It’s also worth knowing that philodendron pedatum is one parent plant of the popular hybrid Philodendron ‘Florida.’
If you’ve ever grown a Florida Green or Florida Ghost, you already know the climbing energy of a pedatum.
The Florida Ghost inherits its vigorous, fast-climbing habit directly from its pedatum parentage.
How Propagation Grew My Pedatum Collection
Back in 2021, I had a single pedatum plant climbing a small moss pole in my living room.
I was genuinely nervous to take a cutting from it.
Cutting into a plant I liked felt risky, and I worried I’d damage it badly.
Eventually I committed to it. I took a 6-inch top cutting with two clear nodes.
I calloused the cut end for an hour and placed it in a clean jar of water.
Fourteen days later, three white roots had pushed out cleanly from the lower node.
I potted that cutting into a 3-inch pot of my light aroid mix.
Six months later, I had two healthy pedatums growing side by side on the same shelf.
Today I have four separate pedatum plants, all grown from that original single vine.
That is the real joy of propagation. One plant becomes many without spending another dollar.
It still surprises me that a single stem section can become a full independent plant.
That’s the rewarding part of this hobby that no one warns you about when you start.
Final Thoughts
Propagating philodendron pedatum is genuinely approachable once you understand what the node does.
Find a healthy stem. Make a clean cut below the node. Keep the cutting warm and humid.
That is the core formula.
Water or moss propagation gives you clear visual feedback as the roots emerge.
Soil propagation produces stronger roots from the very beginning.
Both methods work well. Pick the one that fits your patience and your home setup.
If you’re building your propagation knowledge across multiple philodendron species, browse the full Propagation Guides category for more detailed plant-by-plant breakdowns.
My guide on How to Propagate Philodendron Pink Princess in Water is a good companion read if you want to compare water propagation methods across different vining varieties.
Each philodendron has its own personality when it comes to rooting.
But the pedatum is consistently one of the most forgiving species I’ve worked with.
Give it a healthy node, clean water or soil, some warmth, and a patient wait.
It will produce roots and reward you every single time.