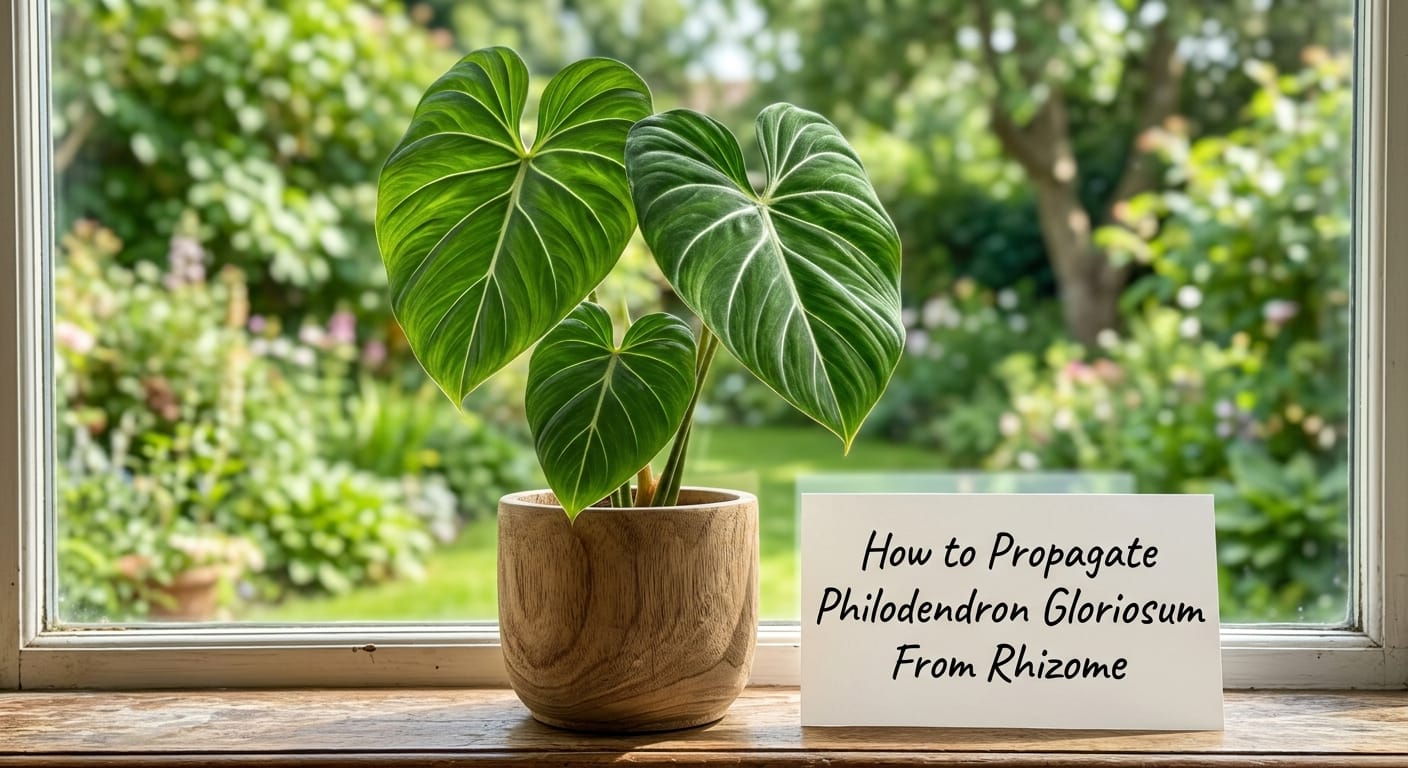
How to Propagate Philodendron Gloriosum From Rhizome (What Actually Works)

The first gloriosum cutting I tried to propagate looked great for two weeks.
Then it turned black.
I had treated it exactly like a regular stem cutting. That was completely the wrong approach for this plant.
Gloriosum doesn’t follow the usual philodendron rules. It took several failed attempts — and one very expensive dead cutting — before I understood why.
This guide covers my exact step-by-step process, the mistakes I made along the way, and the details most propagation guides skip entirely.
Why Gloriosum Is Unlike Any Other Philodendron You’ve Grown
Most philodendrons climb. They send aerial roots up a pole or a wall.
Philodendron gloriosum does not climb.
It creeps. Horizontally. Slowly. Along the ground.
In the wild, it grows on the forest floor in the rainforests of Colombia.
A thick, fleshy stem called a rhizome crawls across the leaf litter.
New leaves emerge one at a time, straight up from that rhizome.
Kew’s Plants of the World Online classifies it as a creeper, with distinctly segmented stem internodes.
This crawling habit is the entire reason gloriosum propagation works differently.
You cannot chop a long dangling vine off this plant. There is no vine.
The rhizome itself is what you propagate.
Understanding that one fact changes everything.
A Real Reason to Propagate This Plant
Before getting into the steps, I want to say something.
Gloriosum is listed as Vulnerable on the IUCN Red List of Threatened Species.
Wild populations in Colombia are shrinking due to habitat destruction.
Every plant you propagate at home is one fewer taken from the wild.
Sharing rooted cuttings with other collectors is genuinely good for the species.
That makes this hobby feel like it actually means something.
What the Rhizome Actually Is
The rhizome is the thick horizontal stem running across the top of the soil.
On a gloriosum, it looks like a segmented, firm green tube.
You can see it clearly because it sits right at or above the soil surface.
Do not ever bury it. That is not a mistake you want to make twice.
Along that rhizome are nodes.
Nodes are the bumps or joints where leaves and roots can develop.
When you cut a section of rhizome, you need at least one node on your piece.
That node is the engine. Without it, the cutting cannot produce new growth.
When to Propagate Philodendron Gloriosum From Rhizome
Timing makes a bigger difference with gloriosum than with almost any other philodendron I grow.
Spring is the best time. The plant is waking up and pushing energy into new growth.
Early summer also works well. Long days fuel faster recovery from the stress of cutting.
Avoid propagating in fall or winter if you can help it at all.
I tried propagating in January one year. The cutting sat completely still for weeks.
Low light and cool temperatures slowed everything to a crawl.
The cutting eventually rotted before a single root appeared.
Now I wait for spring every single time.
If you must propagate in winter, a small LED grow light and a heat mat make a real difference.
Tools to Gather Before You Cut
Getting your tools ready before you touch the plant saves a lot of frustration.
Sharp scissors or pruning shears. Dull blades crush and tear rhizome tissue instead of cutting it cleanly.
70% isopropyl alcohol. This sterilizes your blade before and between each cut.
Cinnamon powder or rooting hormone. Either one goes onto the cut surface to discourage fungal rot from settling in.
Sphagnum moss or a chunky aroid mix. This is the medium your cutting will sit in while it develops roots.
A humidity dome or clear plastic bag. This traps moisture and reduces stress on the cutting while roots form.
A wide, shallow nursery pot. A 4-inch wide pot works for a single cutting. Wide and shallow beats tall and narrow every time for gloriosum.
That is genuinely all you need. Nothing expensive. Nothing complicated.
Step-by-Step: Propagating Philodendron Gloriosum From Rhizome
Step 1: Check the Mother Plant First
Before cutting anything, look at the mother plant carefully.
You want a rhizome that feels firm, looks healthy, and has at least three to four leaves.
Soft, brown, or slimy rhizome sections are already rotting.
Do not attempt to propagate from a diseased or struggling section. It will not work.
Also plan how many leaves you are leaving behind on the mother plant.
I personally never cut below three healthy leaves remaining on the mother plant.
Fewer than that and the mother plant struggles to recover.
Step 2: Find the Nodes
Gently brush away the top layer of soil near the rhizome.
You do not need to unpot the entire plant for this.
Look for the joints or bumps running along the rhizome’s length.
Those bumps are your nodes.
Your goal is a cutting that has at least one visible node.
Ideally, your cutting will already have a leaf or a young shoot growing from it.
A cutting with an existing leaf roots significantly faster than a bare node cutting.
If you have a choice, always take the section with a leaf already attached.
Step 3: Sterilize and Cut
Wipe your blade with isopropyl alcohol and let it air dry for a few seconds.
Position your shears between two nodes on the rhizome.
Cut with one firm, clean motion.
Do not saw back and forth.
Sawing crushes the plant tissue and opens a wider wound that is harder to seal.
One clean cut is always better than five small hesitant ones.
The cut surface should look light-colored and clean on both sides.
A dark or brown cut surface often means that section has internal rot already.
Step 4: Callous the Cut End (Most Beginners Skip This)
This is the step most people miss completely.
Set the cutting aside in a dry, shaded spot.
Let it sit uncovered for 4 to 12 hours.
During that time, the cut surface dries out and forms a thin protective layer called a callus.
That callus blocks rot-causing bacteria and fungi from entering the fresh wound.
I put mine on a dry paper towel on my kitchen counter.
Not in the sun. Not near an air vent. Just a still, warm, shaded spot.
Four to twelve hours is enough. You do not need to wait longer than that.
Step 5: Apply Cinnamon or Rooting Hormone
Once the cut end looks dry and sealed, dust it with a light coat of cinnamon.
Regular ground cinnamon from your spice rack works perfectly well here.
Cinnamon has natural antifungal properties that protect fresh plant wounds.
I have also used powdered rooting hormone. Both work.
Cinnamon is free if you already have it. Rooting hormone can speed things up slightly.
Tap off any excess. You want a light dusting, not a thick coating.
Step 6: Pick Your Rooting Medium
This is where I see a lot of growers get frustrated. Let me make it simple.
Sphagnum Moss
Lightly dampen sphagnum moss until it is moist but not dripping.
Pack it loosely into your wide shallow pot.
Place your rhizome cutting horizontally on the surface of the moss.
Press it in gently so it makes contact, but do not bury it.
Sphagnum holds moisture while still letting enough air reach the rhizome.
In my experience, cuttings root faster in sphagnum than in any other medium.
Chunky Aroid Mix
If you do not have sphagnum moss, a well-draining aroid mix also works.
I use 40% orchid bark, 40% perlite, and 20% coco coir.
This is the same mix I describe in my Philodendron Melanochrysum care guide, where soil drainage is equally critical.
Chunky aroid mix gives strong roots and works great once the cutting is more established.
For the earliest rooting stage, I still prefer sphagnum moss for gloriosum specifically.
Step 7: Position the Cutting Correctly
This step is where the creeper vs. climber difference really shows up.
Always plant the rhizome cutting horizontally, not vertically pointing downward.
This is completely different from a stem cutting on a vining philodendron.
The growing tip of the rhizome (the pointed, fuzzy end) should face toward open space in the pot.
That tip is where the next new leaf will emerge.
Give it room to creep forward, not a wall to immediately run into.
Do not press the rhizome deep into the medium.
The surface is exactly where it belongs.
Step 8: Create a Humidity Tent
Place the pot inside a clear humidity dome or loosely seal a clear plastic bag around it.
This traps moisture in the air and slows down water loss from the cutting.
Gloriosum roots extremely slowly if the air around it is too dry.
Ohio Tropics, one of the most respected aroid resources around, specifically notes that higher humidity is critical for gloriosum health and recovery.
Target humidity of 70 to 80 percent during the rooting phase.
Temperature should stay between 68 and 80 degrees Fahrenheit.
Below 65 degrees, root development stalls almost completely.
A small heat mat under the pot is very helpful if your home runs cool.
How Long Until You See Roots?
Nobody loves hearing this answer. Gloriosum is slow.
After propagating, expect to wait 3 to 8 weeks before any roots become visible.
In cooler homes or during dimmer months, it can take up to 12 weeks.
The first sign of success is usually a new leaf beginning to unfurl.
A new leaf means the plant is feeding itself and almost certainly has developed some roots.
Do not pull the cutting out to check for roots.
Every time you disturb the cutting, you risk snapping fragile new root hairs.
You risk snapping root hairs that the plant spent weeks growing.
Set a reminder for week four. Check the cutting gently at that point.
If it feels anchored to the medium when you give it a tiny gentle tug, roots are there.
My Three Biggest Gloriosum Propagation Mistakes
I want to share the actual mistakes that cost me real plants.
Mistake 1: Burying the Rhizome Too Deep
During my first year, I buried a cutting two inches down into the soil.
I thought deeper meant more stable.
It rotted within three weeks.
The rhizome needs airflow. Burying it cuts off that airflow and invites rot fast.
Now I keep every cutting right at the surface. Barely pressed in. Not buried.
Mistake 2: Propagating in January Without Extra Heat and Light
I tried a mid-winter propagation one year with no grow light and no heat mat.
The cutting did nothing for weeks.
Then it slowly turned soft and died from the base.
Cool temperatures and low light = stalled rooting = eventual rot.
Now I either wait for spring or add a cheap LED grow light and heat mat.
A grow bulb in a regular lamp works fine. Nothing special needed.
Mistake 3: Skipping the Blade Sterilization
One time I was in a hurry and skipped the alcohol wipe.
Three weeks later, the cut end on the cutting turned black with fungal rot.
The whole cutting was gone.
Sterilizing takes thirty seconds. It is never worth skipping.
Use fresh alcohol on the blade before every single cut.
What About Water Propagation?
Some growers try rooting gloriosum rhizome cuttings in a jar of water.
It can work. But there is a real drawback to know about.
Roots that form in water are structurally different from roots that form in soil or moss.
Water roots tend to be soft, fragile, and brittle.
When you transfer the cutting to soil, a large percentage of those roots break off.
The plant then has to grow an entirely new set of soil-adapted roots from scratch.
Sphagnum moss gives you tougher, better-structured roots from the very start.
Water propagation is a last resort in my routine, not a first choice.
Troubleshooting Problems After Propagation
The cutting turns yellow quickly.
Slight yellowing on one leaf is normal stress behavior after propagation.
If the whole cutting yellows fast, check the moisture level of your medium.
Soggy medium is the fastest way to kill a gloriosum rhizome cutting.
Squeeze the sphagnum moss. If water runs freely out, it is too wet.
Let it partially dry out and monitor more closely.
The cut end turns black.
Black rot at the cut end means fungal infection got in through the wound.
Trim the cutting back to clean, light-colored tissue.
Re-dust the fresh cut with cinnamon.
Let it callous for a few hours again before re-planting.
This is salvageable if you catch it within the first one to two weeks.
No roots after ten weeks.
Check your temperature first. Cool conditions are the most common cause of stalled rooting.
A heat mat set to 75 degrees Fahrenheit under the pot often breaks the stall.
Also check that the cutting is still firm. Firm and slow is fine. Soft and slow means rot.
Can You Propagate Gloriosum With No Leaves at All?
Yes, a bare node cutting (rhizome section with no existing leaf) can still root.
But it is much harder and much slower.
The existing leaf on a cutting helps the plant photosynthesize during the rooting period.
That energy drives faster root development.
A bare node cutting has no leaf to help it fuel itself.
It relies entirely on stored energy in the rhizome itself.
Expect bare node cuttings to take noticeably longer to produce their first new leaf.
If you have a choice between a bare node and a section with a leaf, always take the leaf.
Caring for the New Plant After Rooting
Once you see steady new growth and the cutting feels anchored, it is rooted.
Start opening the humidity dome slowly over several days.
Do not pull the dome off all at once and expose it to dry room air.
That sudden shift in humidity can cause leaf edges to brown fast.
Reduce the opening by a small amount each day over about a week.
By day seven, the plant should be adjusting well to regular room conditions.
Soil moisture should stay slightly moist but never waterlogged.
Gloriosum roots need oxygen just as much as they need water.
Bright indirect light is best. No direct sun on a freshly rooted cutting.
Check out my full Propagation Guides section for more detailed aftercare tips on other aroid species.
Quick Reference Card: Propagating Philodendron Gloriosum From Rhizome
| What | Details |
|---|---|
| Best time | Spring to early summer |
| Rooting medium | Sphagnum moss (preferred) or chunky aroid mix |
| Callus time | 4 to 12 hours before potting |
| Humidity target | 70 to 80 percent during rooting |
| Temperature | 68 to 80 degrees Fahrenheit |
| Expected rooting time | 3 to 12 weeks |
| Light | Bright indirect light only |
| Planting position | Horizontal, at the soil surface |
| Node requirement | Minimum one node per cutting |
A Note on Sharing Cuttings
One of the best things about propagating gloriosum is having rooted cuttings to share.
Early in my collecting journey, I started trading cuttings with people in my city.
I swapped a heartleaf cutting for a micans. A micans for something rare.
That is genuinely how half my current collection was built without spending extra money.
If you grow other rare collector aroids alongside gloriosum, my guide on Philodendron Spiritus Sancti care covers another equally special species worth knowing.
Final Thoughts
Propagating Philodendron gloriosum from rhizome is not complicated.
But it does require a few things most philodendrons do not.
Horizontal planting. Proper callusing. Sterilized tools. Genuine patience.
Get those four things right and your success rate goes up dramatically.
I have failed with this plant. Multiple times. Expensive failures, some of them.
But every failure taught me something that made the next attempt better.
If you also grow velvety-leaved aroids like gloriosum, my full Philodendron Melanochrysum care guide covers a plant with very similar needs and a very similar growth style.
And when that first new gloriosum leaf finally unfurls from your propagated cutting? That moment never gets old.