Mealybugs on Philodendron Birkin: How to Spot, Treat, and Keep Them Gone

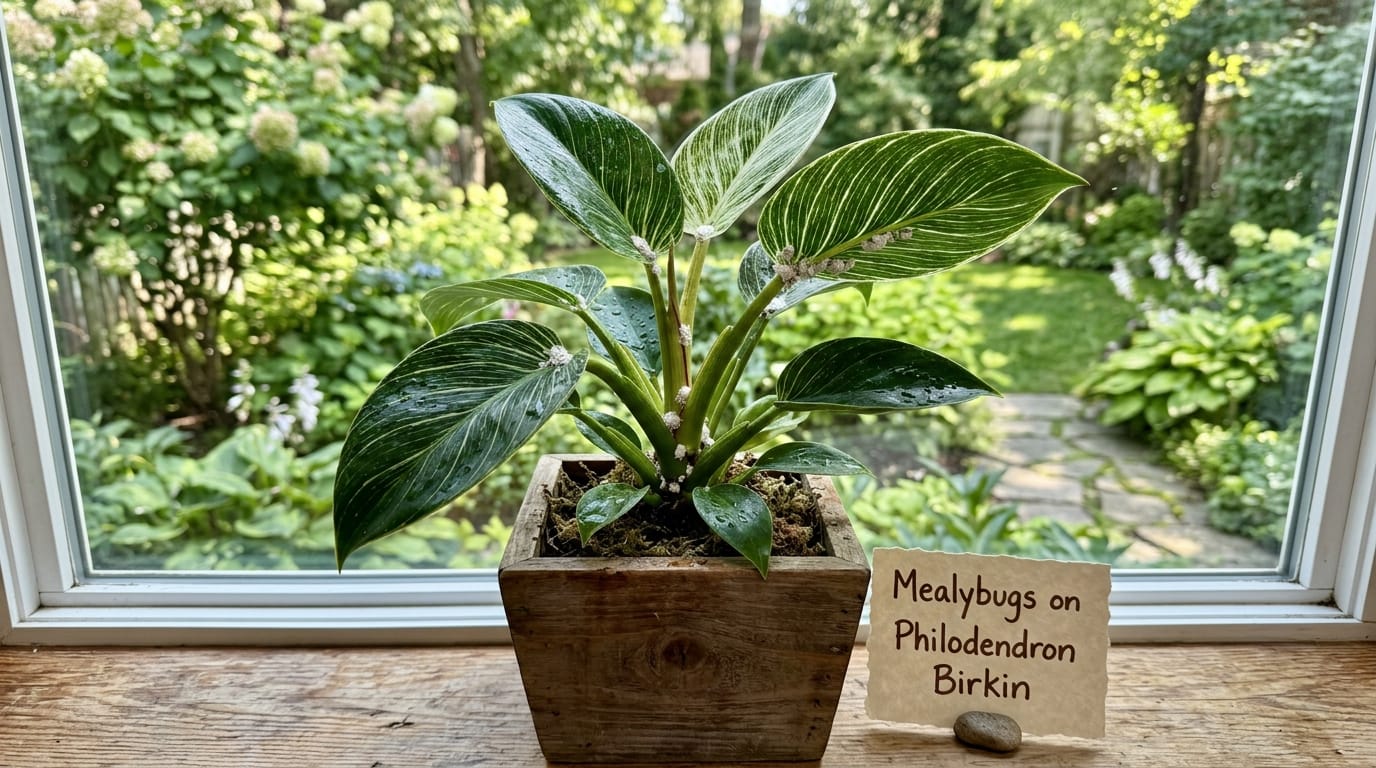
My Birkin was one of my favorites in the entire collection.
New pinstriped leaves every few weeks. Totally flawless growth.
Then one Tuesday morning, I spotted something near a leaf stem base.
It looked like a tiny piece of white cotton.
I leaned in closer. My stomach dropped.
Mealybugs. Already settled in and actively feeding.
I have been growing philodendrons for eight years.
Mealybugs have been my most stubborn pest the whole time.
And on a Philodendron Birkin specifically, they have a real structural advantage.
This guide covers everything I know about mealybugs on Philodendron Birkin.
Identification, step-by-step treatment, monitoring, and long-term prevention all in one place.
What Exactly Are Mealybugs?
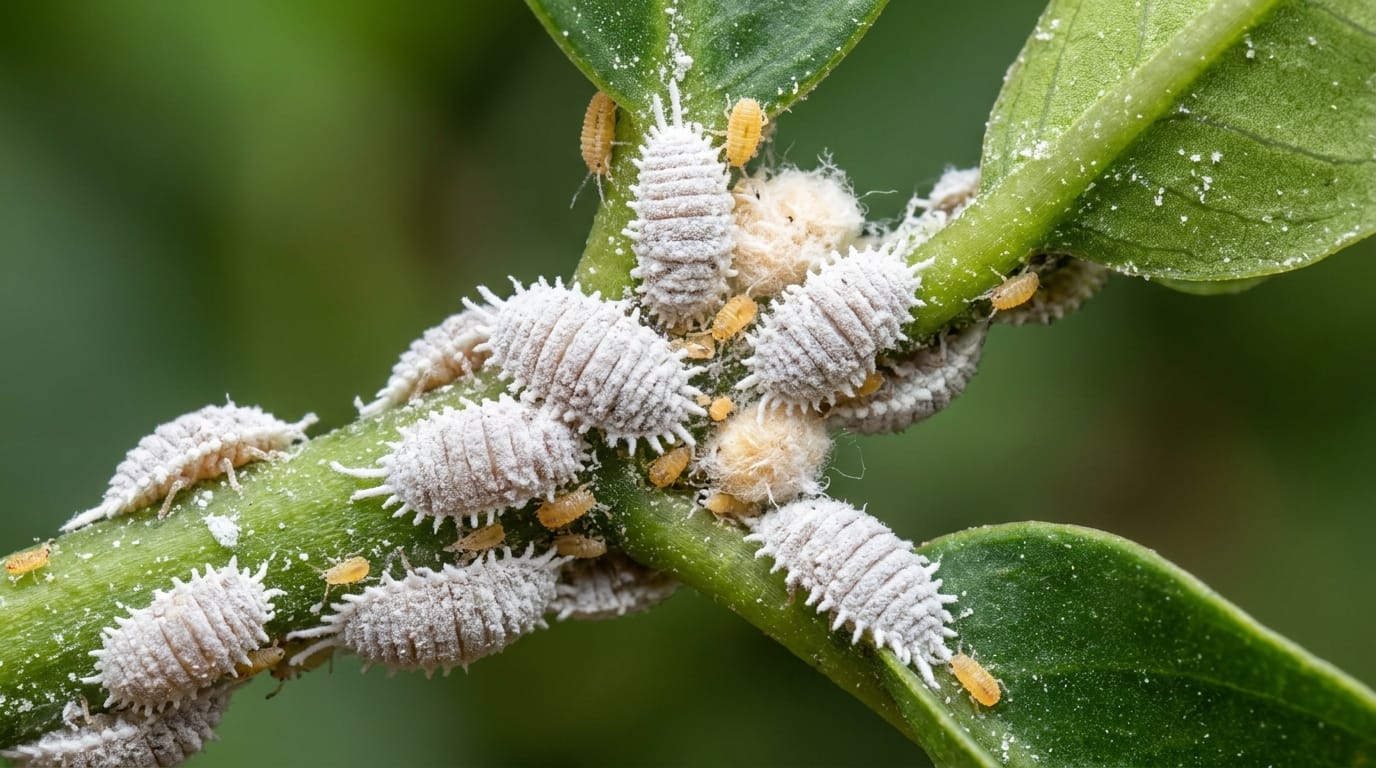
Mealybugs are tiny, soft-bodied insects that suck sap from your plant.
They belong to a family of insects called Pseudococcidae.
Their most visible feature is a white, waxy coating covering the body.
That coating looks exactly like cotton fluff or white powder on your stems.
But it is not just a cosmetic feature. It is armor.
It repels water, blocks most sprays, and shields the insect underneath.
The UC IPM Floriculture and Ornamental Nursery Program confirms that adult female mealybugs are covered in pale, powdery wax.
Adult females grow between 1/20 and 1/5 inch long.
You will almost never see the males.
Male mealybugs are tiny, winged, and do not feed on or damage plants.
The females are the ones draining your Birkin around the clock.
Why Philodendron Birkin Is Especially Vulnerable
Not all philodendrons deal with mealybugs the same way.
A vining plant like a Heartleaf spreads its growth out loosely.
A Birkin is completely different. It is a compact, self-heading plant.
Leaves cluster tightly around a single central growing point.
Petiole bases bunch closely together near the main stalk.
Those tight, sheltered crevices are exactly what mealybugs want.
They squeeze into those gaps and build colonies completely out of sight.
By the time you spot white fluff, the colony is already well established.
I have seen this exact pattern repeat in my own collection multiple times.
The Birkin’s compact structure makes early detection genuinely harder than most other philodendrons.
This is not a criticism of the plant. It is just the reality you need to know.
Where to Check First on Your Birkin
Do not just glance at the tops of the leaves and call it done.
Mealybugs hide in very specific locations on this particular plant.
Here are the exact spots I check every single inspection:
Petiole bases. This is the joint where each leaf stem meets the main stalk.
Leaf nodes. Check the bump where new growth emerges from the stem.
Undersides of leaves. Flip every single leaf and inspect the entire underside carefully.
Near the soil line. Mealybugs sometimes crawl down toward the root zone.
Inside drainage holes. I once found a full colony clinging inside a drain hole.
That last one sounds extreme. But it saved my plant.
I had treated the whole top of the plant and thought the infestation was cleared.
Three weeks later, the colony came back in full force.
That surviving group inside the drain hole had been rebuilding the entire time.
Now I check drain holes on every inspection. No exceptions.
Signs Your Birkin Has Mealybugs
Here are the specific warning signs to look for on your plant:
White, cottony or fluffy masses on stems and leaf nodes.
This is the most obvious sign. Even one tiny cluster is worth acting on immediately.
Sticky residue on leaves or on the surface underneath the pot.
Mealybugs excrete a sweet waste product called honeydew as they feed.
You may notice a slightly sticky film on leaves near an active feeding site.
Black sooty mold on leaf surfaces.
Honeydew creates the perfect condition for a black mold to grow on your leaves.
That mold blocks sunlight from reaching the leaf surface.
Photosynthesis slows. The plant weakens further.
As mealybugs drain sap repeatedly, leaves begin to yellow and lose their firmness.
Stunted or deformed new growth.
A new leaf struggling to unfurl cleanly is a serious warning sign.
The plant is losing nutrients faster than it can produce healthy new tissue.
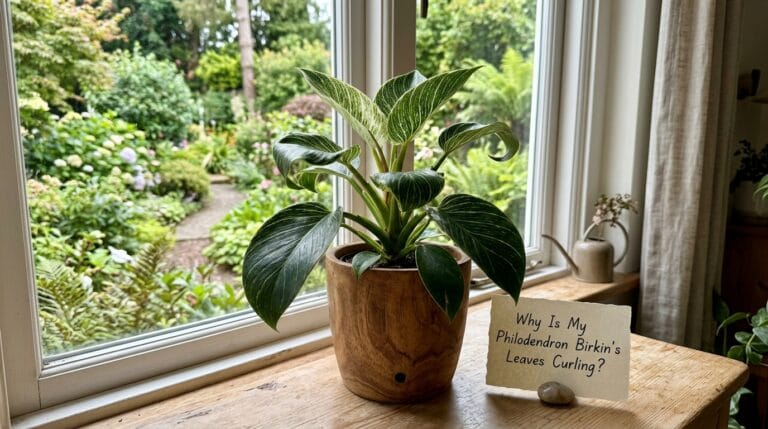
Leaf curling on your Birkin.
Leaf curling on a Birkin has several different causes.
Mealybugs are one of them, especially if accompanied by other symptoms above.
I have a dedicated breakdown of this problem in the Philodendron Birkin leaves curling and drooping guide on Jefrev.com.
The Mealybug Life Cycle (Read This Before You Treat Anything)
This is the section most people skim or skip entirely.
Please read it carefully. It explains everything about why treatment takes weeks.
NC State Extension outlines three distinct life stages: egg, nymph, and adult.
Here is what each stage means for your actual treatment plan:
Stage 1: The Egg Sac
The female lays up to 600 eggs packed inside a fluffy, waxy sac.
That sac is tucked deep into the tightest crevices on your Birkin.
Sprays struggle to penetrate the dense wax encasing those eggs.
Stage 2: Crawlers (First Instar Nymphs)
Eggs hatch into tiny mobile nymphs called crawlers in about six to fourteen days.
Crawlers are the most vulnerable stage of the entire life cycle.
They have not yet developed their full waxy armor.
This is the best possible time to kill them.
But here is the hard part: they are almost invisible without a magnifying glass.
You probably cannot see them even when they are present on your plant.
Stage 3: Settled Nymphs
After crawlers find a feeding spot, they lock in and begin building a wax layer.
As that wax thickens, your contact sprays lose more and more effectiveness.
Stage 4: Adult Females
The white cottony blobs you actually notice on your plant are adult females.
By this stage, the colony has already been feeding silently for weeks.
Indoors, the full cycle from egg to reproductive adult takes about six weeks.
And because your home stays warm year-round, the cycle never pauses.
There is no cold winter to slow them down inside your house.
This is exactly why you must treat your Birkin every single week.
One treatment kills visible adults. Eggs keep hatching for weeks after you stop.
Step-by-Step Treatment: Small Infestation
Caught it early? Good. Here is exactly what to do:
Step 1: Isolate the Plant Right Now
Move your Birkin away from every other plant in your space.
Crawlers spread by walking across touching leaves and shared pot rims.
Do this before anything else. Before you even fully inspect the plant.
Step 2: Inspect Every Single Inch
Take the plant near a bright window. Use a magnifying glass if available.
Check every leaf, stem, node, petiole base, and drain hole.
Know exactly where the colonies are located before you treat.
Step 3: Dab Each Colony with Rubbing Alcohol
Dip a cotton swab into 70% isopropyl alcohol.
Press the swab firmly onto each visible mealybug cluster.
The alcohol dissolves the waxy coating and kills the insect within seconds.
UC IPM recommends 70% or lower isopropyl alcohol for direct mealybug treatment on houseplants.
Do not use 91% or 99% concentration directly on your plant.
Higher concentrations evaporate too fast and can cause leaf burn.
The 30% water content in 70% alcohol slows evaporation and improves contact time.
You will see mealybugs turn rusty brown almost instantly. That is the alcohol working.
Step 4: Follow with an Insecticidal Soap Spray
After swabbing, mix insecticidal soap and water in a spray bottle.
Spray the entire plant thoroughly, concentrating on leaf undersides and all stem nodes.
This catches any mealybugs the cotton swab missed on the first pass.
Step 5: Repeat Every Seven Days for Three Full Weeks
One treatment session is not the finish line. Not even close.
New crawlers hatch from protected eggs over the following weeks.
You need to treat right when those crawlers emerge, before they build wax armor.
Set a recurring calendar reminder and treat on the exact same day each week.
Step-by-Step Treatment: Moderate to Severe Infestation
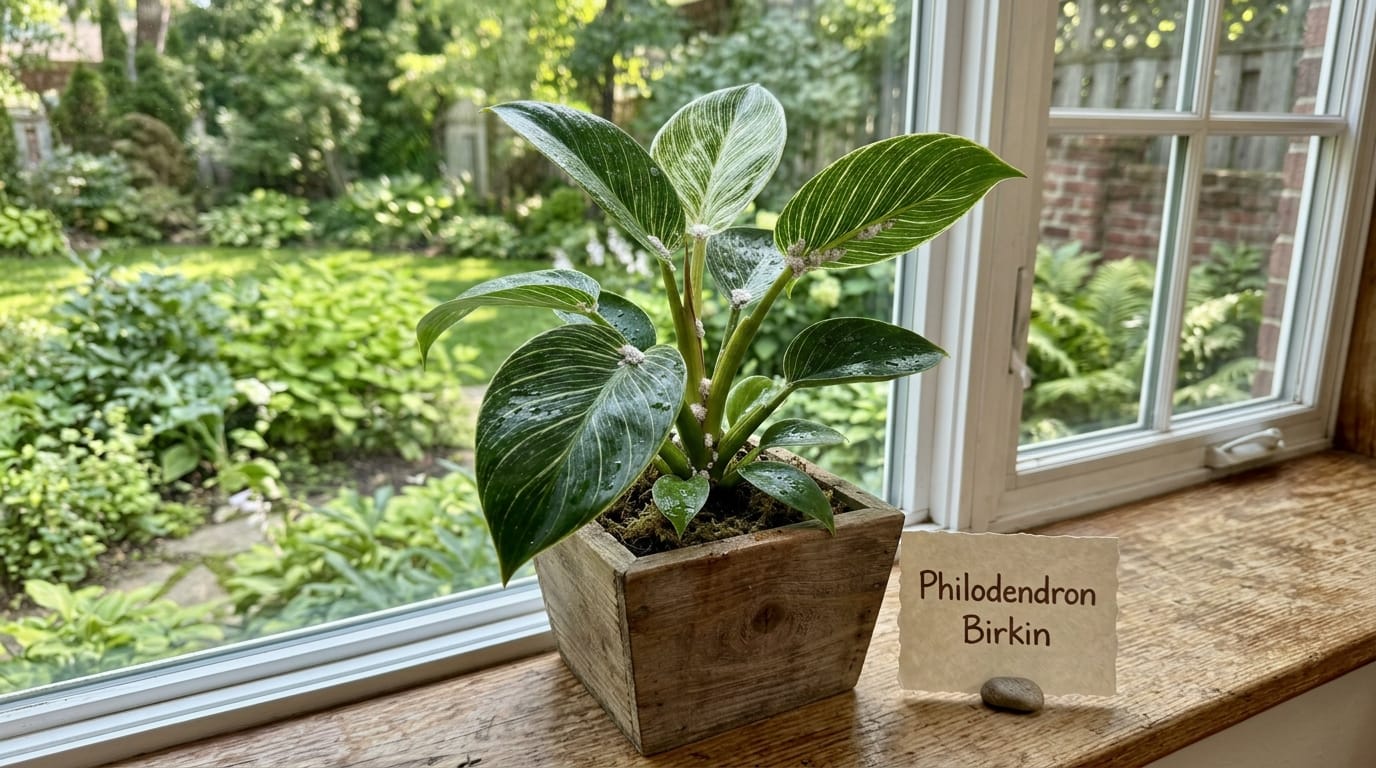
If mealybugs have spread across multiple nodes, you need a stronger approach.
Add Neem Oil to Your Weekly Rotation
Neem oil contains a compound called azadirachtin.
It disrupts mealybug feeding, molting, and reproduction all at the same time.
Mix one to two tablespoons of cold-pressed neem oil with one teaspoon of castile soap.
Add the mixture to one gallon of warm water and shake it thoroughly.
Spray every leaf surface, including undersides, stems, and all node areas.
Apply the spray at dusk or under low indoor lighting conditions.
Never spray neem oil on a plant sitting in direct sun or under a grow light.
The oil amplifies heat on the leaf surface and will cause visible burns.
Alternate Treatments Every Week
Use insecticidal soap one week and neem oil the following week.
Rotating two different products reduces the chance of the bugs building resistance.
Each product targets mealybugs through a slightly different mechanism.
Using both gives you better results than sticking to one alone.
The Nuclear Option: Systemic Insecticides
Sometimes topical sprays are not getting ahead of the infestation.
That is when a systemic insecticide becomes the right call.
A systemic is absorbed by the plant through the root system.
When mealybugs feed on the sap, they ingest the insecticide and die.
I use soil granules containing imidacloprid for my most severe infestations.
Products like Bonide Systemic Houseplant Insect Control are widely available in the US.
Scatter the granules on the soil surface and water them thoroughly into the soil.
The plant absorbs the active ingredient and circulates it through the entire vascular system.
Protection lasts six to eight weeks inside the plant.
This catches crawlers hatching from hidden eggs long after your topical sprays end.
One important point: systemics take several days to fully circulate through the plant.
Keep using your topical treatments during that initial window.
I was honestly skeptical about systemic insecticides for a long time.
Then I had the worst Birkin infestation I had ever seen.
Nothing topical was getting ahead of it quickly enough.
The systemic granules finally turned the tide within two weeks.
I should have used them sooner.
Should You Repot After a Mealybug Infestation?
This question comes up constantly in plant communities online.
The answer depends entirely on how severe the infestation was.
If mealybugs reached the drainage holes or the soil surface, repotting is worth doing.
When you remove the root ball, inspect the roots carefully under good lighting.
A related pest called the root mealybug lives entirely in the soil.
Root mealybugs look like small, white, powdery specks clinging to and around the roots.
They move very slowly when prodded. White mold does not move at all.
That is the fastest way to tell the difference between the two.
If you find root mealybugs, foliar sprays cannot reach them.
A soil-drench systemic treatment is your only effective option for root-zone infestation.
After repotting, scrub the old pot thoroughly with hot soapy water before reusing it.
Mealybugs can survive inside an unwashed pot and reinfest your plant later.
Your Post-Treatment Monitoring Schedule
The most common mistake after treating is assuming the battle is finished.
I made this exact mistake during my second year of collecting.
I treated a Birkin, saw no visible bugs for two weeks, and relaxed completely.
Three weeks later, the infestation came back stronger than before.
Now I follow this strict timeline after every single outbreak:
Weeks 1 through 3: Inspect the entire plant and treat every seven days without fail.
Week 4: Do a thorough check but only retreat if you see any new activity.
Weeks 5 and 6: Final deep inspection. Check every node and every petiole base.
If zero mealybugs are visible at the end of week six, the plant can rejoin your collection.
Do not rush this timeline. Six weeks feels long when you are antsy.
A second outbreak feels much, much longer.
How Mealybugs Get Onto Your Philodendron Birkin in the First Place
Please do not feel embarrassed if you found mealybugs on your plant.
Getting mealybugs is not a sign of a dirty home or bad plant care.
It is simply part of growing houseplants indoors. Every grower faces it eventually.
Here are the most common ways they enter your home:
New plant purchases from nurseries or online shops.
Always inspect any new plant very carefully before it enters your main collection.
Check leaf undersides, every stem node, and the soil surface.
Quarantine new plants for at least two to three weeks before placing them with others.
Open windows or air vents during warm months.
Crawler-stage nymphs are small and light enough to travel on air currents.
Your clothing or bags.
You can carry crawlers home from a nursery, a friend’s collection, or a store.
Ant activity near your plants.
This one surprises a lot of people. Ants actively transport mealybugs between plants.
Ants eat the honeydew mealybugs produce. So ants protect mealybug colonies to keep that food source.
If you see ants climbing any of your philodendrons, check for mealybugs immediately.
Long-Term Prevention Habits That Actually Work
These habits have cut mealybug outbreaks dramatically across my 500-plant collection.
Wipe leaves every single week.
I wipe every Birkin leaf weekly using a soft, damp cloth.
This removes dust and catches early-stage bugs before they can settle and build wax.
Use neem oil as a monthly preventive spray.
A light neem oil spray once a month makes your plant much less attractive to pests.
It will not guarantee zero infestations. But it meaningfully lowers the risk over time.
Avoid over-fertilizing with high-nitrogen fertilizer.
Heavy nitrogen applications push fast, soft new growth very quickly.
Mealybugs specifically target new, tender growth because it is the easiest tissue to pierce.
Slow, steady growth is much harder for mealybugs to exploit effectively.
Inspect new growth the moment it starts to emerge.
Young unfurling leaves are the most vulnerable part of your entire Birkin plant.
A mealybug colony on a young emerging leaf can permanently deform it as it opens.
Check new growth from the very first day you notice it appearing.
Give each plant real breathing space.
I understand the temptation to cluster all your philodendrons close together.
But crowded plants turn a small mealybug problem into a collection-wide emergency fast.
Give your Birkin a few clear inches of space from every neighboring plant.
Mealybugs vs. Other White Stuff on Your Birkin
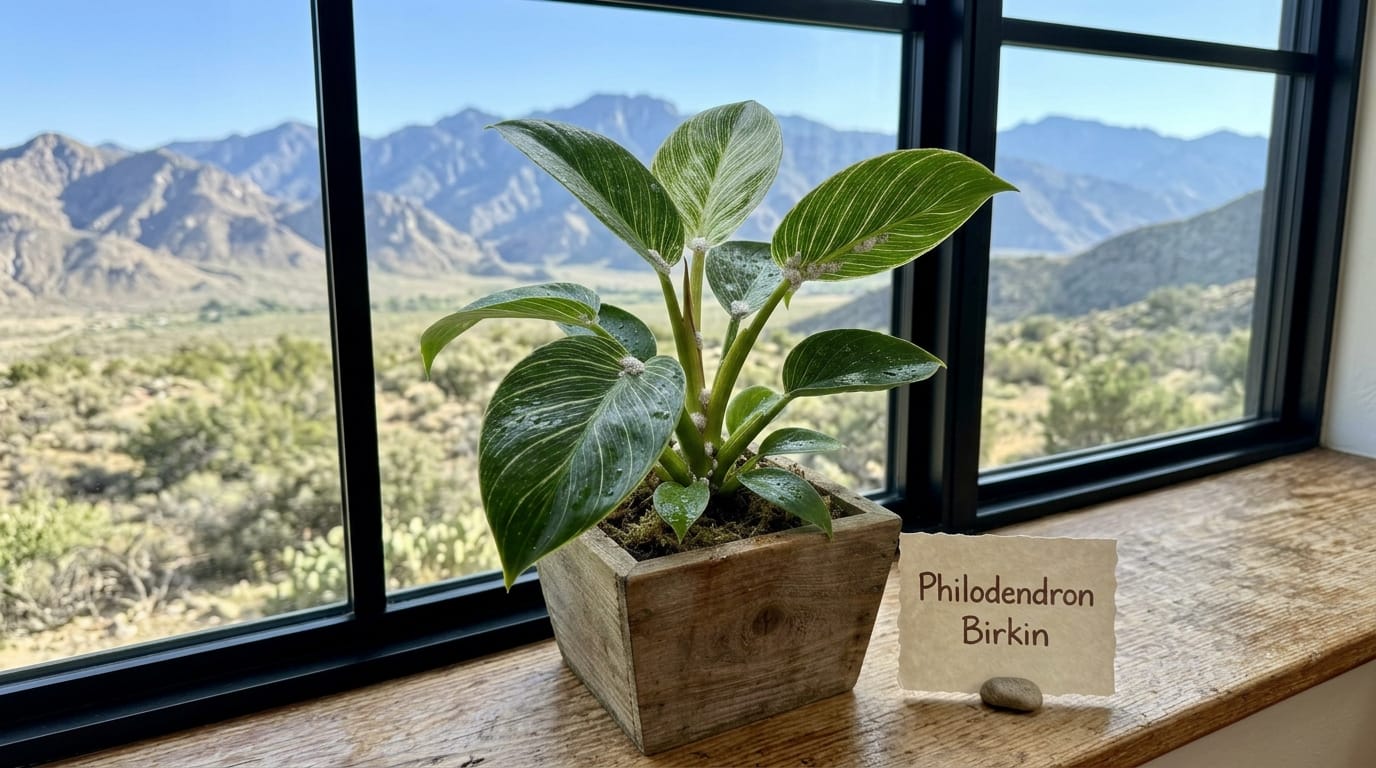
Not everything white on your plant is a mealybug infestation.
Here is how to quickly and accurately tell the difference:
White mold in the soil.
Soil mold is typically flat, fuzzy, and grows on the surface of the potting mix.
It feeds on decomposing organic matter in the soil, not on your plant’s roots.
The key test: poke it gently. Mealybugs move slowly when disturbed. Mold never moves.
Mineral deposits on leaf surfaces.
Hard water leaves a chalky, rigid white residue on leaf surfaces over time.
Mineral deposits are dry and hard to the touch. Mealybugs feel soft and slightly fluffy.
White residue near decaying roots.
Root rot can produce a pale, slimy residue near the root zone at the base.
Root rot smells musty and feels wet. Mealybugs are dry and powdery by comparison.
Will Mealybugs Kill My Philodendron Birkin?
A small, early-caught infestation will not kill your Birkin.
Treat it promptly and your plant will recover fully with proper care.
A large, untreated infestation is a completely different situation.
Mealybugs drain sap constantly. A heavy colony pushes a plant into serious decline.
Secondary sooty mold then blocks sunlight from reaching the leaf surface.
Photosynthesis slows down. New growth stops or emerges deformed.
I have lost plants to mealybugs before. Even expensive ones. It is genuinely heartbreaking.
But I have also rescued severely infested plants through consistent, committed treatment.
The key word is consistent. Weekly treatment for a minimum of six weeks straight.
Can Mealybugs Spread to My Other Philodendrons?
Yes. This is exactly why immediate isolation is your very first step.
Crawlers walk across touching leaves, shared surfaces, and pot rims.
If your plants are crowded together, inspect every plant in that area immediately.
I once discovered mealybugs spreading to my Melanochrysum sitting right next to an infested Birkin.
I caught it before it moved further through the collection.
If you grow a Melanochrysum alongside your Birkin, the complete Melanochrysum indoor care guide on Jefrev.com is worth reading.
For all common philodendron pest issues, the Pest and Disease Diagnosis section has detailed breakdowns organized by pest type.
The Treatment Approach I Regret Not Using Sooner
Early in my collecting years, I handled mealybugs with way too little urgency.
I would swab a few visible bugs with alcohol and consider the job done.
Then I would water the plant and set it back with the rest of the collection.
Two weeks later, the infestation was always three times worse than before.
I repeated this half-hearted approach for about two full months.
The mealybugs never went away. I was just barely managing them, not eliminating them.
What changed everything was committing to a full structured six-week protocol.
I swabbed every visible bug with alcohol on a fixed weekly schedule.
I alternated insecticidal soap and neem oil on alternating weeks throughout.
I added systemic granules to the soil to kill crawlers I could not see.
I treated every plant within three feet of the infected Birkin.
By week seven, the Birkin showed zero visible mealybugs anywhere on the plant.
By week ten, it pushed out a clean, healthy new pinstriped leaf — the first undamaged growth in over two months.
Watching it unfurl was genuinely satisfying after everything that plant had been through, and it’s exactly why I don’t recommend the half-measures I started with. Go straight to the full protocol.
Frequently Asked Questions About Mealybugs on Philodendron Birkin
Can I use dish soap instead of insecticidal soap?
You can use a very small amount in a pinch.
A few drops mixed with water can provide some help for minor cases.
But insecticidal soap is specifically formulated to be safe on plant tissue.
Dish soap at high concentrations can strip the protective layer from your leaves.
How long does it actually take to fully eliminate mealybugs?
Plan for six to eight weeks of consistent weekly treatment.
A very minor early infestation caught immediately might clear in three weeks.
But do not reduce your monitoring schedule before the six-week mark no matter what.
Does hydrogen peroxide work on mealybugs?
It has very limited direct effectiveness against mealybugs.
The waxy coating repels hydrogen peroxide before it can reach the insect.
Stick with 70% isopropyl alcohol for reliable direct contact kills on visible bugs.
What about essential oils like peppermint or tea tree?
I tested this personally on a mild infestation. The colony continued growing normally.
Available research also does not support essential oils as dependable mealybug control.
Use proven treatments instead. Do not lose valuable weeks on things that do not work.
What if my Birkin keeps getting mealybugs every few months?
Check the quarantine habits first. Are new plants going straight into your collection?
Also check surrounding plants. A recurring source plant can keep reinfecting your Birkin.
Consider using preventive monthly neem oil sprays and systemic granules after each clear.
Final Thoughts from Eight Years of Growing Philodendrons
Mealybugs on Philodendron Birkin are genuinely stressful. But they are absolutely beatable.
The Birkin’s compact shape makes early detection harder than most other plants.
That means your inspection routine needs to be more deliberate and thorough.
Check the nodes and petiole bases every single week as part of your regular care.
Move fast the moment you spot the first piece of white fluff.
Isolate. Swab with alcohol. Spray. Repeat weekly. Monitor for a full six weeks.
That simple rhythm has saved more plants in my collection than any single product.
Your Birkin is resilient. Give it consistent treatment and enough time.
It will repay you with clean, beautiful new growth.