Spider Mites on Philodendron Verrucosum: How I Caught Them Early and Saved My Plant

I almost lost one of the most beautiful plants in my collection.
It was my Philodendron verrucosum.
At the time, it had been growing strong for nearly two years in my home.
The leaves were finally getting massive and deeply velvety.
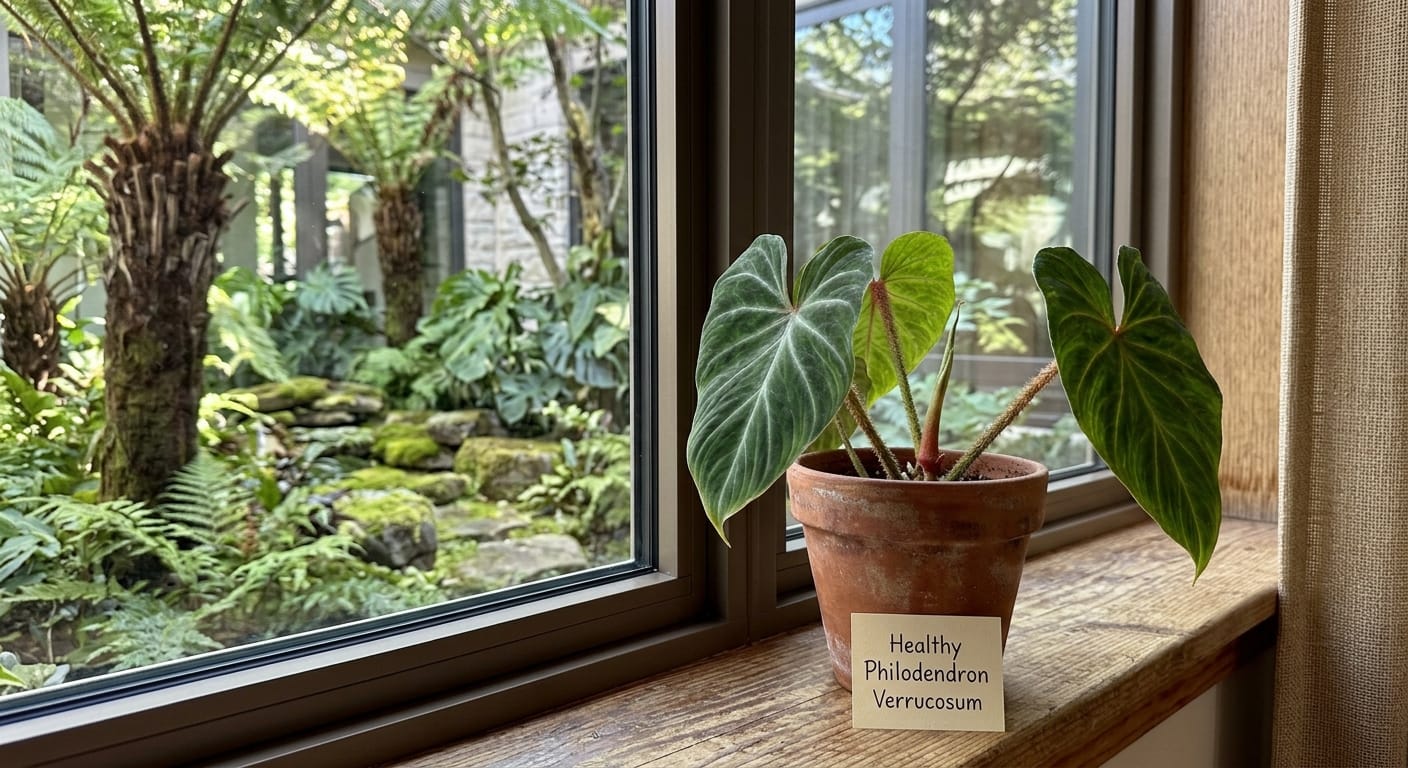
That copper vein contrast was something I genuinely looked forward to every morning.
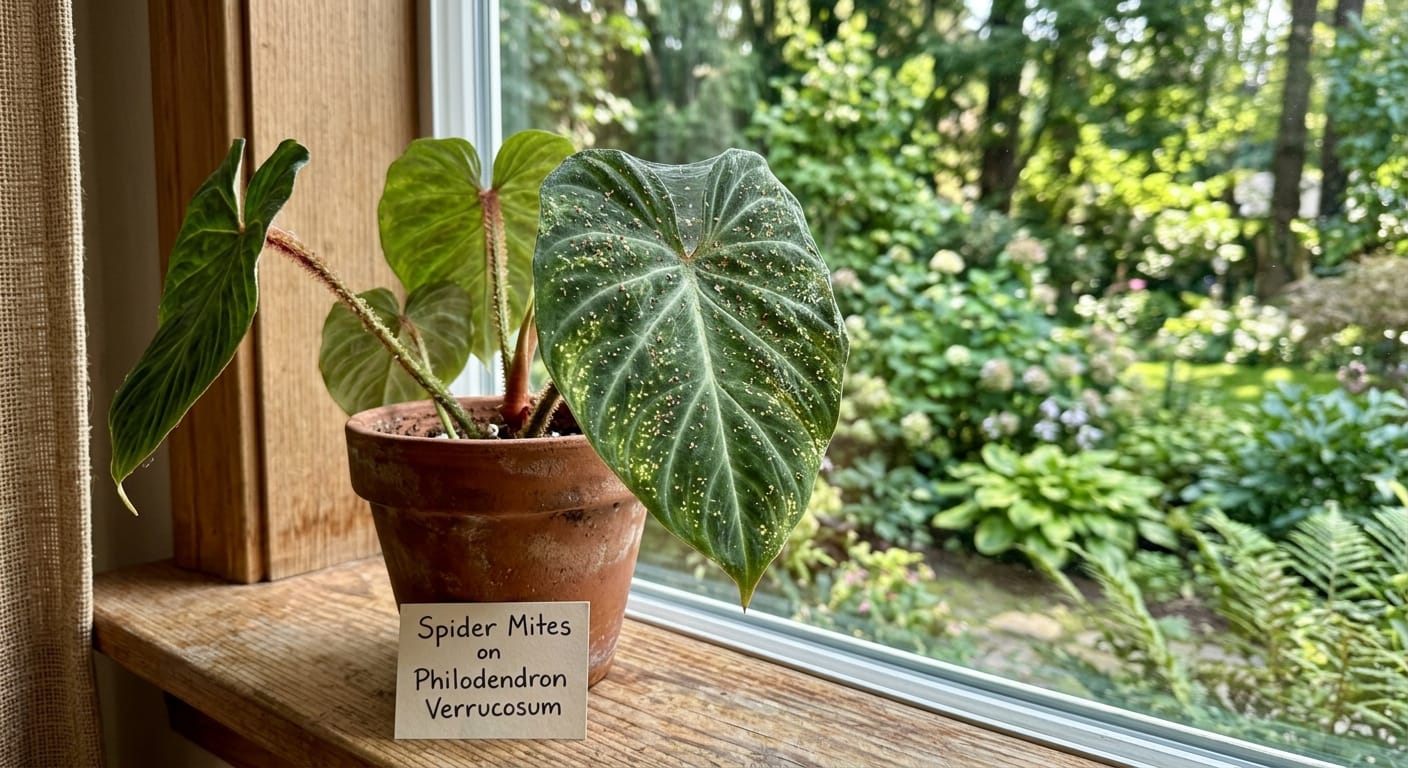
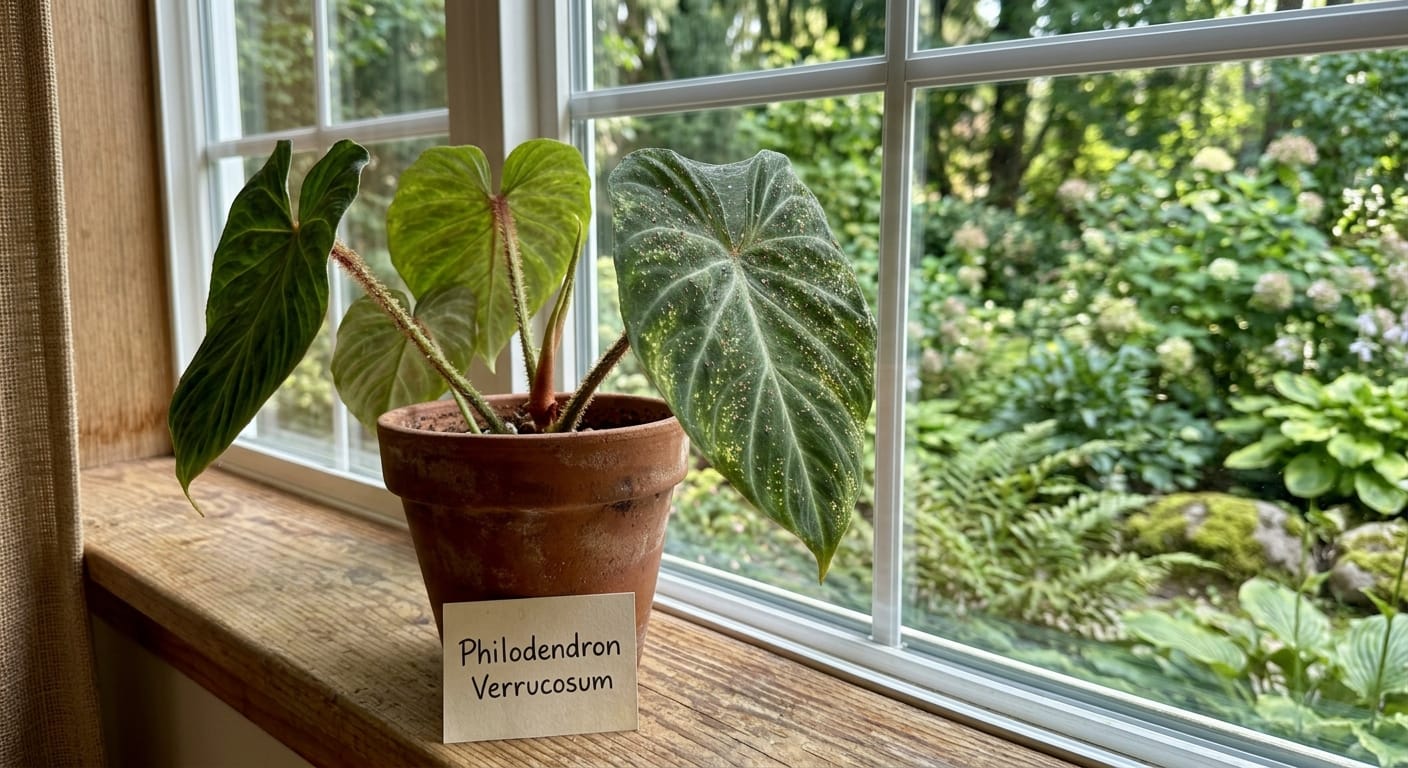
Then one afternoon, I noticed faint pale speckling near the center rib of one leaf.
I blamed it on fertilizer salt buildup at first.
That was a big, costly mistake.
Within two weeks, three more leaves showed the same dusty, faded stippling.
By then, I could see the webbing. Spider mites had taken over.
What followed was three weeks of daily treatment and serious frustration.
I am sharing every detail of that experience with you today.
This guide will help you spot, treat, and prevent spider mites on your verrucosum — the right way.
Why Your Philodendron Verrucosum Is a Spider Mite Target
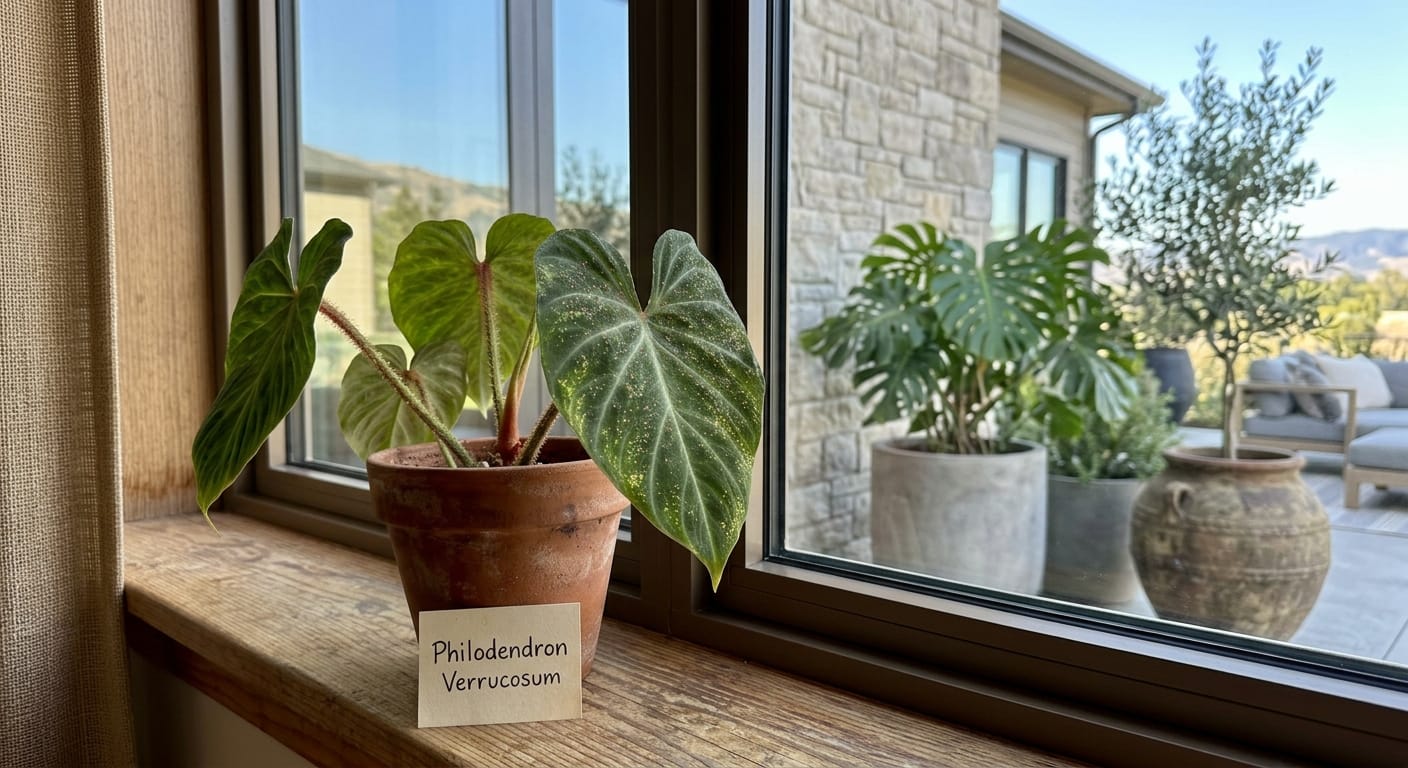
Not all philodendrons are equally attractive to spider mites.
Your verrucosum, unfortunately, sits right at the top of the target list.
There are two specific reasons for this, and both come down to the plant’s biology.
First, it needs very high humidity to thrive — and most US homes don’t have it.
The verrucosum is native to the cloud forests of Ecuador and Colombia.
In those cloud forests, humidity regularly stays between 80 and 100 percent.
Your living room? Probably somewhere between 30 and 50 percent, especially in winter.
Spider mites pose a particular risk to verrucosum in the drier air conditions this humidity-loving species is often kept in when its needs are not fully met.
That dry air gap is exactly where spider mites move in and multiply.
Twospotted spider mites (Tetranychus urticae) prefer hot, dry conditions, and population increases and subsequent plant damage can occur rapidly under these conditions.
Second, the velvet texture of the leaves creates a hiding problem.
Those beautiful fuzzy trichomes that make the verrucosum so visually stunning?
They also create tiny sheltered pockets where mites love to hide and breed.
Because this species’ textured foliage can make spotting pests more difficult, routinely inspecting new growth closely is essential to reducing the likelihood of outbreaks.
On a smooth-leaved philodendron, webbing shows up quickly and visibly.
On your verrucosum, that webbing blends right into the leaf texture.
By the time most people see it clearly, the infestation is already advanced.
That is what happened to me. I want to make sure it doesn’t happen to you.
For reference on how other velvet-leaved philodendrons handle pest pressure, check out my guide on caring for Philodendron melanochrysum indoors. The humidity overlap is directly relevant.
What Are Spider Mites, Exactly?
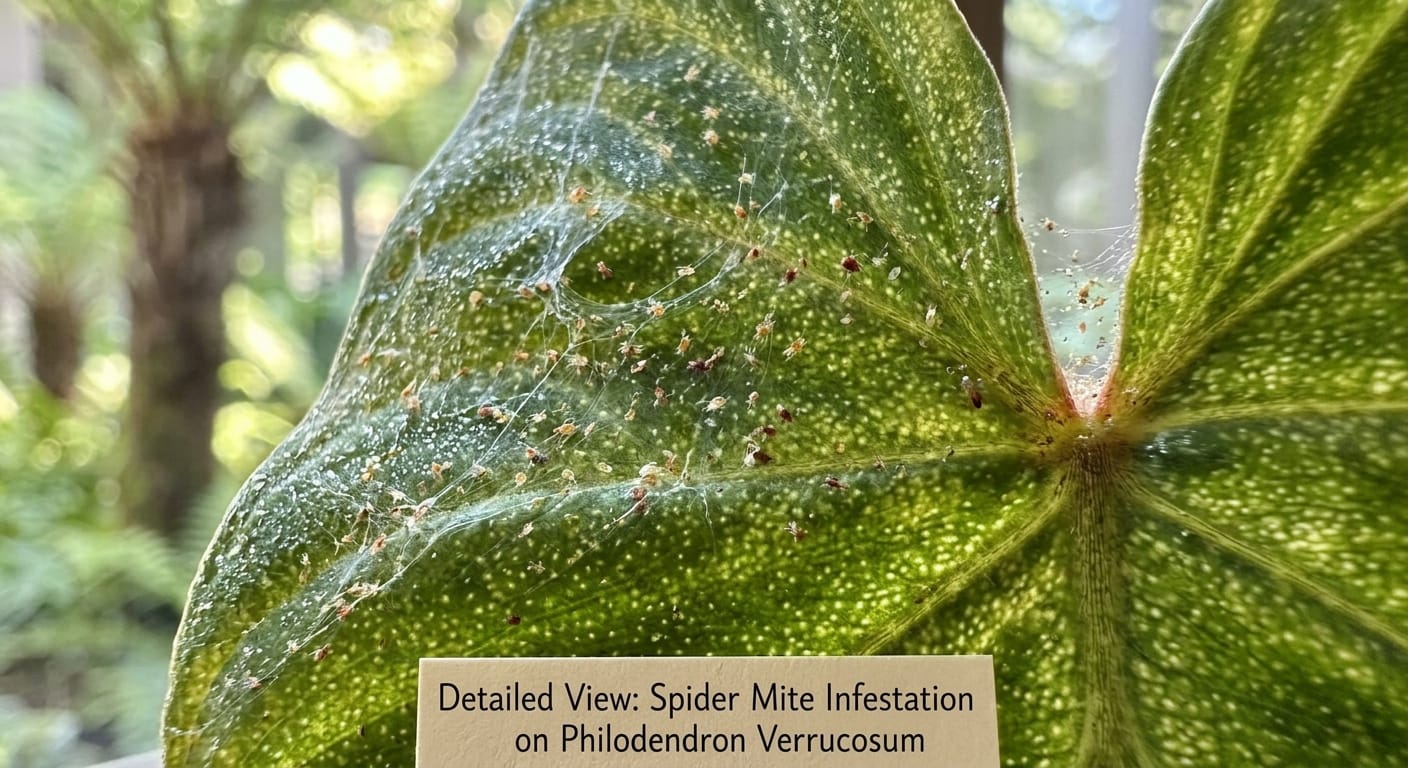
Spider mites are not insects.
That distinction matters more than most people realize.
They are arachnids — eight-legged arthropods, closer to spiders than to aphids or thrips.
The species most likely on your verrucosum is the two-spotted spider mite, Tetranychus urticae.
It is extremely polyphagous, feeding on over 1,100 plant species across 140 families, and reproduces through arrhenotokous parthenogenesis, with females emerging from fertilized eggs and males from unfertilized ones.
That feeding range means they will jump from plant to plant in your collection freely.
Here is what makes them truly dangerous: their speed of reproduction.
Populations can increase explosively under hot, dry conditions, expanding 70-fold in as few as six days.
Read that again. Seventy-fold. In six days.
A female can lay up to 200 eggs in her lifetime, and in warm, dry conditions, a generation can complete its lifecycle in as little as one week.
This is why a mild speck on Monday becomes a full-scale infestation by the following Monday.
The window for easy treatment is very, very short.
How to Actually Spot Spider Mites on a Verrucosum
This is where I want to go deeper than most guides do.
Generic advice says “look for webbing and yellow spots.” That works for easy plants.
Verrucosum leaves are dark, velvety, and visually complex.
Standard visual inspection will fail you here. You need a better method.
The White Paper Test
This is the most reliable early detection method I know.
Take a sheet of plain white printer paper.
Hold it directly under one of your verrucosum’s leaves.
Give the leaf a firm tap with your finger.
Now look at the paper closely.
If tiny dots fall onto the paper and slowly crawl, you have spider mites. Do not wait for visible webs — early colonies rarely produce them. Treat within 48 hours.
I do this test every Sunday on my three most vulnerable plants.
My verrucosum is always first on that list.
What the Damage Actually Looks Like on Velvet Leaves
On regular smooth philodendron leaves, stippling shows up as obvious yellow or white dots.
On your verrucosum, it looks subtler and more confusing.
What you are looking for is a dull, dusty patch on an otherwise vibrant leaf.
The deep green color starts to look muted. The velvet texture loses its uniform sheen.
If you look very closely with good lighting, you will see tiny pale pinprick dots.
Those dots are where mites have punctured the leaf cells to feed.
Using piercing-sucking mouthparts, twospotted spider mites feed primarily on the underside of host plant leaves and remove fluids. This feeding causes graying or yellowing of the leaves, and necrotic spots can also occur in advanced stages.
The stippling on a verrucosum often looks lighter against the dark leaf surface.
Check the copper-veined areas especially. Mite damage near those veins is easier to spot.
Check the Petioles Too
This is a tip specific to the verrucosum that other guides skip.
This plant has those distinctive hairy, sometimes reddish-orange petioles.
Mites can establish colonies in the petiole hairs before they even move to the leaf surface.
Run your thumb and index finger gently along the petiole under good light.
Look for a dusty, gritty feeling or faint webbing caught between the hairs.
I found my first mite outbreak in a petiole cluster three weeks before I noticed any leaf damage.
That early catch let me treat a minor problem rather than a major one.
Use a Hand Lens
A 10x jeweler’s loupe or a clip-on phone macro lens changes everything.
At that magnification, mites are clearly visible as tiny, pale, slow-moving dots.
You can also see eggs, which look like tiny translucent spheres stuck to leaf tissue.
Spotting eggs means the population is actively reproducing. Act immediately.
The Three Stages of Spider Mite Damage on Verrucosum
Knowing the progression helps you gauge how bad things are before you start treating.
Stage 1 (Early): A few pale stippled dots on one or two leaves. No visible webbing. Mites are there but small in number. This is the easiest stage to treat.
Stage 2 (Moderate): Multiple leaves show stippling. You may see fine silk threads between a leaf and the petiole. Leaf edges may begin to look slightly dry or crispy. This stage requires consistent daily effort.
Stage 3 (Severe): Heavy webbing is visible between leaves. Multiple leaves look yellow and papery. The plant may start dropping leaves. At this stage, you are in damage-control mode and full recovery of affected leaves is not possible.
I was at the edge of Stage 2 when I finally identified the problem on my verrucosum.
If you are at Stage 3, the plant can still be saved. But you need to act today, not tomorrow.
My Treatment Protocol for Spider Mites on Verrucosum
I want to be clear: I am sharing exactly what worked for my plant in my home.
Your environment may require some adjustments. Pay close attention to how your plant responds.
Step 1: Isolate the Plant Immediately
Move your verrucosum away from all other plants right now.
Spider mites transfer by physical contact and by floating on air currents.
I keep an isolated area in my bathroom for sick plants.
The higher ambient humidity there also helps slow the mites down.
Do not return the plant to your collection until you complete a full 14-day treatment cycle with zero new mite activity.
Step 2: Manual Removal First
Before any spray touches your plant, remove what you can physically.
Take the plant to your sink or shower.
Use a gentle but steady stream of lukewarm water.
Direct the stream to the undersides of every leaf.
This removes adults, nymphs, and loosely attached eggs.
Be thorough. Flip every single leaf over.
The verrucosum has textured petioles, so rinse those carefully too.
Do not skip this step. Physical removal reduces the mite population immediately.
It also gives your chemical treatments a much better chance of working.
Let the plant drip-dry before applying any product. Never spray wet leaves.
Step 3: Week One — Insecticidal Soap
For the first week, I use insecticidal soap spray every three to four days.
I mix it at one tablespoon of pure Castile soap per quart of water.
I spray it in the evening when light levels are low to avoid leaf burn.
The most important target is the underside of every leaf.
Insecticidal soap kills mites on contact by dissolving their protective outer coating. It must be sprayed directly on the mites to work, so thorough coverage of leaf undersides is essential. Reapply every 5 to 7 days for three to four applications.
One important note for verrucosum specifically: test the soap dilution on one small area first.
Wait 48 hours. If you see spotting or browning, dilute your mix further before treating the whole plant.
The velvet leaf surface can occasionally be sensitive to soap concentrations that smooth-leaf philodendrons handle easily.
Step 4: Week Two — Neem Oil Rotation
Do not keep using only insecticidal soap past the first week.
For the best results, alternate soap and neem on a weekly rotation: soap kills what’s there now, neem prevents the next generation.
Neem oil’s active compound, azadirachtin, works differently from soap.
It disrupts the mite’s ability to molt and reproduce, rather than killing on contact.
This residual, systemic disruption is what prevents a rebound population after treatment.
I use cold-pressed neem oil mixed at about two teaspoons per quart of water.
I add a few drops of the same Castile soap as an emulsifier.
Apply this every four to five days during week two, again focusing on leaf undersides.
Step 5: Run the White Paper Test Daily
Throughout your treatment period, do the paper test every single day.
Track what you see. If dot counts are dropping, you are winning.
If you still see active crawling mites after ten days of treatment, escalate.
For very severe infestations that do not respond, miticides containing spiromesifen can be effective.
Use these as a true last resort and follow label directions exactly.
Why Rotation Matters: The Resistance Problem
Here is something most basic pest guides skip over.
Spider mites can develop resistance to pesticides faster than almost any other pest.
The species exhibits the highest frequency of pesticide resistance among arthropods.
If you use the same product every single time, you are training resistant survivors.
Each round of mites that survives your soap spray is slightly more tolerant of soap.
Their offspring inherit that tolerance. Over a few generations, your soap stops working entirely.
This is why rotation between soap and neem is not optional. It is essential strategy.
Some collectors rotate in a third option — isopropyl alcohol wipes at 70% dilution.
Wiping individual leaves with an alcohol-dampened cloth physically kills mites on contact.
It works well for moderate infestations and leaves no residue on the velvet surface.
Alternate alcohol wipes, soap spray, and neem oil for a three-product rotation.
This keeps mites from adapting and keeps your treatment effective long-term.
The Real Fix: Environmental Prevention
Treatment handles the current outbreak.
Environment prevents the next one.
This is the part most people skip, and it is the reason they keep fighting the same problem repeatedly.
Humidity Is Your Biggest Lever
Spider mites absolutely hate humidity.
While they can tolerate moderate indoor humidity, they thrive below 50 percent.
Your verrucosum needs 60 to 80 percent humidity anyway for proper growth and leaf quality.
Meeting that humidity requirement does double duty: it keeps the plant happy and makes mites uncomfortable.
I use a digital hygrometer to monitor humidity around my verrucosum daily.
During winter, when my central heating dries out the air, I run a cool-mist humidifier nearby.
Grouping plants together also raises local humidity naturally, as plants transpire moisture from their leaves.
Check out my guide on Philodendron micans care for more on humidity grouping strategies.
Avoid Hot, Dry Air Sources
Check where your verrucosum is sitting in your home right now.
Is it near a heating vent? Close to a drafty window? Under a ceiling fan running on high?
All of those create exactly the hot, dry microclimate that spider mites love most.
Move your verrucosum to a stable location with no direct airflow from vents.
A bathroom with a window, a shelf away from vents, or a grow tent are all solid options.
Never Skip Your Weekly Inspection Walk
I spend 15 minutes every Sunday morning walking through my plant collection with coffee.
I look at each plant, touch the leaves, check undersides, and do paper tests on suspects.
This weekly habit has caught four separate spider mite outbreaks in my collection over eight years.
All four were caught at Stage 1, meaning treatment was minimal and the plants recovered fast.
Prevention is not a single action. It is a weekly practice.
Quarantine Protocol: The Rule That Saved My Collection
I learned this the hard way back in my third year of collecting.
I bought a beautiful new plant from a seller online.
It arrived looking healthy. I put it straight onto my shelf with 30 other plants.
Two weeks later, spider mites were spreading through my entire collection.
That new plant had been infested. I never checked it before mixing it with the others.
Now I have a strict 14-day quarantine rule for every new plant I bring home.
Every new plant goes into my bathroom, completely alone, for two full weeks.
I check it every three days using the paper test.
Only after two clean tests in a row does a plant earn its spot on my shelves.
This one habit protects my entire 500-plant collection more than any spray ever could.
If you collect rare philodendrons like the Spiritus Sancti, this quarantine rule is absolutely non-negotiable.
Losing a thousand-dollar plant to a pest from a twenty-dollar cutting is not something you want to experience.
What About Leaves That Already Have Mite Damage?
Here is the honest truth: damaged leaves do not recover.
The stippling, the faded color, the crispy patches — those are permanent.
Mite damage is cell damage, and plants cannot heal individual leaf cells once they are gone.
What you can do is stop new leaves from being damaged.
Once you clear the active infestation and improve your environment, new leaves will emerge healthy.
The damaged leaves can be removed if they bother you aesthetically.
Or leave them in place to let the plant focus energy on recovery, not on healing the irreparable.
I typically leave damaged leaves until the plant pushes two healthy new leaves.
Then I trim the bad ones at the base of the petiole using clean, sterilized scissors.
For related guidance on reading your verrucosum’s stress signals, my article on Philodendron brandtianum brown tips covers how similar stress markers appear across velvet-leaf species.
The Complete Quick-Reference Checklist
Identifying Spider Mites on Verrucosum:
- Do the white paper tap test weekly
- Check leaf undersides with a 10x lens
- Inspect all petiole hairs closely
- Look for dull, dusty patches on the dark green leaf surface
- Look for faint webbing between leaf and stem
Treatment Protocol:
- Isolate the plant immediately
- Rinse leaves with lukewarm water in the shower
- Apply insecticidal soap spray every 3 to 4 days for the first week
- Rotate to neem oil spray every 4 to 5 days during week two
- Run the paper test daily throughout treatment
- Complete a full 14-day treatment cycle before returning to your collection
Long-Term Prevention:
- Maintain 60 to 80 percent humidity at all times
- Quarantine all new plants for 14 days before adding to your collection
- Perform a full plant inspection every single week
- Keep the plant away from heating vents and direct airflow
- Rotate between at least two treatment products to prevent resistance
Browse More Pest and Disease Guides
Dealing with pests is part of collecting philodendrons. The more you know, the calmer you stay.
Head over to the Pest and Diseases Diagnosis category on Jefrev.com for more guides built from real experience.