Philodendron Mamei Brown Spots: What’s Really Causing Them (And How I Fixed Mine)

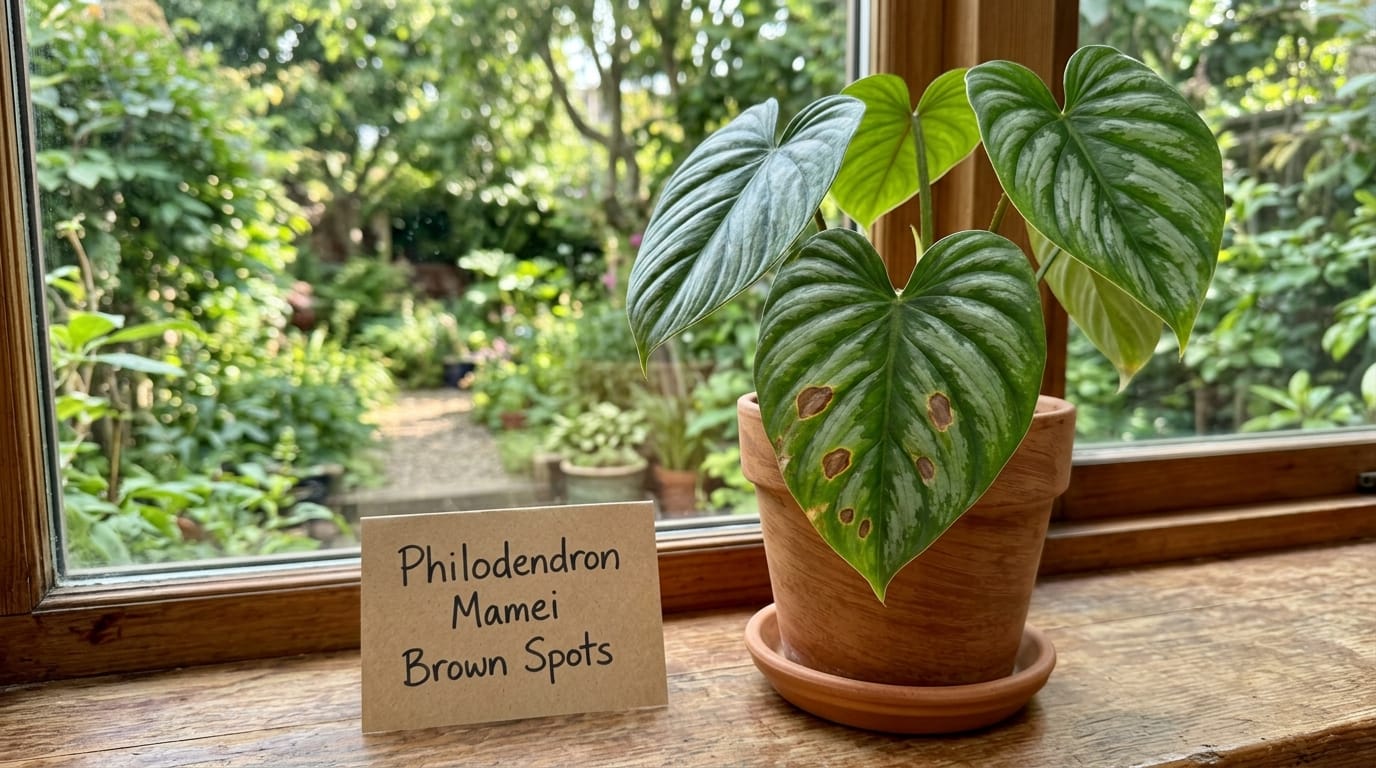
Brown spots on a philodendron mamei have a way of stopping you cold — especially once you know what this plant actually costs.
I went through that exact panic in my third year of collecting, when mine started throwing spots within two weeks of coming home.
Eight years and 500 plants later, I can read those spots almost like a map — the location, texture, and speed of spread each point somewhere specific.
This post breaks down every real cause I have personally dealt with.
No recycled generic advice. Just what actually happened in my own home, and what fixed it.
Stop. Check This Before You Diagnose Anything.
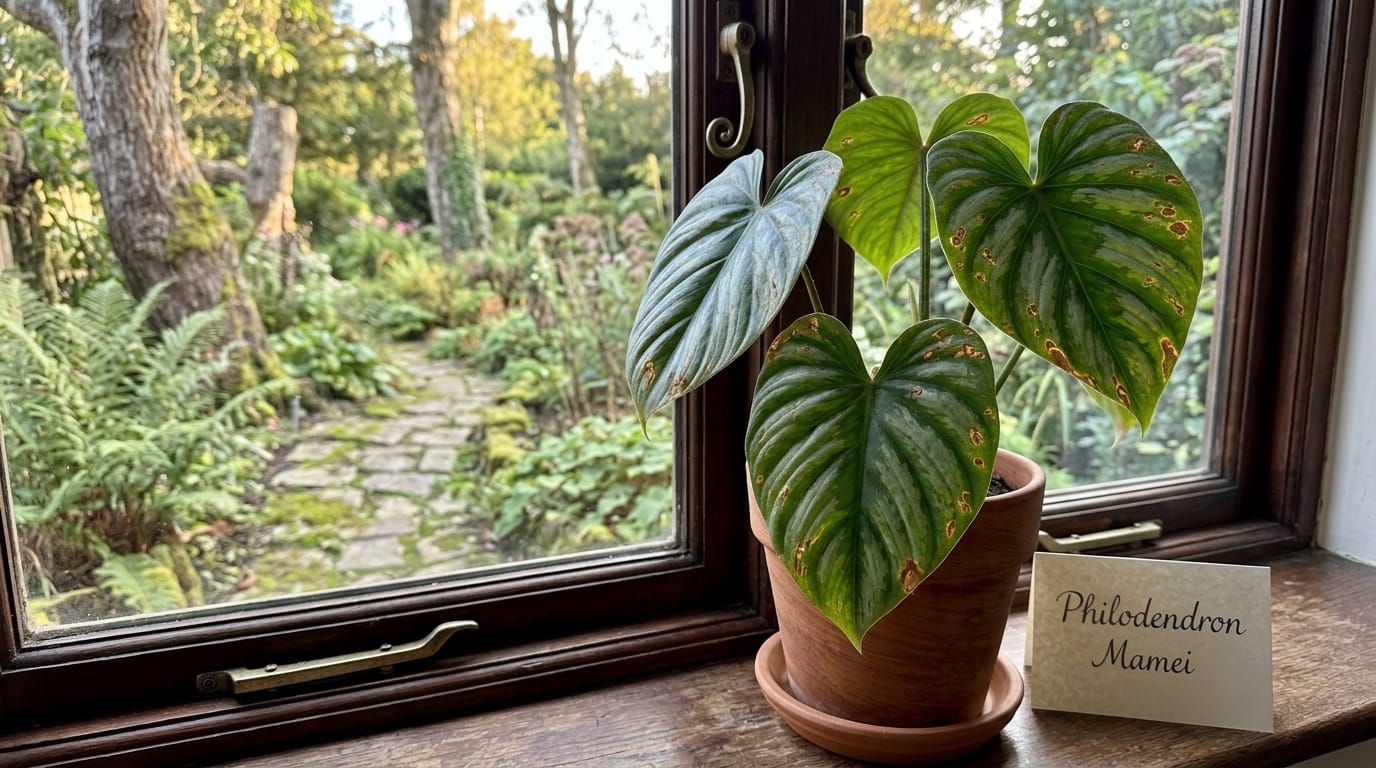
Not every brown mark on a mamei is a sign of trouble.
Seriously. This one mistake sends new growers into unnecessary panic every single time.
Look at the area where the stem meets the leaf petiole.
Do you see small, raised, dark brown dots clustered there?
Those are called extrafloral nectaries.
In Ecuador’s rainforests, these dots secrete a sugary substance to attract insects.
Indoors, they are completely harmless signs of healthy, active growth.
They are not disease, not pests, and not rot.
If the marks are confined to the stems and not spreading across the leaf blade itself, relax.
Your plant is doing exactly what it is supposed to do.
Now, if you are seeing actual spots expanding across the leaf surface, keep reading.
How I First Encountered Brown Spots on My Mamei
My Philodendron mamei came into the collection during my third year of growing. I spotted it at a local nursery and bought it on impulse — those quilted silver markings across the leaves stopped me in my tracks, and I had never seen anything quite like them before.
Within two weeks of bringing it home, the older leaves started developing brown spots. At the time I had no framework for reading what those spots were telling me.
I moved the plant, adjusted the watering, checked the soil — and kept second-guessing every decision I made.
What eventually helped was learning that the mamei is an unusually communicative plant.
Different causes produce distinctly different spots, and once you know what to look for, diagnosing the problem becomes much faster.
Everything I worked out through trial, research, and a few genuine failures over the years is laid out below.
Why the Mamei Is More Sensitive Than Most Philodendrons
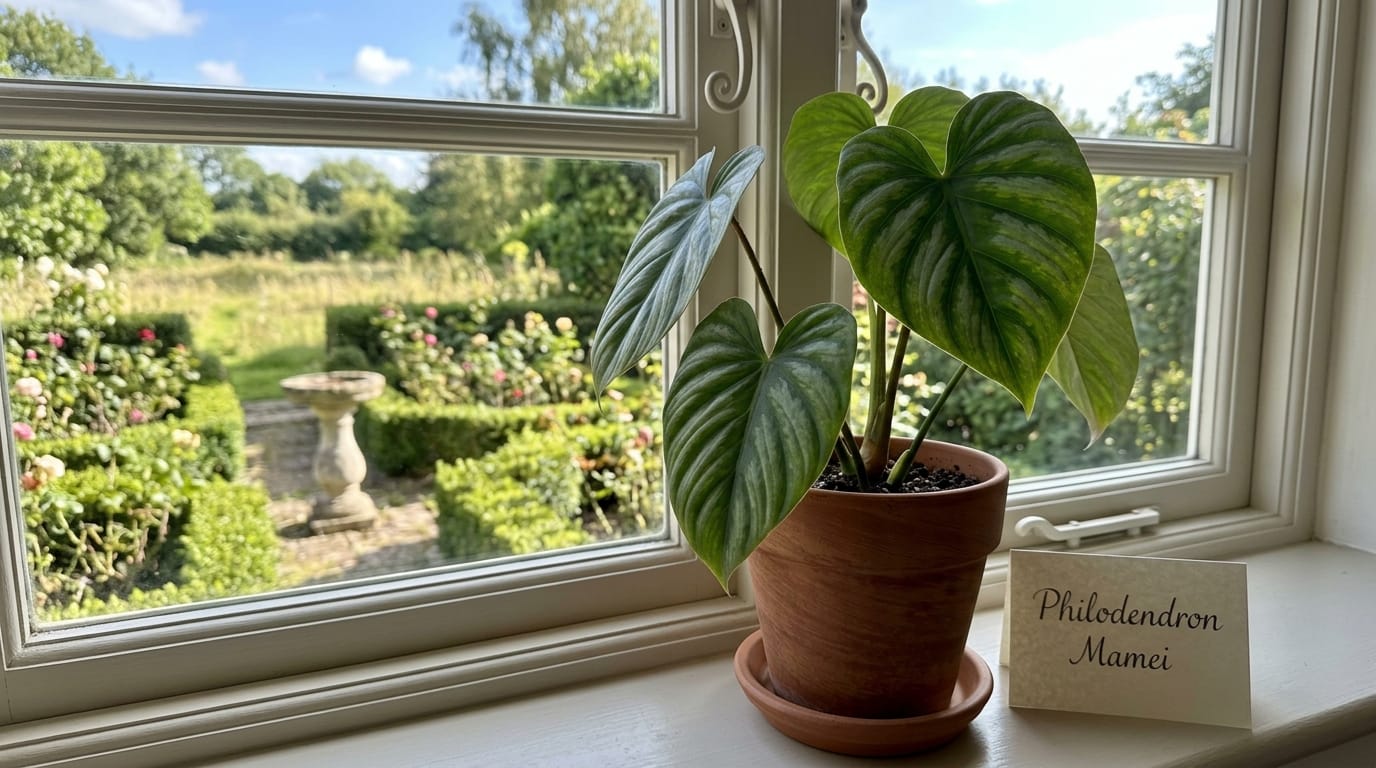
You cannot diagnose a plant problem without knowing what the plant actually needs.
The philodendron mamei grows natively in the Andes of Ecuador.
Specifically, it lives at elevations between 700 and 1,800 meters in the wild.
It crawls across the humid forest floor under thick tree canopies.
Consistent shade. Consistent warmth. High humidity. These are its baseline living conditions.
When any one of those conditions is disrupted indoors, the leaves react fast.
Brown spots are its main distress signal.
Understanding the mamei’s origin makes diagnosis far more straightforward.
Cause 1: Overwatering and Root Rot
This is the leading cause of brown spots on a mamei. Full stop.
I lost three plants to root rot before I finally understood what was happening.
When the potting soil stays saturated too long, the roots are deprived of oxygen.
They begin to rot and turn mushy.
Rotting roots cannot deliver water or nutrients to the leaves above.
The result is soft, dark, waterlogged-looking brown patches on the leaf blade.
These spots usually appear near the center or base of the leaf, not the edges.
Press one gently with your fingertip. It will feel soft and slightly squishy.
That texture alone separates overwatering damage from most other causes.
How to check: Lift the pot off the surface.
Does it feel surprisingly heavy for its size?
That weight is trapped water in oversaturated soil.
Let the top two inches of soil dry out completely before you water again.
If you suspect active root rot, unpot the plant and inspect the roots directly.
Healthy roots are white or very light tan in color.
Rotten roots are brown to black, mushy, and may have an unpleasant odor.
Remove every rotten root with clean, sterilized scissors.
Repot into a fresh chunky aroid mix containing perlite and orchid bark.
That chunky mix changed everything for me.
I now use the same blend for my Philodendron melanochrysum and every other velvet-leaf aroid I grow.
It drains fast, dries between waterings, and the roots stay healthy long-term.
Cause 2: Bacterial Leaf Spot
This is the cause that genuinely rattled me the first time I dealt with it.
Bacterial leaf spot moves shockingly fast once it takes hold.
The primary bacterial culprits on philodendrons are Erwinia, Pseudomonas, and Xanthomonas.
The Connecticut Agricultural Experiment Station documents that bacterial lesions on philodendron start as tiny water-soaked areas.
Those areas expand quickly into tan, brown, or blackened lesions on the leaf tissue.
The single most identifying feature of a bacterial spot is the yellow halo around it.
A ring of yellowed tissue surrounding a dark center almost always means bacterial infection.
On my mamei, spots went from one leaf to three affected leaves in under four days.
That speed is what makes bacterial spot genuinely dangerous to your collection.
What to do right now:
Stop any misting or overhead watering of the leaves immediately.
Water that sits on leaf surfaces is the primary vehicle for bacterial spread.
Remove every affected leaf using sterilized scissors.
Do not trim around the spots. Remove the whole leaf.
Bag the removed leaves and put the bag directly into the outside trash.
Do not add infected leaves to compost. Bacteria survive in organic material.
Move the plant away from all other philodendrons in your home.
Set up a small fan nearby on a low setting to create gentle airflow.
The University of Illinois Extension is clear that bacteria cannot be controlled with standard fungicides.
Sanitation and improved airflow are your primary and most effective tools.
For stubborn or progressing infections, copper-based bactericides can slow the spread.
Follow the product label carefully. Copper can burn leaves if applied incorrectly.
Cause 3: Fungal Leaf Spot
Fungal spots look similar to bacterial ones, but there are key differences.
Fungal spots are typically more circular and have a dry, papery texture.
They range in color from brown to reddish-brown.
They can appear on both the top and bottom surfaces of the leaf blade.
Fungal pathogens thrive in warm, still air with high humidity and no circulation.
If your mamei sits in a stagnant corner with no airflow, it is a prime target.
Treat with a copper-based fungicide spray applied to both leaf surfaces.
Diluted neem oil is a gentler alternative for early or mild infections.
Repeat treatment every seven to ten days across three full cycles.
Remove any leaf with more than thirty percent of its surface covered by spots.
Saving a mostly destroyed leaf is not worth the risk of spreading the fungus further.
Cause 4: Sunburn from Direct Light
The mamei evolved to live under thick forest canopies.
It has never experienced direct sun in its natural environment.
If your mamei sits in front of a south- or west-facing window without any filter, direct light is likely your culprit.
Sunburned spots on a mamei appear pale, tan, or almost bleached white.
They occur specifically on the portion of the leaf closest to the light source.
The texture is dry and papery, sometimes brittle at the edges.
This damage is permanent on that specific leaf. The tissue is dead and will not recover.
Move the plant further from the window or place a sheer curtain between the plant and the glass.
East-facing windows with gentle morning light are the ideal placement for this species.
Cause 5: Low Humidity
The mamei needs relative humidity above 60 percent to perform well.
Most American homes run between 30 and 50 percent under normal conditions.
That gap puts constant stress on the leaf tissue over time.
When humidity is insufficient, the plant loses moisture from its leaves faster than it can replace it.
Brown spots and browning margins appear first at the tips and edges of leaves.
The texture of humidity-stress spots is dry and crispy, not soft or waterlogged.
That texture difference is the clearest way to separate humidity stress from overwatering damage.
Group your plants together in one room to naturally raise the local humidity level.
A small humidifier placed near your mamei is the most reliable and consistent solution.
Pebble trays filled with water and placed beneath the pot provide a passive ambient boost.
Do not mist the leaves directly in an attempt to raise humidity.
Wet leaf surfaces are a direct invitation for both bacterial and fungal infections to start.
Cause 6: Cold Drafts and Temperature Stress
The mamei cannot handle temperatures below 55 degrees Fahrenheit.
Cold air causes cellular damage in the leaf tissue almost immediately.
That damage shows up as brown patches that often look darker and slightly sunken.
If your plant sits near an AC vent, a drafty window, or an exterior door, move it now.
I made this mistake during my second winter of growing philodendrons.
I kept a plant near a single-pane window in January.
The cold radiating through the glass alone was enough to damage the leaves.
The mamei performs best in a steady temperature range of 65 to 85 degrees Fahrenheit.
Stability matters here just as much as hitting the right number.
Sudden temperature swings between day and night are also stressful to this plant.
Cause 7: Tap Water and Salt Buildup
This one surprised me, and I suspect it surprises a lot of growers.
Tap water in many US cities contains chlorine, fluoride, and dissolved mineral salts.
Over repeated waterings, those minerals accumulate in the potting mix.
The salt concentration around the roots rises over time.
This makes it increasingly difficult for roots to absorb nutrients efficiently.
The result is brown spots and scorched margins that appear primarily on older, lower leaves.
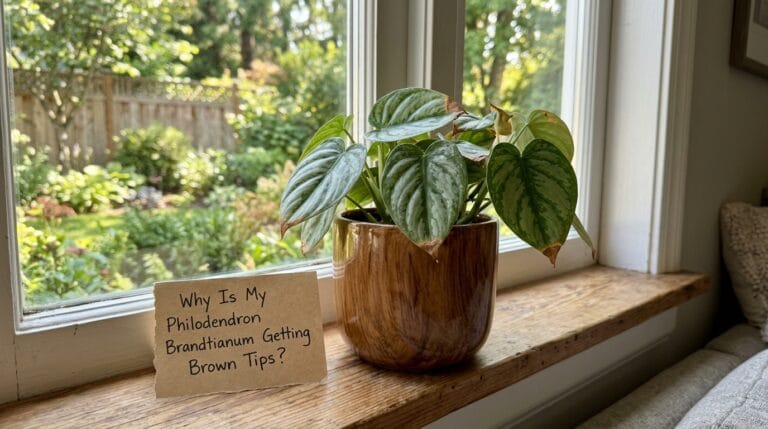
I cover the same salt buildup issue in depth on my Philodendron brandtianum brown tips post.
The same mechanism is at work on your mamei.
The fix is simple: switch to filtered or distilled water for regular watering.
If that is not practical, let tap water sit in an open container overnight before using it.
This allows chlorine to off-gas into the air before the water reaches your plant’s roots.
Flush the entire root zone deeply once a month.
Run water slowly through the pot for a full minute and let it drain completely.
This pushes accumulated salts out through the drainage holes and prevents future buildup.
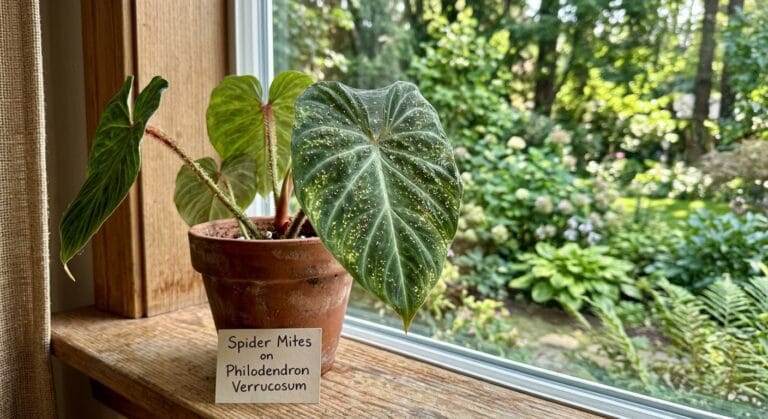
Cause 8: Pest Damage (Spider Mites and Thrips)
Pest damage is the sneakiest cause of brown spots on any philodendron.
The damage appears on the top surface of the leaf.
But the pests responsible for it are hiding on the underside.
This is why growers miss the diagnosis completely until an infestation is severe.
Spider mites and thrips are the two most common culprits on indoor aroids.
Both pierce the leaf cells and extract the sap from inside.
The damaged and drained cells turn brown and die.
Spider mites leave tiny pale specks and fine, wispy webbing on leaf undersides.
Thrips leave silver streaking across the leaf and tiny black dots of frass.
Always flip every leaf and check the underside whenever new brown spots appear.
If you find either pest, separate the plant from all others in your home right away.
Treat with insecticidal soap or a diluted neem oil solution.
Apply product thoroughly to the undersides of every leaf.
Repeat every five to seven days for at least three complete treatment cycles.
Do not stop early. Partial treatment allows surviving pests to rebuild resistance.
My pest and disease diagnosis section has full step-by-step treatment breakdowns for each pest type.
What to Expect After You Fix the Problem
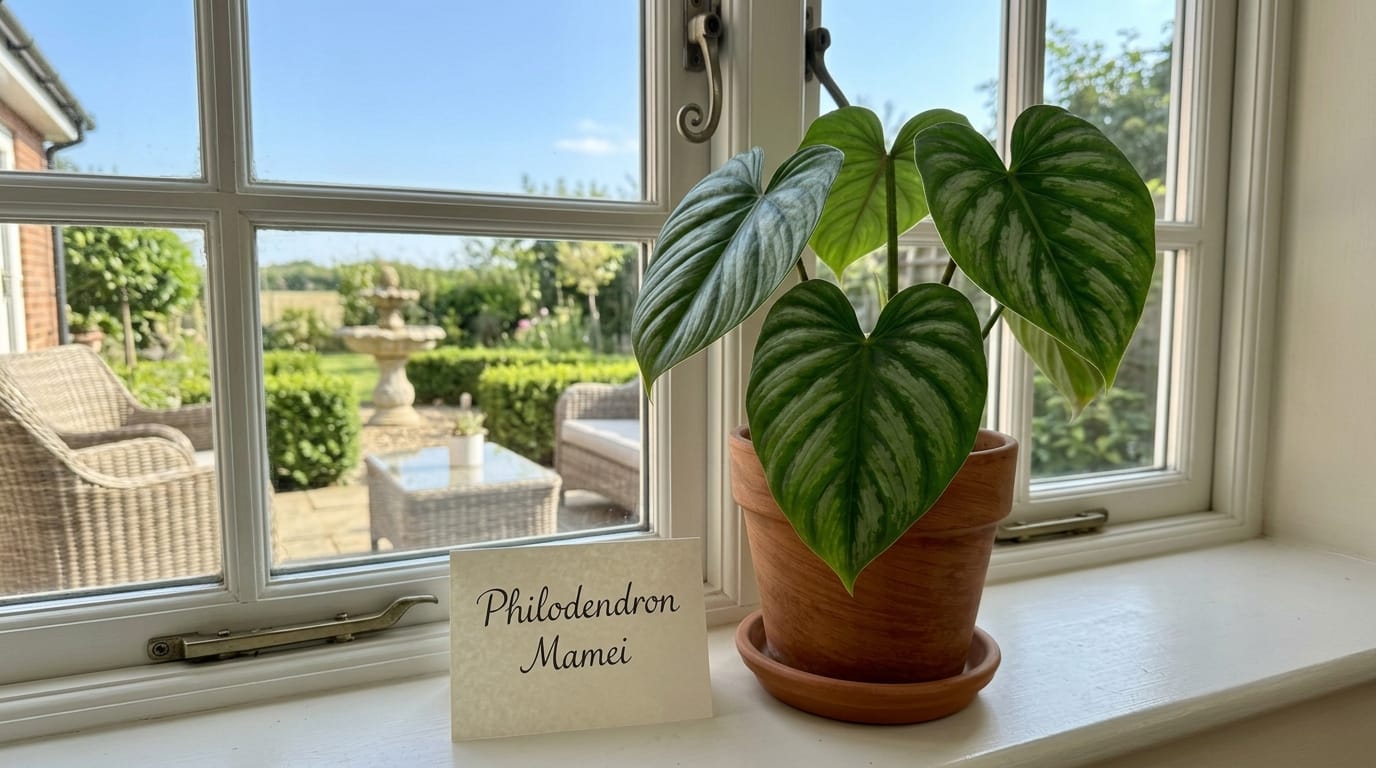
Here is the honest part that most plant blogs skip over.
The existing brown spots on your mamei will not disappear.
That leaf tissue is permanently damaged and will stay brown.
What you are monitoring for is the condition of each new leaf that emerges.
If the new growth comes out clean and undamaged, your fix worked.
If new leaves are also developing spots, the underlying cause is still active.
Keep troubleshooting. Multiple problems can exist at the same time.
I have had plants dealing with both low humidity and root rot simultaneously.
Fixing only one of those two issues would not have been enough to save the plant.
You have to check every box before you consider the problem fully resolved.
The Prevention Habits I Follow Every Single Week
Every one of these habits came directly from a mistake I made first.
Soil mix: Use a chunky, fast-draining aroid blend. Standard potting soil holds too much water for a mamei.
Watering: Check the top two inches of soil before every watering session. Still damp means wait another day.
Light: Bright, indirect light only. A sheer curtain is non-negotiable if the plant is near a window.
Humidity: Target 60 percent or higher. Run a humidifier near the mamei during dry winter months.
Temperature: Keep the plant far from AC vents, cold windows, and drafty exterior doors year-round.
Water quality: Use filtered or distilled water when possible. Flush the soil deeply once per month.
Airflow: Keep a gentle fan running in the room. Air movement is one of the simplest disease preventions available.
Weekly inspection: Flip the leaves and look at the undersides every single week.
Early detection changes the outcome completely.
Plant pathologist Ann Chase, writing in Greenhouse Management, recommends rotating copper-based products with biological controls like Bacillus subtilis.
That rotation strategy prevents bacteria from adapting to any single treatment.
It applies just as well to a home grower with a few prized aroids as it does to a commercial greenhouse.
My Honest Take After Eight Years
The mamei is one of the most communicative plants I grow.
It does not quietly decline like some other species.
It tells you fast when something is wrong.
Brown spots are not a death sentence. They are a message.
Learn to read the texture: soft and wet points toward water issues, dry and papery points toward light or humidity problems, and yellow-haloed spots point toward bacteria.
Location matters too: center spots lean toward root issues, edge and tip spots lean toward humidity or water quality.
Pattern and spread speed tell you the last piece of the story.
Put those three observations together and you have your diagnosis in most cases.
If you are still stuck after working through this guide, reach out on the contact page.
Send me a clear photo of the affected leaf and tell me your current watering schedule.
Those two pieces of information together almost always reveal the problem.
Your mamei is worth fighting for. Give it the right environment, and it will reward you with some of the most stunning leaves in the entire genus.