How to Root Philodendron Florida Ghost Cuttings (What Actually Works)

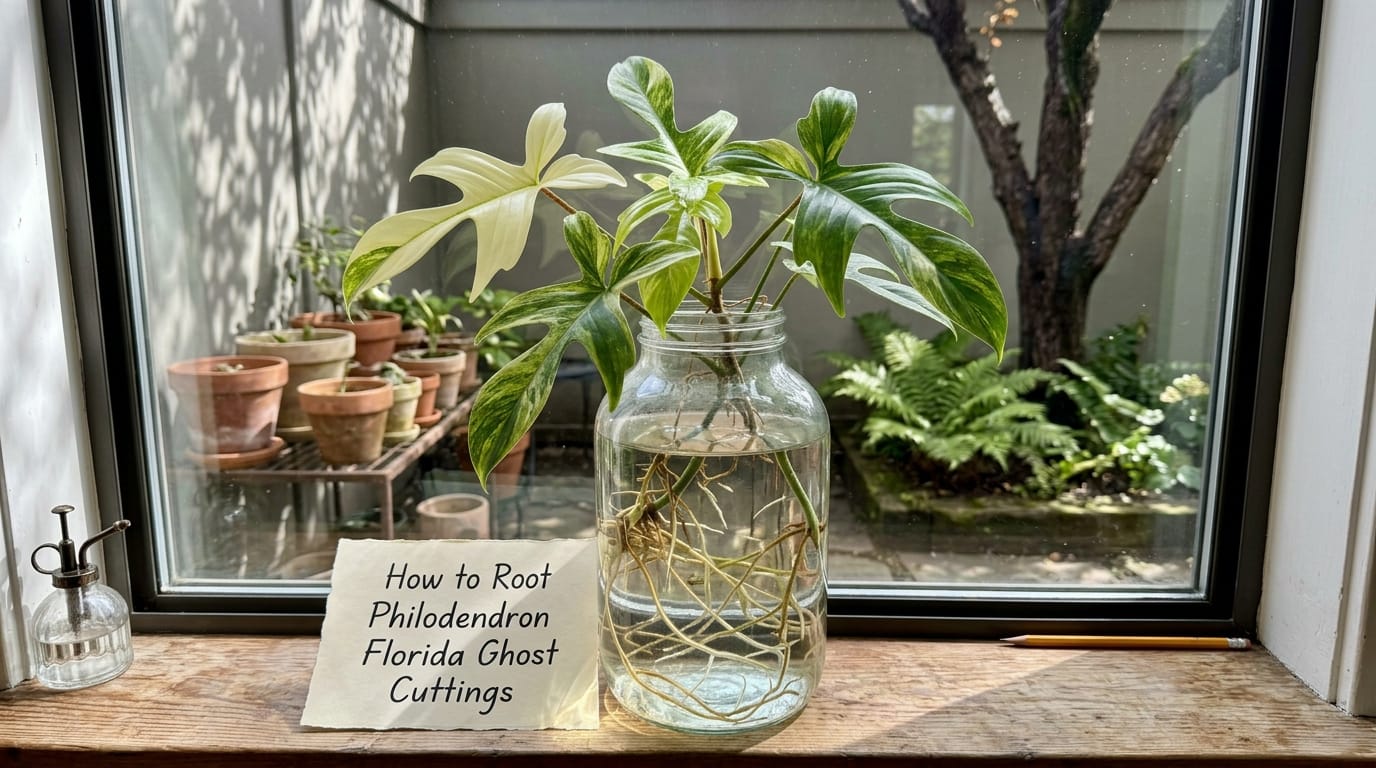
My Florida Ghost cutting saga started with one very bad decision.
I snipped a beautiful stem off my mother plant and dropped it straight into tap water. No rooting hormone. No warm spot. Just a glass jar sitting on a cold windowsill.
Three weeks later, nothing had happened. The cut end had turned slimy and dark.
I had wasted a piece of a plant that cost me $65.
That was an expensive lesson I only needed to learn once.
Florida Ghost looks like it should propagate easily — clean stems, visible nodes, vigorous growth. But it has one specific quirk that most guides gloss over, and that quirk is the reason so many cuttings fail.
That ghostly white new leaf is something I still stop to look at every time one opens. If you own this plant, you already know exactly what I mean.
Here’s everything I’ve learned about rooting Florida Ghost cuttings in a way that actually holds up.
Why Florida Ghost Behaves Differently During Propagation
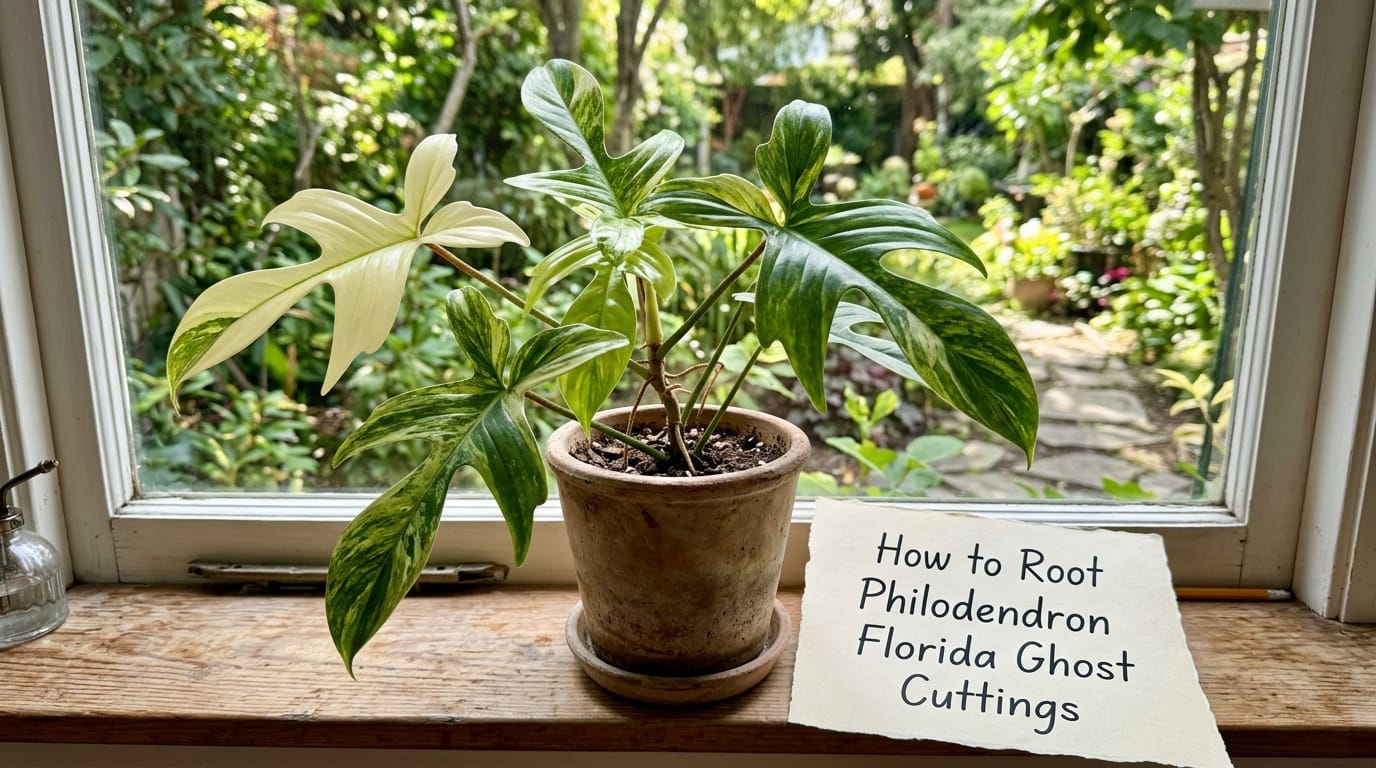
The Florida Ghost is a hybrid philodendron with a truly unique growth pattern.
It is closely related to Philodendron pedatum, commonly called the skeleton key philodendron.
You can see that relationship clearly in the lobed, multi-fingered shape of its mature leaves.
But the Florida Ghost has one trait that changes everything about propagation.
Its new leaves emerge almost completely white, cream, or pale yellow.
That dramatic color comes from very low chlorophyll in the young leaf tissue.
Low chlorophyll means the fresh growth cannot photosynthesize much usable energy at all.
This matters a lot for your cutting.
A cutting with only white or pale leaves will root noticeably slower.
A cutting that holds at least one mature dark green leaf will root much faster.
The green leaf still makes energy while the cutting builds its new root system underground.
Almost nobody writes about this detail specifically for Florida Ghost propagation.
I learned it by comparing batches of cuttings side by side across two growing seasons.
The green-leaf batch rooted 10 to 14 days faster than the white-leaf batch every single time.
When Is the Best Time to Take Your Cutting?
Spring and early summer are the ideal window for this job.
Your plant runs on active growth mode during those months.
The stems are naturally pumping growth hormones during this period.
Those internal hormones give cut ends a significant head start on root formation.
Iowa State University Extension confirms that early spring is the ideal time to propagate houseplants from stem cuttings.
You can still propagate in fall or winter. It just takes longer.
I have rooted cuttings in January successfully, but I needed extra warmth from a heat mat.
A heat mat under the propagation container made a dramatic difference during colder months.
What to Gather Before You Make Any Cut
Pull everything together before you touch your plant. Do not improvise midway through.
Sharp, clean scissors or pruning shears. Dull blades crush the stem tissue badly.
A crushed stem end will rot before a single root ever appears.
Isopropyl alcohol at 70%. Wipe your blades before every single cut you make.
One unsterilized cut can push bacteria directly into the open wound on your cutting.
Your rooting medium. Water, sphagnum moss, or chunky potting mix all get the job done.
A clear container or propagation dome. Humidity is not optional for fast, healthy rooting.
Rooting hormone powder or gel. Not strictly required, but it genuinely speeds things up.
How to Identify a Good Node on Your Florida Ghost
This is the step most beginners get completely wrong.
You cannot root a philodendron stem without a node. Full stop.
A node is the slightly swollen bump or joint you find along the stem.
Leaves grow out of nodes. Aerial roots emerge from nodes. New roots also sprout from nodes.
If your cutting has no node, it will not root no matter what else you do.
On a Florida Ghost, nodes are easy to spot on any mature stem.
Look for the exact spot where the leaf stem (petiole) connects to the main vine.
Just below that connection is where your node lives.
A bare section of stem between two nodes is called an internode.
Internodes look exactly like regular stem, but they cannot produce roots.
Some stems have small aerial roots already sticking out. These look like brownish nubs.
A node with an existing aerial root is the gold standard cutting to take.
That aerial root is basically pre-started. It adapts to water or soil much faster.
Taking the Cutting: The Right Method
Wipe your scissors with 70% isopropyl alcohol and let it air dry for 30 seconds.
Find a healthy stem with at least one solid node and one mature green leaf.
If you can find a stem with two or three nodes, that is even better.
More nodes mean more potential root sites all developing at the same time.
Cut the stem about 2 inches below the lowest node you want to keep.
Cutting at a slight 45-degree angle increases the surface area exposed to the rooting medium.
Purdue University’s plant propagation guide confirms the bottom cut should be made just below a node.
Remove any leaves that would sit below the waterline or be buried in soil.
Wet or buried leaves rot quickly and contaminate your rooting medium with bacteria.
Leave two or three leaves at the top maximum. One green leaf is often enough.
A single mature green leaf gives the cutting enough photosynthesis without demanding too much water.
Let the cut end sit in open air for 10 minutes before placing it in any medium.
This short drying window lets the cut edge form a very light protective callus.
That light callus reduces the chance of bacterial rot taking hold right away.
Method 1: Water Rooting
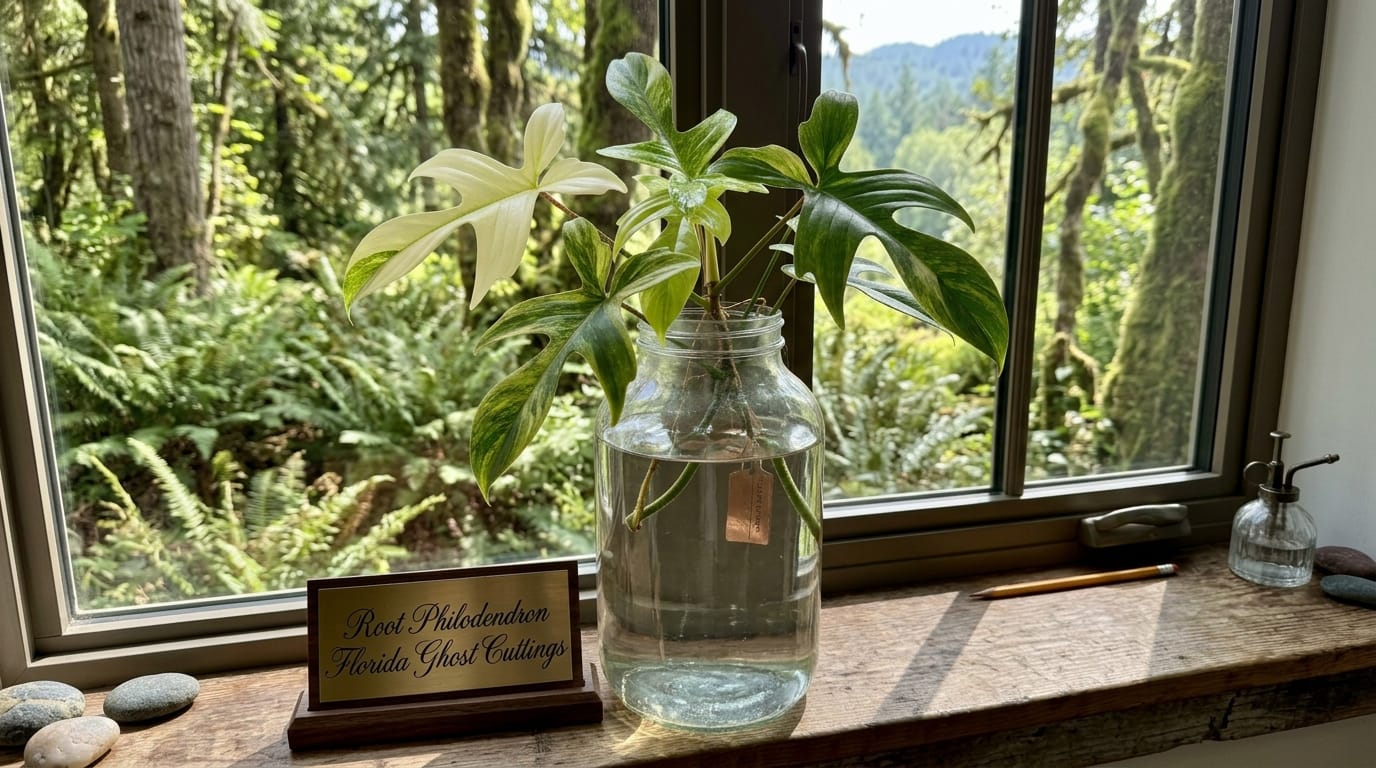
Water is the method I recommend to beginners because you can watch everything happen in real time.
Fill a clean glass jar with room-temperature filtered water.
Tap water is usually fine, but I let it sit uncovered overnight to release chlorine.
Place your cutting so the node sits fully submerged below the waterline.
Make sure no leaves touch the water surface. Rotting leaves foul the water fast.
Put the jar in a spot with bright, indirect light and leave it there.
Do not put it in direct sun. Warm water grows algae and bacteria extremely quickly.
Change the water every five to seven days. Fresh water keeps oxygen levels high.
Low oxygen in the water is the number one reason water-rooted cuttings fail and rot.
Roots should begin appearing from the node within two to four weeks.
When roots reach about 2 to 3 inches long, it is time to pot up.
Do not wait until roots grow longer than 4 inches.
Long water roots are very brittle and snap easily during the transfer to soil.
Short roots adapt to their new home far more smoothly and with far less stress.
Method 2: Sphagnum Moss Rooting
This is my personal favorite method for Florida Ghost, especially for valuable or expensive cuttings.
Sphagnum moss holds moisture while still letting the roots breathe and stay healthy.
It mimics the moist but airy conditions that roots experience on a jungle tree trunk.
Soak your sphagnum moss in water for a few minutes to fully saturate it.
Then squeeze out the excess water until it feels like a damp sponge, not dripping wet.
Pack the damp moss into a small container or a clear resealable plastic bag.
Nestle your cutting into the moss so the node is fully surrounded on all sides.
The roots will grow right into the moss fibers as they develop.
If you use a clear bag, you can actually watch the roots forming over time.
Keep the moss lightly moist but never soaking wet at any point.
Check it every three or four days. If it feels dry, mist it lightly with water.
Roots typically appear within two to four weeks using this method.
In my experience, sphagnum moss also produces thicker, more robust roots than water rooting does.
When roots are at least 1 inch long and visible, pot the cutting into soil.
Moss-grown roots transfer to soil much more easily than water roots ever do.
Method 3: Direct Soil Rooting
Soil rooting skips the transfer step entirely and lets roots develop in their final environment.
The roots grow already adapted to a solid medium from the very first day.
Use a chunky, well-draining mix for best results every single time.
My personal rooting mix is roughly equal parts perlite, orchid bark, and standard potting soil.
This blend drains fast and keeps plenty of air circulating around developing roots.
Do not use dense, heavy potting soil on its own. It holds far too much moisture.
Dense soil packed around a new cutting dramatically increases the risk of rot.
After my early root rot disasters in year two, I never went back to plain potting mix.
Dampen your mix before you use it. It should feel like a firmly wrung-out sponge.
Push a pencil or chopstick into the mix first to create a small planting hole.
Insert your cutting gently so the node is buried 1 to 2 inches below the surface.
Never just jab the cutting straight into the dry mix without a pre-made hole.
Jabbing can knock off rooting hormone and compacts dense soil right against the tender stem.
Firm the mix lightly around the base so the cutting stands upright on its own.
Cover the pot with a clear plastic bag or a propagation humidity dome.
Leave a small gap in the bag for air exchange. A fully sealed dome traps stale air.
Check the soil moisture every few days. It should stay slightly damp but never wet.
Rooting time in soil is usually three to five weeks depending on conditions.
You will know roots are developing when the cutting begins pushing out a brand new leaf.
Should You Use Rooting Hormone?
The honest answer is yes. I use it for Florida Ghost without exception.
It is not strictly required, but it makes a real difference in how fast things happen.
Michigan State University Extension confirms that rooting compounds accelerate root initiation, improve rooting uniformity, and reduce overall rooting time.
The active ingredient to look for is IBA, short for indole-3-butyric acid.
IBA mimics the plant’s own natural root-inducing hormones right at the cut site.
I prefer the gel form because it clings to the cut end far better than powder does.
Dip the cut end into the gel right before placing the cutting into your chosen medium.
Do not apply it to a cutting that has been sitting in water for a week already. It will not help.
Apply rooting hormone right after you make the cut and after the brief 10-minute drying period.
Store your rooting hormone away from direct light. Replace it once a year.
Old or degraded rooting hormone performs poorly or has no effect at all.
Setting Up Temperature, Humidity, and Light
These three environmental factors control how fast your roots will actually form.
Get all three right and your cutting will reward you with rapid, healthy growth.
Temperature: Keep your cutting between 70°F and 85°F at all times.
Anything below 65°F will dramatically slow root development or stop it completely.
A heat mat set to around 75°F and placed under your container works extremely well.
Humidity: Aim for 60 to 70 percent relative humidity around your cutting.
A clear plastic bag draped over the container is the simplest solution available.
Crack the bag open for 30 minutes every two days to let fresh air circulate.
Light: Bright, indirect light is what you want here. No direct sun at all.
Direct sunlight will dehydrate your cutting before roots ever get a chance to form.
I place my propagating cuttings about 3 feet back from an east-facing window.
If your home gets dark in fall or winter, a simple grow light on a timer works perfectly well.
Signs That Your Florida Ghost Cutting Is Rooting
The clearest sign of successful rooting is a new leaf pushing out from the stem tip.
A new leaf means the cutting has built enough roots to invest energy back into growth.
If you are rooting in water, you will literally watch the roots growing from the node day by day.
If you are rooting in soil or moss, use the gentle tug test to check progress.
Give the cutting a very light upward pull between two fingers.
Resistance means roots are anchoring into the medium. No resistance means more waiting time.
Do not pull hard at all. You will snap fragile developing roots and set yourself back.
Another good sign is the stem staying firm and green all the way down to the soil line.
A failing cutting will start turning yellow or going soft and mushy at its base.
If you see yellow or mushy tissue forming, remove the cutting from the medium right away.
Trim any rotted section back to clean, firm stem tissue. Then try the whole process again.
Potting Up Your Rooted Florida Ghost Cutting
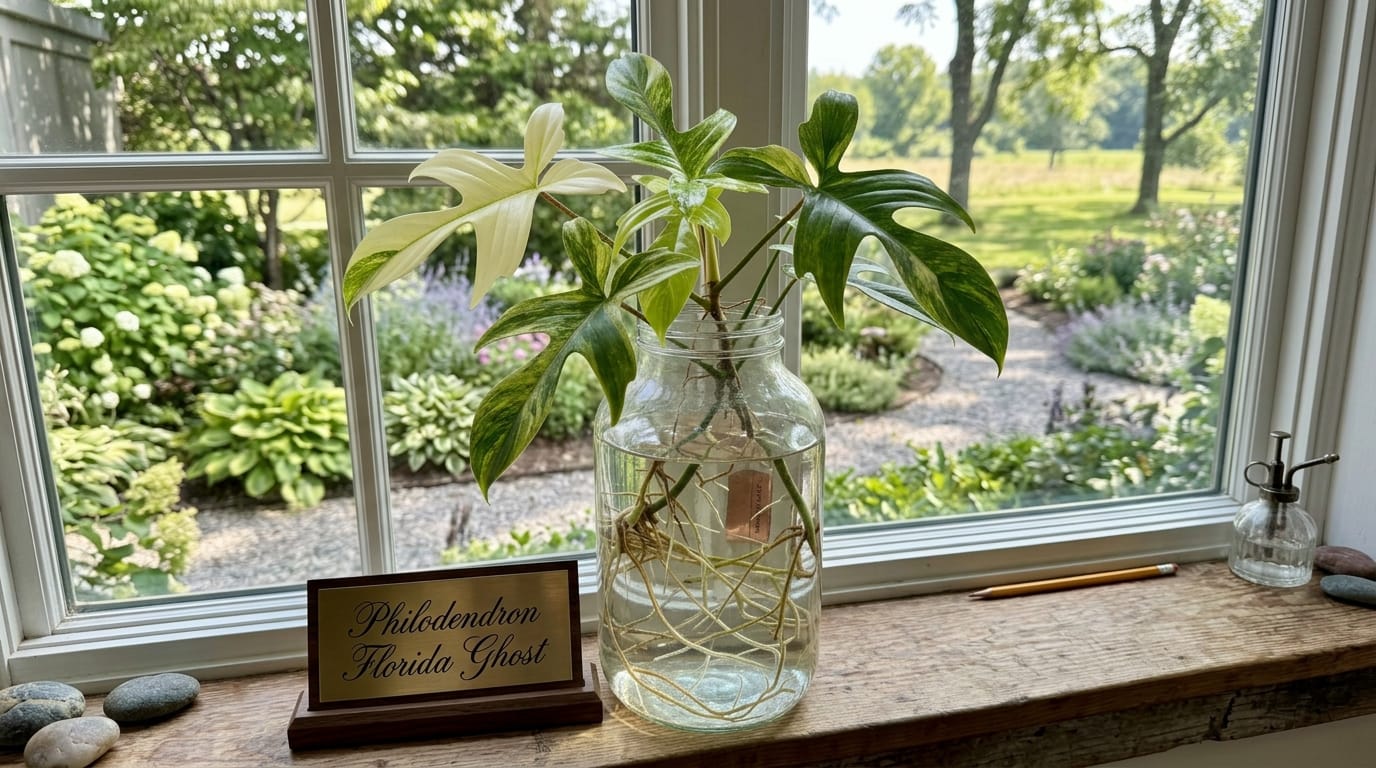
Once roots are 1 to 3 inches long, your cutting is ready for its permanent home.
Choose a pot only slightly larger than the root ball. Two inches wider is enough.
A pot that is too large holds too much moisture around the fragile young roots.
Excess moisture in an oversized pot creates the exact setup for root rot.
My full soil mix and pot sizing for mature plants is in my Philodendron Florida Ghost Care Guide.
Water the freshly potted cutting thoroughly and let it drain completely before putting it back.
Then place it in bright, indirect light and simply leave it alone for a week.
Your cutting needs time to adjust from high-humidity propagation conditions to normal room air.
Expect some minor leaf droop for the first few days. This is completely normal behavior.
Keep humidity a little higher than usual for the first two weeks after potting.
A light morning misting of the leaves helps the cutting settle in during this transition period.
The Mistakes That Kill Florida Ghost Cuttings
I have personally made every single one of these at some point over eight years.
Taking a nodeless cutting. No node equals no roots. Always confirm before you cut.
Using dirty scissors. Bacteria from an unsterilized blade infects the cut end immediately.
Leaving too many leaves on. More leaves mean more water loss from a rootless stem.
Rooting in a cold room. Below 65°F, root development nearly stops completely.
Not changing the water. Stale water depletes oxygen and promotes rapid bacterial growth.
Waiting too long to pot up water roots. Long water roots snap during the transfer to soil.
Using dense, heavy potting soil. The stem base stays too wet and rots before roots form.
Related Propagation Guides on Jefrev.com
If you enjoy propagating unusual philodendrons, these companion guides will help you.
My guide to propagating Philodendron Pink Princess in water covers a very closely related hybrid.
The Philodendron Pedatum propagation guide is especially relevant here.
The Florida Ghost is derived from Pedatum, so the rooting behavior runs very close.
I also put together a complete breakdown for rooting Philodendron Ring of Fire cuttings.
That guide covers warm-climate rooting setups that work beautifully for Florida Ghost cuttings too.
Quick Reference Summary
Here is the short version for when you just need a fast reminder.
| Detail | What to Do |
|---|---|
| Cutting requirements | At least one node, one mature green leaf, clean cut |
| Best medium | Sphagnum moss or chunky perlite-bark-soil mix |
| Temperature | 70 to 85°F consistently |
| Humidity | 60 to 70 percent — use a bag or dome |
| Light | Bright, indirect only. No direct sun |
| Rooting hormone | IBA gel form recommended |
| Time to roots | 2 to 4 weeks in water or moss; 3 to 5 weeks in soil |
| Time to pot up | When roots reach 1 to 3 inches long |
Final Thoughts
Rooting a Florida Ghost cutting is one of the most satisfying things in this whole hobby.
Watching that first pale new leaf unfurl on a cutting you grew from scratch feels incredible.
My biggest piece of advice after eight years growing these plants is simple: respect the node.
Every single rooting failure I have ever had traces back to a node problem of some kind.
Either the node was missing, rotted, or buried under wet and suffocating conditions.
Get the node right, keep things warm, and stay on top of your humidity levels.
The cutting will handle the rest all on its own.
I hope this guide saves your cutting and your money.
Good luck, and send me a photo when that first ghostly white leaf finally opens up.