Philodendron Squamiferum Care Indoors: The Complete Red Bristle Philodendron Guide (2026)

My collection sits at over 500 philodendrons right now.
But the squamiferum? It took me almost a full year to figure out.
I moved mine to four different spots before it finally pushed a new leaf.
Most online guides make this plant sound simple and easygoing.
It is not.
But once you crack the code, it rewards you in a big way.
Those fuzzy red stems climbing up a moss pole look absolutely wild.
In this guide, I am giving you the honest version of squamiferum care indoors.
No fluff. No recycled tips. Just what actually works in a real home.
What is the Philodendron Squamiferum?
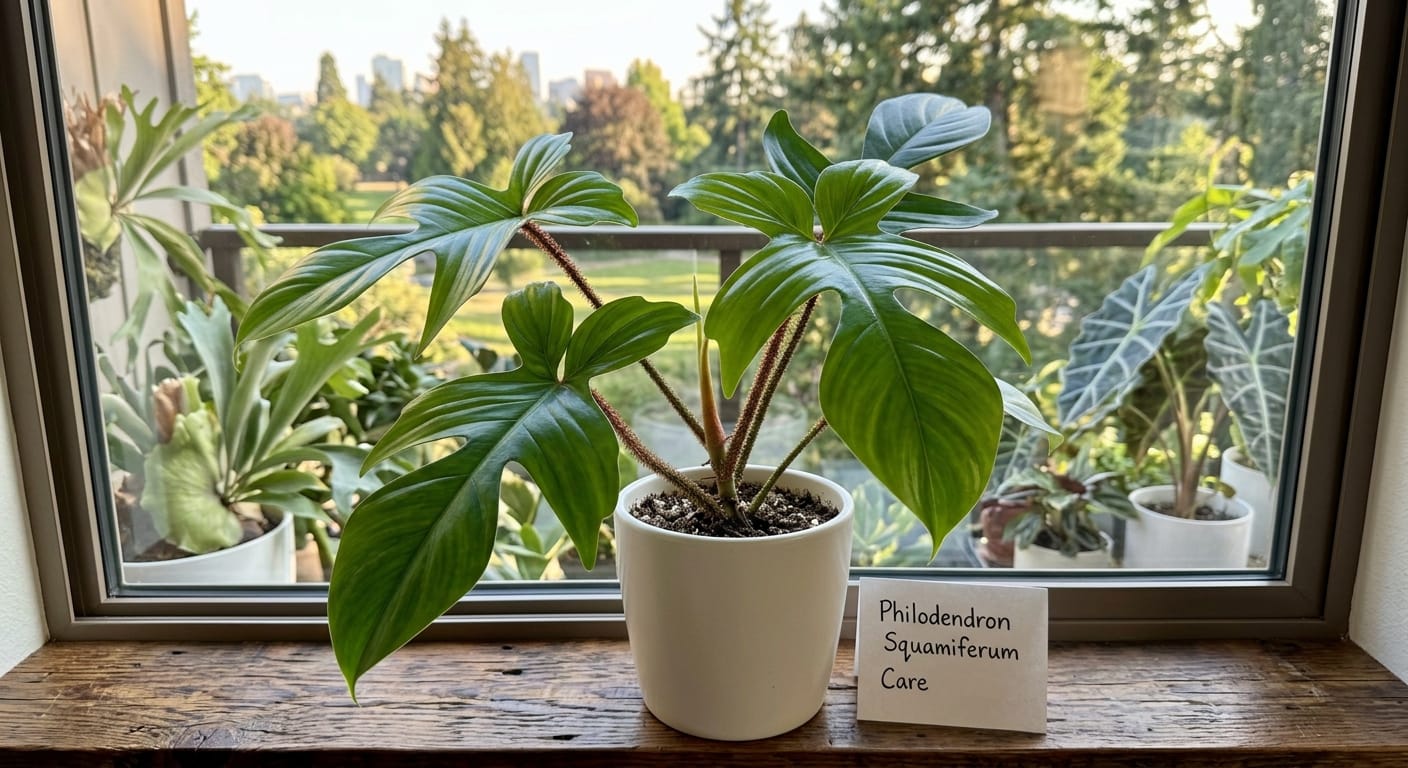
The Philodendron squamiferum is a climbing tropical plant with one completely unique feature.
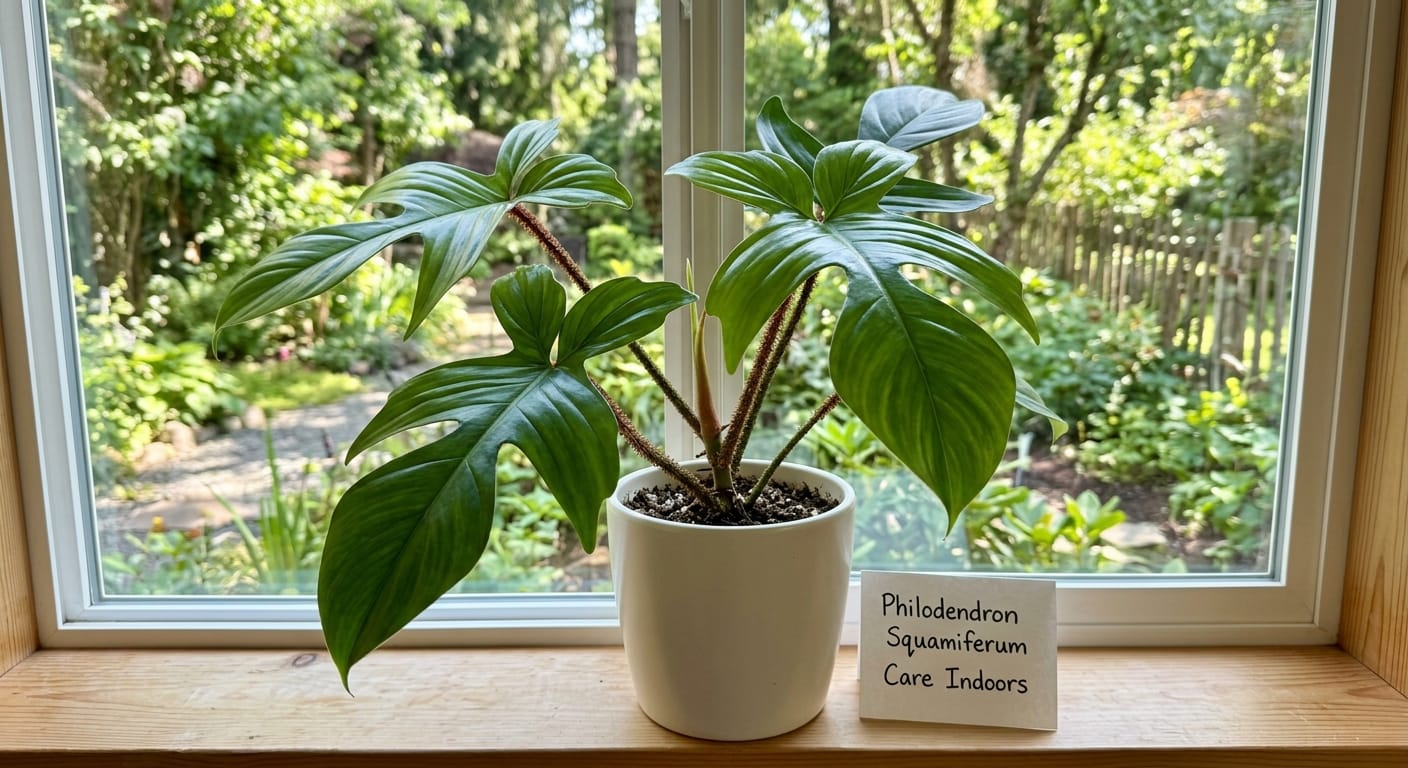
Its leaf stems, called petioles, are covered in soft red bristles.
That is why collectors call it the Red Bristle Philodendron.
No other philodendron looks quite like it up close.
The leaves are large and deeply lobed, shaped a bit like an oak leaf.
That combination of fuzzy red petioles and dramatic lobed leaves is genuinely stunning.
I picked up my first squamiferum at a local plant swap back in 2021 — a collector offered me a rooted cutting for twenty dollars, and I bought it without knowing what I was getting into.
It turned out to be less forgiving than its reputation suggests, but worth every bit of the learning curve.
By that point I’d been chasing specific species for a few years, and the squamiferum had been on my list since I first saw those red bristled petioles in a photo online.
Scientific, Botanical, and Common Name
Here is the full breakdown for the plant nerds in the room.
Scientific name: Philodendron squamiferum Poepp. & Engl.
Family: Araceae
Genus: Philodendron
Species: P. squamiferum
Common names: Red Bristle Philodendron, Hairy Philo, Squamiferum
The species name “squamiferum” is Latin.
It translates roughly to “bearing scales” or “scale-bearing.”
That name refers directly to the scaly, hairy texture on those distinctive red petioles.
The plant was formally described by Eduard Pöppig and Heinrich Gustav Adolf Engler.
Both were nineteenth-century botanists who catalogued many South American plant species.
You can verify the confirmed taxonomy through Kew’s Plants of the World Online, which is the most authoritative botanical database I use for cross-checking species names.
Native and Origin
The squamiferum comes from a specific stretch of tropical South America.
According to Wikipedia’s species entry, its native range includes French Guiana, Suriname, and northern Brazil.
It grows naturally in the wet tropical biome, deep inside the rainforest.
In the wild, this plant scrambles up tree trunks in the shaded understory.
It uses aerial roots to grip and climb toward available light above the canopy.
That rainforest-floor origin tells you everything you need to know about caring for it indoors.
It wants warmth. It wants humidity. It wants dappled, filtered light.
And it absolutely wants something tall to climb.
Once I understood where this plant actually comes from, everything clicked for me.
I stopped fighting its nature and started mimicking it instead.
Characteristics/Features
Appearance
The squamiferum has large, glossy, dark green leaves with five distinct lobes.
Those deep lobes give each leaf a dramatic, almost prehistoric quality.
Individual leaves can reach 12 to 18 inches long under ideal indoor conditions.
The most iconic feature remains that petiole covered in bright red bristles.
Touch them and you will find they feel genuinely soft and fuzzy.
Imagine a chenille sweater texture. That is basically it.
No other philodendron has this exact combination of features.
New leaves emerge tightly rolled and unfurl slowly over several days.
Watching that unfurling process never gets old, even after eight years.
Growth Pattern
The squamiferum is a hemiepiphyte and a committed climber.
It starts on the ground in nature and climbs upward toward sunlight.
Indoors, it mirrors this behavior when given proper vertical support.
Without a support structure, it trails sideways and stays much more compact.
Trailing growth consistently produces smaller leaves over time.
Climbing growth produces the large, dramatic leaves that make this plant so sought after.
I always install a moss pole immediately when potting a squamiferum.
During spring and summer, expect a new leaf every two to four weeks under good conditions.
During fall and winter, that slows down significantly.
Dormancy
The squamiferum does not go fully dormant indoors the way a bulb plant would.
But it does enter a noticeable slow period through the colder months.
Do not panic if new leaf production stops between November and February.
Your plant is simply conserving energy during shorter daylight hours.
Reduce watering frequency slightly and stop fertilizing during this time.
Pushing fertilizer in winter does more harm than good.
Growth returns naturally as daylight hours increase again in early spring.
Benefits
Growing a squamiferum indoors offers real value beyond its dramatic appearance.
Like most philodendrons, it helps filter common household toxins from the air.
These include volatile organic compounds released by furniture, paint, and carpet.
Living greenery consistently shows positive effects on indoor stress levels in research settings.
Beyond that, there is the daily pleasure of watching this plant push new growth.
Growing it also builds genuine patience, which transfers to every other plant you own.
When it starts unfurling a fourteen-inch leaf from a moss pole, you will feel it.
For another stunning climbing aroid to pair with your squamiferum, check out my full guide on Philodendron Melanochrysum care indoors.
Care Guides
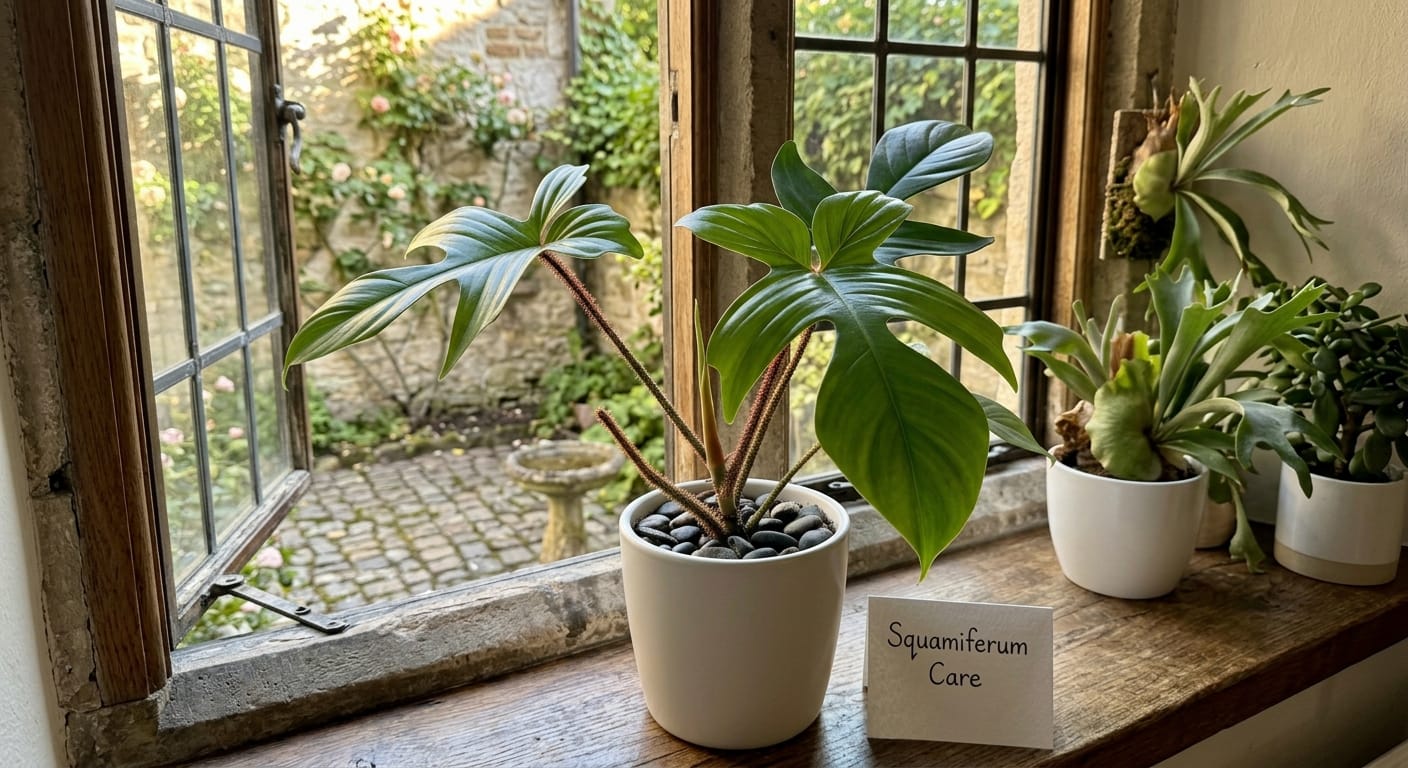
Sunlight
This is the single most critical factor for growing squamiferum successfully. Do not underestimate it.
This plant needs bright, indirect light to grow at all.
Medium light will reduce it to an absolute crawl.
Low light will stop growth completely, sometimes for months at a stretch.
I made this mistake personally and painfully.
I placed my squamiferum about eight feet back from a north-facing window in my living room.
Six months passed with not one single new leaf.
I moved it two feet from an east-facing window.
Three weeks later, a new leaf started unfurling.
That experience taught me this plant is non-negotiable about its light needs.
An east window with soft morning sun is my personal top recommendation.
A west window with warm afternoon light also works well in my experience.
If your home gets dark during fall and winter, a basic LED grow light helps enormously.
You do not need an expensive setup at all.
A simple clip-on grow bulb placed about twelve inches from the plant works just fine.
Keep it away from harsh afternoon south-facing sun in summer months.
Direct midday sun scorches the leaves quickly and the damage is permanent.
Watering
Watering is where most growers go wrong with this plant.
The squamiferum hates sitting in wet soil more than almost anything else.
Soggy roots kill it faster than almost any other issue you will encounter.
I water mine only when the top two inches of soil feel completely dry.
I stick my finger two knuckles deep into the soil before every watering session.
If it still feels cool or moist at all, I leave the plant alone.
During spring and summer, that typically means watering every seven to ten days.
During fall and winter, I stretch that interval to twelve to fourteen days.
When you do water, do it deeply and thoroughly.
Let water run freely from the drainage holes at the bottom of the pot.
Never let it sit in a saucer of standing water.
Empty that saucer within thirty minutes every single time you water.
Underwatering shows up as slightly drooping stems and dry, crispy leaf edges.
Overwatering shows up as yellowing lower leaves and a soft, mushy stem base.
The second problem is far more serious and harder to reverse.
Fertilizers
During the active growing season, I fertilize my squamiferum once every four weeks.
I use a balanced liquid fertilizer diluted to half the recommended strength.
Full strength fertilizer on philodendrons can burn tender roots surprisingly fast.
Half strength applied consistently gives a steady, gentle nutrient supply without that risk.
I look for a fertilizer with an NPK ratio around 20-20-20 or similar.
Some growers prefer a formula slightly higher in nitrogen to push larger foliage growth.
That approach works well when you are actively trying to maximize leaf size.
From October through February, I stop fertilizing entirely.
The plant is in slow mode during those months.
Extra nutrients just accumulate in the soil as salt deposits and cause future problems.
Soil Mix
Never use straight store-bought potting soil for a squamiferum. Just do not do it.
Heavy potting soil holds moisture for too long and leads directly to root rot.
My go-to mix combines several chunky, porous ingredients to promote drainage and airflow.
Here is exactly what I use and have used successfully for years:
- 40% regular potting mix (base structure)
- 30% medium orchid bark (chunky drainage and airflow)
- 20% perlite (extra drainage, prevents compaction)
- 10% worm castings (gentle, slow-release nutrition)
This mix drains quickly, holds just enough moisture, and feeds the roots gently.
The orchid bark mimics the chunky, airy organic debris the plant grows in naturally.
When I switched to this combination, my root rot issues disappeared almost overnight.
I learned that lesson the hard way by killing three plants with compacted soil in my first two years of growing.
Humidity
The squamiferum comes from tropical rainforests where humidity stays consistently high.
Aim for 50% to 60% relative humidity inside your home for this plant.
That range is comfortable for both you and the plant simultaneously.
Most US homes during summer naturally hover around 40% to 50%.
That is borderline acceptable but not quite ideal for peak growth.
In dry winter months, indoor humidity often drops to 20% or 30%.
At those levels, the leaf edges begin to brown and crisp up visibly.
I run a small humidifier near my squamiferum from November through March.
Grouping your plants together also raises local humidity through natural transpiration.
Avoid misting the leaves directly and regularly.
Misting does almost nothing meaningful for humidity levels but does promote fungal leaf spots.
A basic hygrometer from Amazon costs under fifteen dollars and shows you exactly what your room humidity is.
Buy one. It will change how you care for all your aroids.
Temperature
This is a tropical plant through and through. It simply does not tolerate cold.
Keep it above 65°F (18°C) at all times without exception.
The sweet spot for active growth is between 70°F and 85°F (21°C to 29°C).
Below 55°F (13°C), the plant begins showing stress through yellowing and dropping leaves.
Never place it near air conditioning vents, drafty windows, or exterior doors in winter.
Cold air blasts damage the leaf tissue and shock the root system.
During warm summer months, I move several of my climbers to a shaded outdoor patio.
The squamiferum responds incredibly well to warm outdoor conditions with filtered shade.
Bring it back inside before nighttime temperatures fall below 60°F in early fall.
Climbing Stake
A moss pole is not a nice bonus for this plant. It is essential care.
Without vertical support, the squamiferum trails sideways and produces noticeably smaller leaves.
When it climbs vertically and attaches aerial roots to a moist moss pole, leaf size jumps significantly.
I personally watched leaves on my specimen go from six inches to fourteen inches after adding a proper pole.
Same plant. Same care. The only change was vertical support.
Push the pole deep into the soil at potting time before the plant needs it.
Disturbing established roots by adding a pole later is unnecessarily stressful.
Keep the moss pole moist by misting it lightly every few days.
The aerial roots will locate the pole and attach naturally over time.
Coco coir poles and wooden planks also work as alternatives.
I prefer moss poles because the roots grip the moss texture most naturally in my experience.
For more detail on using climbing supports for related species, my Philodendron Florida Ghost Care guide covers this topic well.
Toxicity
The Philodendron squamiferum is toxic to humans, dogs, and cats without exception.
All parts of the plant contain calcium oxalate crystals.
When a pet chews a leaf, those microscopic crystals embed into the mouth and throat lining.
This causes immediate pain, drooling, swelling, and difficulty swallowing in affected animals.
In humans, skin contact with the sap can cause mild irritation and itching.
Ingesting any part of the plant causes intense burning pain throughout the mouth and throat.
The ASPCA confirms that philodendrons are toxic to both dogs and cats and classifies them as a serious concern for pet owners.
Always place this plant completely out of reach of pets and small children.
I use high shelves or ceiling hooks whenever kids or curious pets are visiting my home.
Wash your hands thoroughly after handling any part of the plant during pruning or repotting.
Repotting Guide
Repot your squamiferum when roots begin circling the bottom of the pot.
Or when roots are consistently pushing out through the drainage holes below.
This typically happens every one to two years for a healthy, actively growing plant.
Move up only one pot size at a time.
Going too large means extra soil that holds excess moisture and invites root rot quickly.
Spring is the optimal time to repot because the plant recovers fastest during active growth.
Step-by-step repotting process:
- Water the plant lightly the day before repotting to reduce transplant stress on the roots.
- Gently tip the plant sideways and ease it out of its current pot.
- Shake off any old, compacted soil from around the root ball carefully.
- Inspect all roots and trim any that are black, mushy, or completely dead.
- Add a layer of fresh chunky soil mix to the bottom of the new pot.
- Set the plant at the same soil depth it sat at before repotting.
- Fill in around the sides with fresh mix and press gently to remove large air pockets.
- Water lightly to help the soil settle around the roots.
- Return to bright indirect light and let the plant adjust.
Expect temporary drooping for two to five days after repotting. This is completely normal recovery behavior.
Pruning Guide
The squamiferum does not need heavy, aggressive pruning to stay healthy.
Light, occasional trimming helps maintain shape and encourages bushier side growth.
Trim back any leggy vines extending in an unwanted direction.
Remove yellow or dead leaves cleanly at the base of the petiole.
Always use clean, sharp scissors or pruning shears for every cut.
Dirty blades transfer bacteria and fungal spores between plants with startling efficiency.
Wipe your blades with rubbing alcohol between cuts if you are trimming multiple plants in one session.
The ideal time to prune is early spring, right before the growing season picks up again.
Never remove more than one-third of the plant at one time.
Cutting too aggressively at once sends the plant into shock and slows recovery for weeks.
Save any healthy stem cuttings from pruning. They propagate easily and make great trades.
Propagation Guide
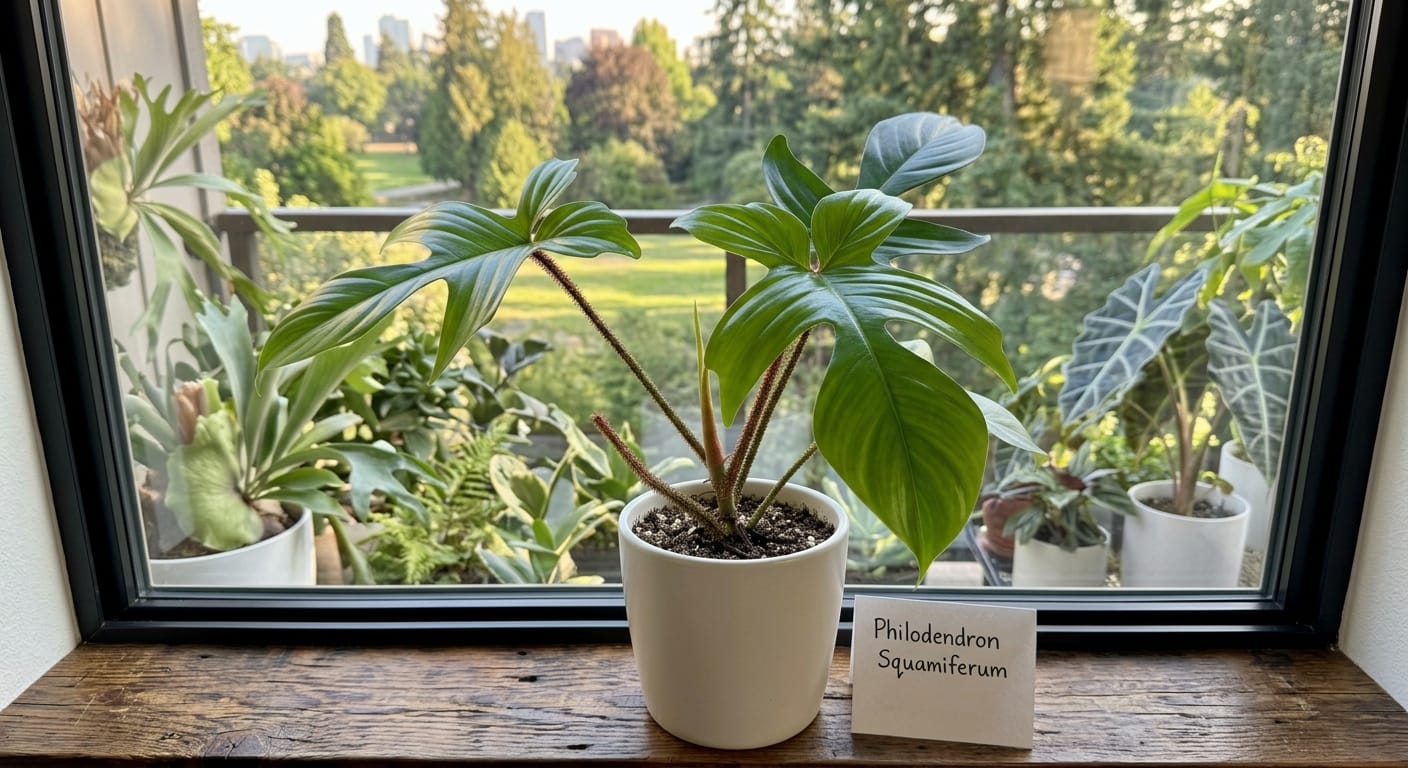
Propagating a squamiferum is genuinely easier than most people expect.
Stem cuttings are the most reliable and straightforward method available.
You can root them in water, directly in sphagnum moss, or in a loose chunky mix.
What you need:
- A sharp, clean blade
- A glass of filtered water or a small container of moist sphagnum moss
- Bright indirect light
- A clear plastic bag or humidity dome (optional but speeds things up)
Water propagation step-by-step:
- Identify a healthy stem with at least one node and one attached leaf.
- Cut the stem cleanly about half an inch below the node.
- Place the cutting in a glass of water with only the node submerged.
- Keep the glass in bright indirect light and change the water every five days.
- Roots typically appear within two to four weeks.
- Once roots reach approximately two inches long, transfer the cutting to your chunky soil mix.
- Water lightly at first and allow the plant to adjust to soil life gradually.
The sphagnum moss method works equally well and often encourages faster, thicker root development.
Simply wrap the node section in moist sphagnum moss and place it inside a small clear plastic bag.
Seal the bag loosely to maintain humidity and check for root development every week or so.
For more detailed propagation techniques that apply to closely related species, my guide on How to Propagate Philodendron Pedatum covers similar methods with helpful step-by-step photos.
Common Pests, Diseases, and Solutions
Spider Mites
Spider mites are nearly invisible and hard to spot until real leaf damage accumulates.
Look for fine webbing on the undersides of leaves and a pale, dusty, stippled texture across the surface.
Treat immediately with diluted neem oil spray applied thoroughly to all leaf surfaces, top and bottom.
Repeat every five to seven days for a minimum of three full weeks.
This breaks the mite breeding cycle and prevents a fresh reinfestation from hatching eggs.
Thrips
Thrips leave distinctive silver streaks and tiny black specks of frass on leaf surfaces.
They move fast and spread to neighboring plants surprisingly quickly.
Treat with spinosad-based spray or insecticidal soap applied directly and thoroughly to all leaf surfaces.
Isolate any infected plant immediately to protect the rest of your collection.
Mealybugs
Mealybugs appear as small white cotton-like puffs tucked into leaf joints and stem crevices.
Spot-treat individual bugs with a cotton swab soaked in rubbing alcohol.
For larger infestations, apply neem oil solution every five days for three weeks minimum.
Check all surrounding plants closely afterward, because mealybugs spread through a collection fast.
Root Rot
Root rot develops from consistent overwatering combined with poorly draining soil.
Warning signs include rapidly yellowing leaves, a sour or foul smell from the soil, and a mushy stem base.
Remove the plant from its pot immediately. Cut away every black or mushy root section cleanly.
Repot into fresh, dry, chunky mix and significantly improve your watering habits going forward.
Fungal Leaf Spots
Brown or black spots with yellow halos appearing on leaves typically signal a fungal issue.
This usually develops when water sits on leaf surfaces for extended periods.
Stop misting the foliage, improve air circulation around the plant, and apply a copper-based fungicide preventively.
Always water at the soil level and never pour water directly onto the leaves themselves.
Pricing Guide
The squamiferum has become meaningfully more accessible in the US market over recent years.
Here is a realistic breakdown of what you can expect to pay in 2026:
| Plant Size / Type | Estimated Price Range (US) |
|---|---|
| Stem cutting (unrooted) | $8 to $20 |
| Rooted cutting (4-inch pot) | $20 to $40 |
| Established plant (6-inch pot) | $30 to $60 |
| Large, mature specimen | $60 to $120+ |
| Variegated Squamiferum | $200 to $2,800+ |
The standard non-variegated squamiferum is very reasonably priced for a plant this visually striking.
Variegated forms are an entirely different conversation. Serious collectors pay serious money for those.
Prices vary depending on seller reputation, plant health, and your local market.
Local plant swaps and Facebook aroid groups consistently offer the best deal per dollar.
Online platforms like Etsy are convenient but prices run slightly higher due to shipping costs and packaging.
Buying Guide
Buying a squamiferum from the wrong source or choosing the wrong plant is costly.
Here is what to look for when evaluating any plant before purchasing.
Signs of a healthy squamiferum:
- Deep, glossy green leaves with no widespread yellowing or pale patches
- Firm, vividly colored red bristles on the petioles
- No soft or mushy texture anywhere on the stem base
- Visible healthy root activity through drainage holes or in the root ball
- No webbing, white fuzz, or sticky residue visible on any leaf surface
Red flags that should stop you:
- Yellow, translucent, or drooping leaves throughout the plant
- Brown, fully crispy edges across most or all leaves
- Any visible pests or webbing on any part of the plant
- A sour, rotten smell rising from the soil when you lean close
- Petiole bristles that have turned entirely brown and lifeless
Where to buy in the United States:
- Local specialty nurseries that focus on aroids and tropicals
- Facebook plant groups and aroid-specific trading communities
- Etsy shops with strong verified reviews and clear photos of the actual plant for sale
- Reputable online aroid vendors offering live arrival guarantees in writing
Always request a photo of the specific plant being shipped before committing to an online purchase.
Schedule your online orders to ship on Monday or Tuesday whenever possible.
This prevents the plant from sitting in a warehouse or post office over the full weekend.
Common Mistakes to Avoid
I have personally made most of these mistakes. Some of them cost me plants I really cared about.
1. Using heavy standard potting soil
Heavy soil retains water too long and suffocates roots. Always use a fast-draining chunky mix from day one.
2. Watering on a fixed weekly schedule
Never water by the calendar alone. Always check actual soil moisture first with your finger every single time.
3. Placing the plant in medium or low light
This plant stops pushing new leaves entirely without bright indirect light. That placement error is the most common reason for no growth.
4. Skipping the climbing support
Without a moss pole, the squamiferum trails, produces smaller leaves, and never reaches its visual potential.
5. Ignoring indoor humidity levels
Dry air below 40% causes crispy leaf edges that are permanent and disfiguring. Buy a hygrometer and actually check.
6. Misting the leaves regularly
Leaf misting does not raise ambient humidity in any meaningful way. It does create consistently wet leaf surfaces that promote fungal issues.
7. Fertilizing through winter
From October through February, the plant is resting. Fertilizer builds up as salt deposits in the soil and causes real root damage over time.
8. Repotting into a pot that is far too large
Oversized pots hold excess wet soil around the roots for too long. Go up only one size at a time, always.
FAQ
Q: How fast does Philodendron squamiferum grow indoors?
Growth is moderate under good conditions. Expect roughly one new leaf every two to four weeks during spring and summer. In fall and winter, growth slows noticeably or pauses entirely. That is completely normal and not a sign of a problem.
Q: Can Philodendron squamiferum survive in low light?
It can technically survive for a while. But it will not grow. No new leaves, no new stem extension, no climbing. For active, healthy leaf production, bright indirect light is non-negotiable for this species.
Q: Why are the red bristles on my squamiferum turning brown?
Brown bristles almost always point to low humidity or cold temperature stress. Check your room humidity with a hygrometer. Make sure the plant is far from any cold air vents, drafts, or exterior windows in winter.
Q: Is Philodendron squamiferum the same plant as Florida Ghost?
No, they are distinctly separate plants. The Philodendron Florida Ghost is widely believed to be a hybrid cross between squamiferum and pedatum. It is not the squamiferum species itself.
Q: How large does Philodendron squamiferum get when grown indoors?
With proper vertical support on a tall moss pole, it can realistically reach six to ten feet tall inside a typical home. Individual leaves on a well-established mature plant can grow to fourteen to eighteen inches in length.
Q: My squamiferum has not pushed a new leaf in months. What is wrong?
Insufficient light is the most common culprit by a wide margin. Check your placement and move it closer to a bright window or directly under a grow light. Cold temperatures, root rot, and being severely rootbound are the next most likely causes worth checking.
Q: Can I grow Philodendron squamiferum permanently outdoors in the US?
Only in USDA Hardiness Zones 10a through 12a year-round. That covers parts of South Florida, Hawaii, and coastal Southern California. Everyone else in the US should bring it indoors before nighttime temperatures drop consistently below 60°F in fall.
Conclusion
The squamiferum is not the easiest philodendron in my collection. I will be fully honest about that.
It is picky about light in a way that catches a lot of growers off guard.
But once you get those core conditions right, this plant becomes one of the most rewarding aroids you will ever own.
Those red bristled petioles climbing a tall moss pole make every visitor stop mid-sentence and stare.
The secret ultimately comes down to three things: bright indirect light, fast-draining soil, and steady warmth.
Get those three things dialed in and this plant will take off for you.
Start with a well-rooted cutting from a seller with solid reviews.
Give it a moss pole from day one and place it close to your brightest suitable window.
Check the soil moisture before every single watering session without exception.
If you are just starting to explore climbing philodendrons, my guide on Philodendron Prince of Orange care is a great companion read.
Thanks for reading all the way through. Now go give your squamiferum the bright light it has been waiting for.